Jurassic Park was the first film my Dad took me to see in the cinema, I’ve loved it ever since. The Dilophosaurus was my favourite dinosaur from the movie, this project has been an ambition for a long time.
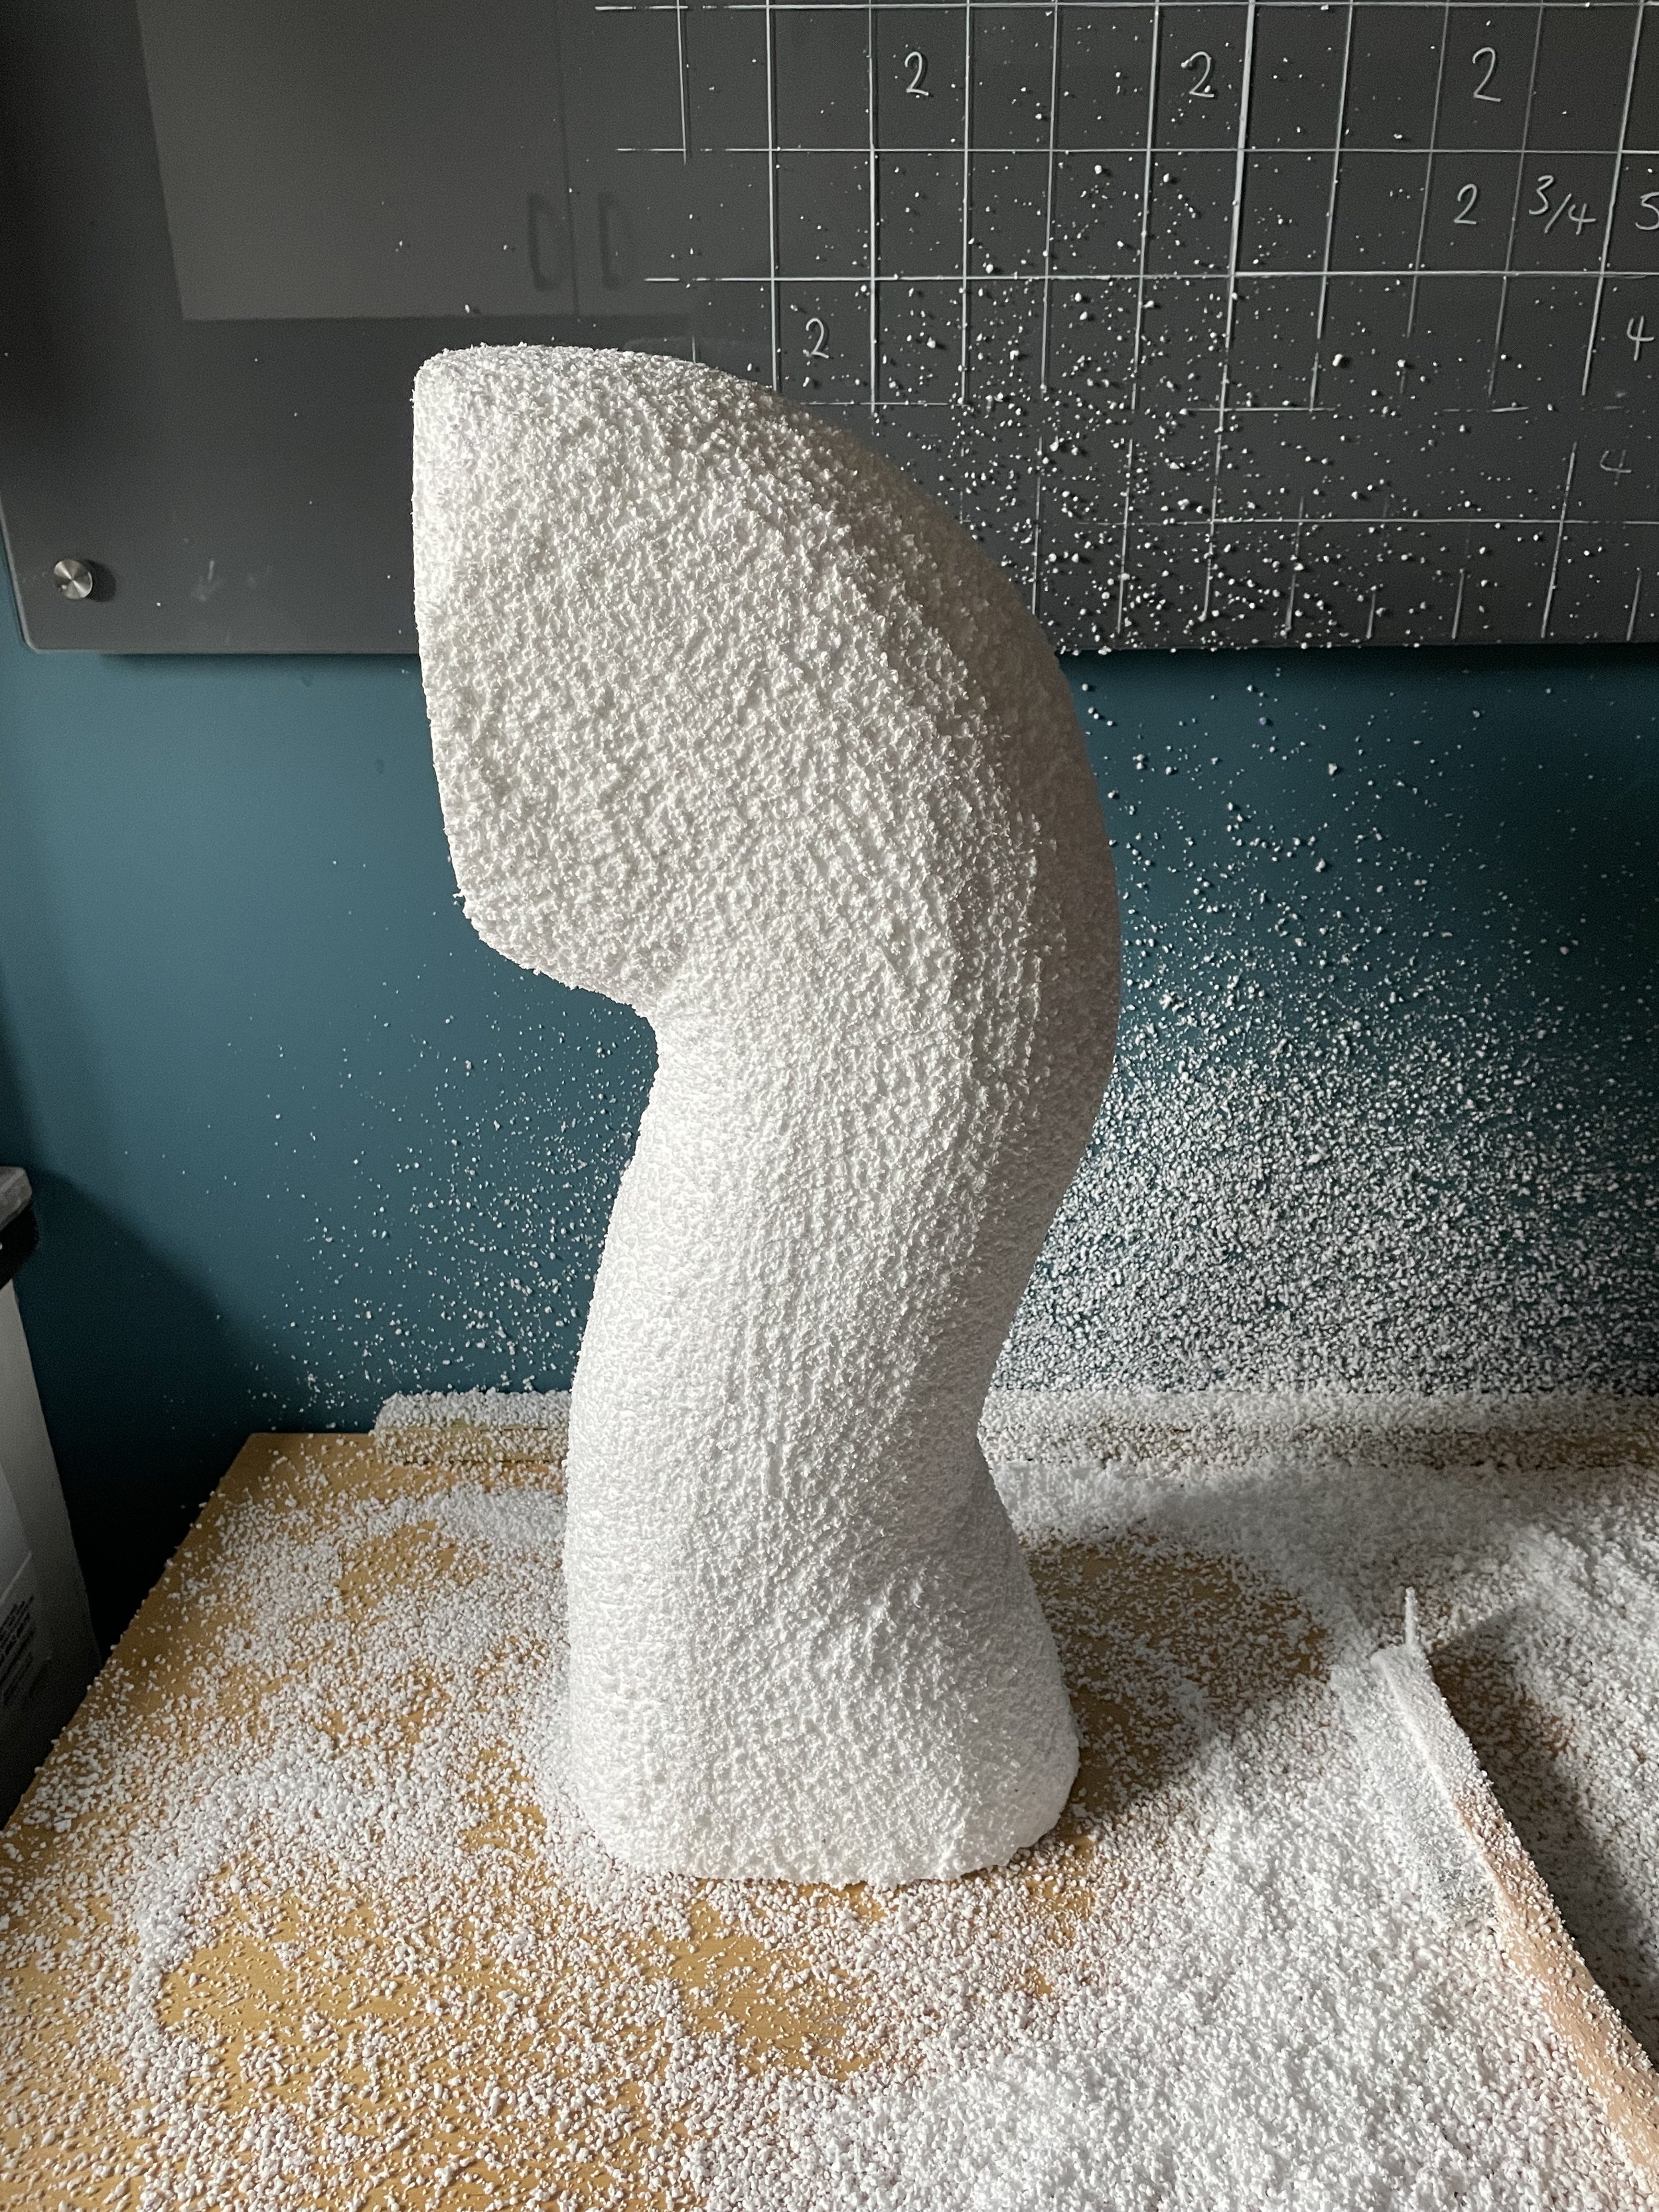
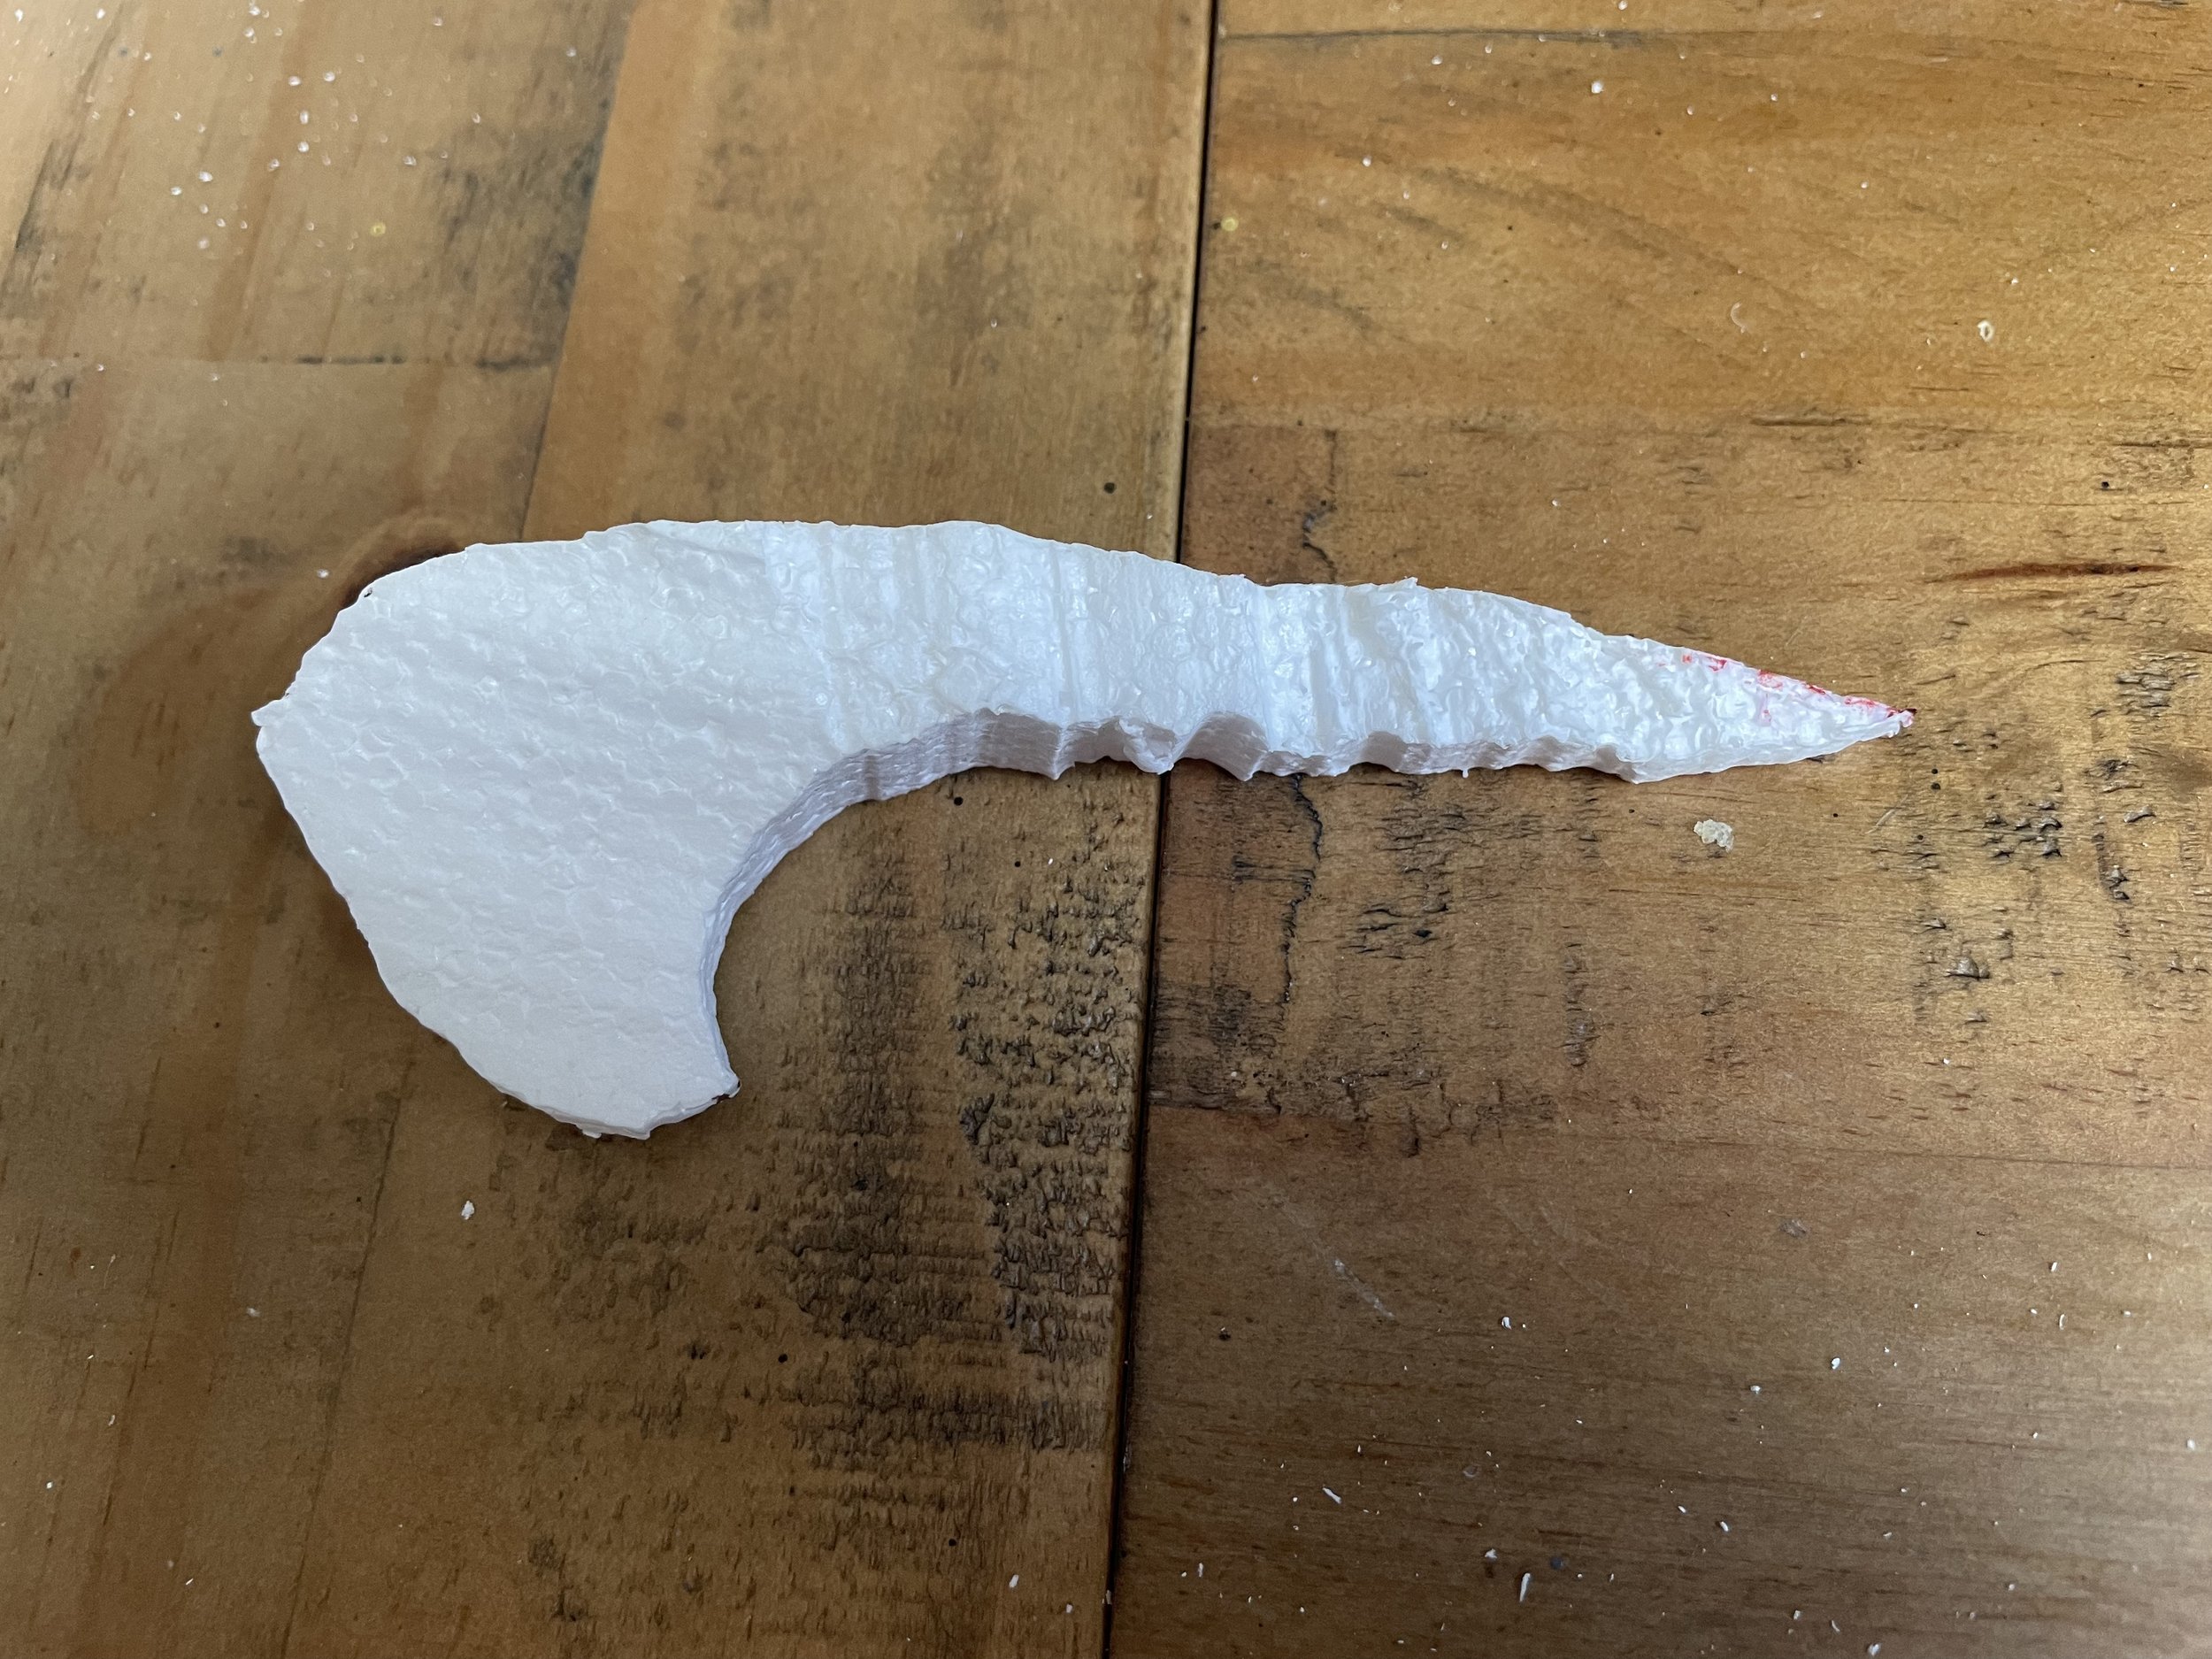
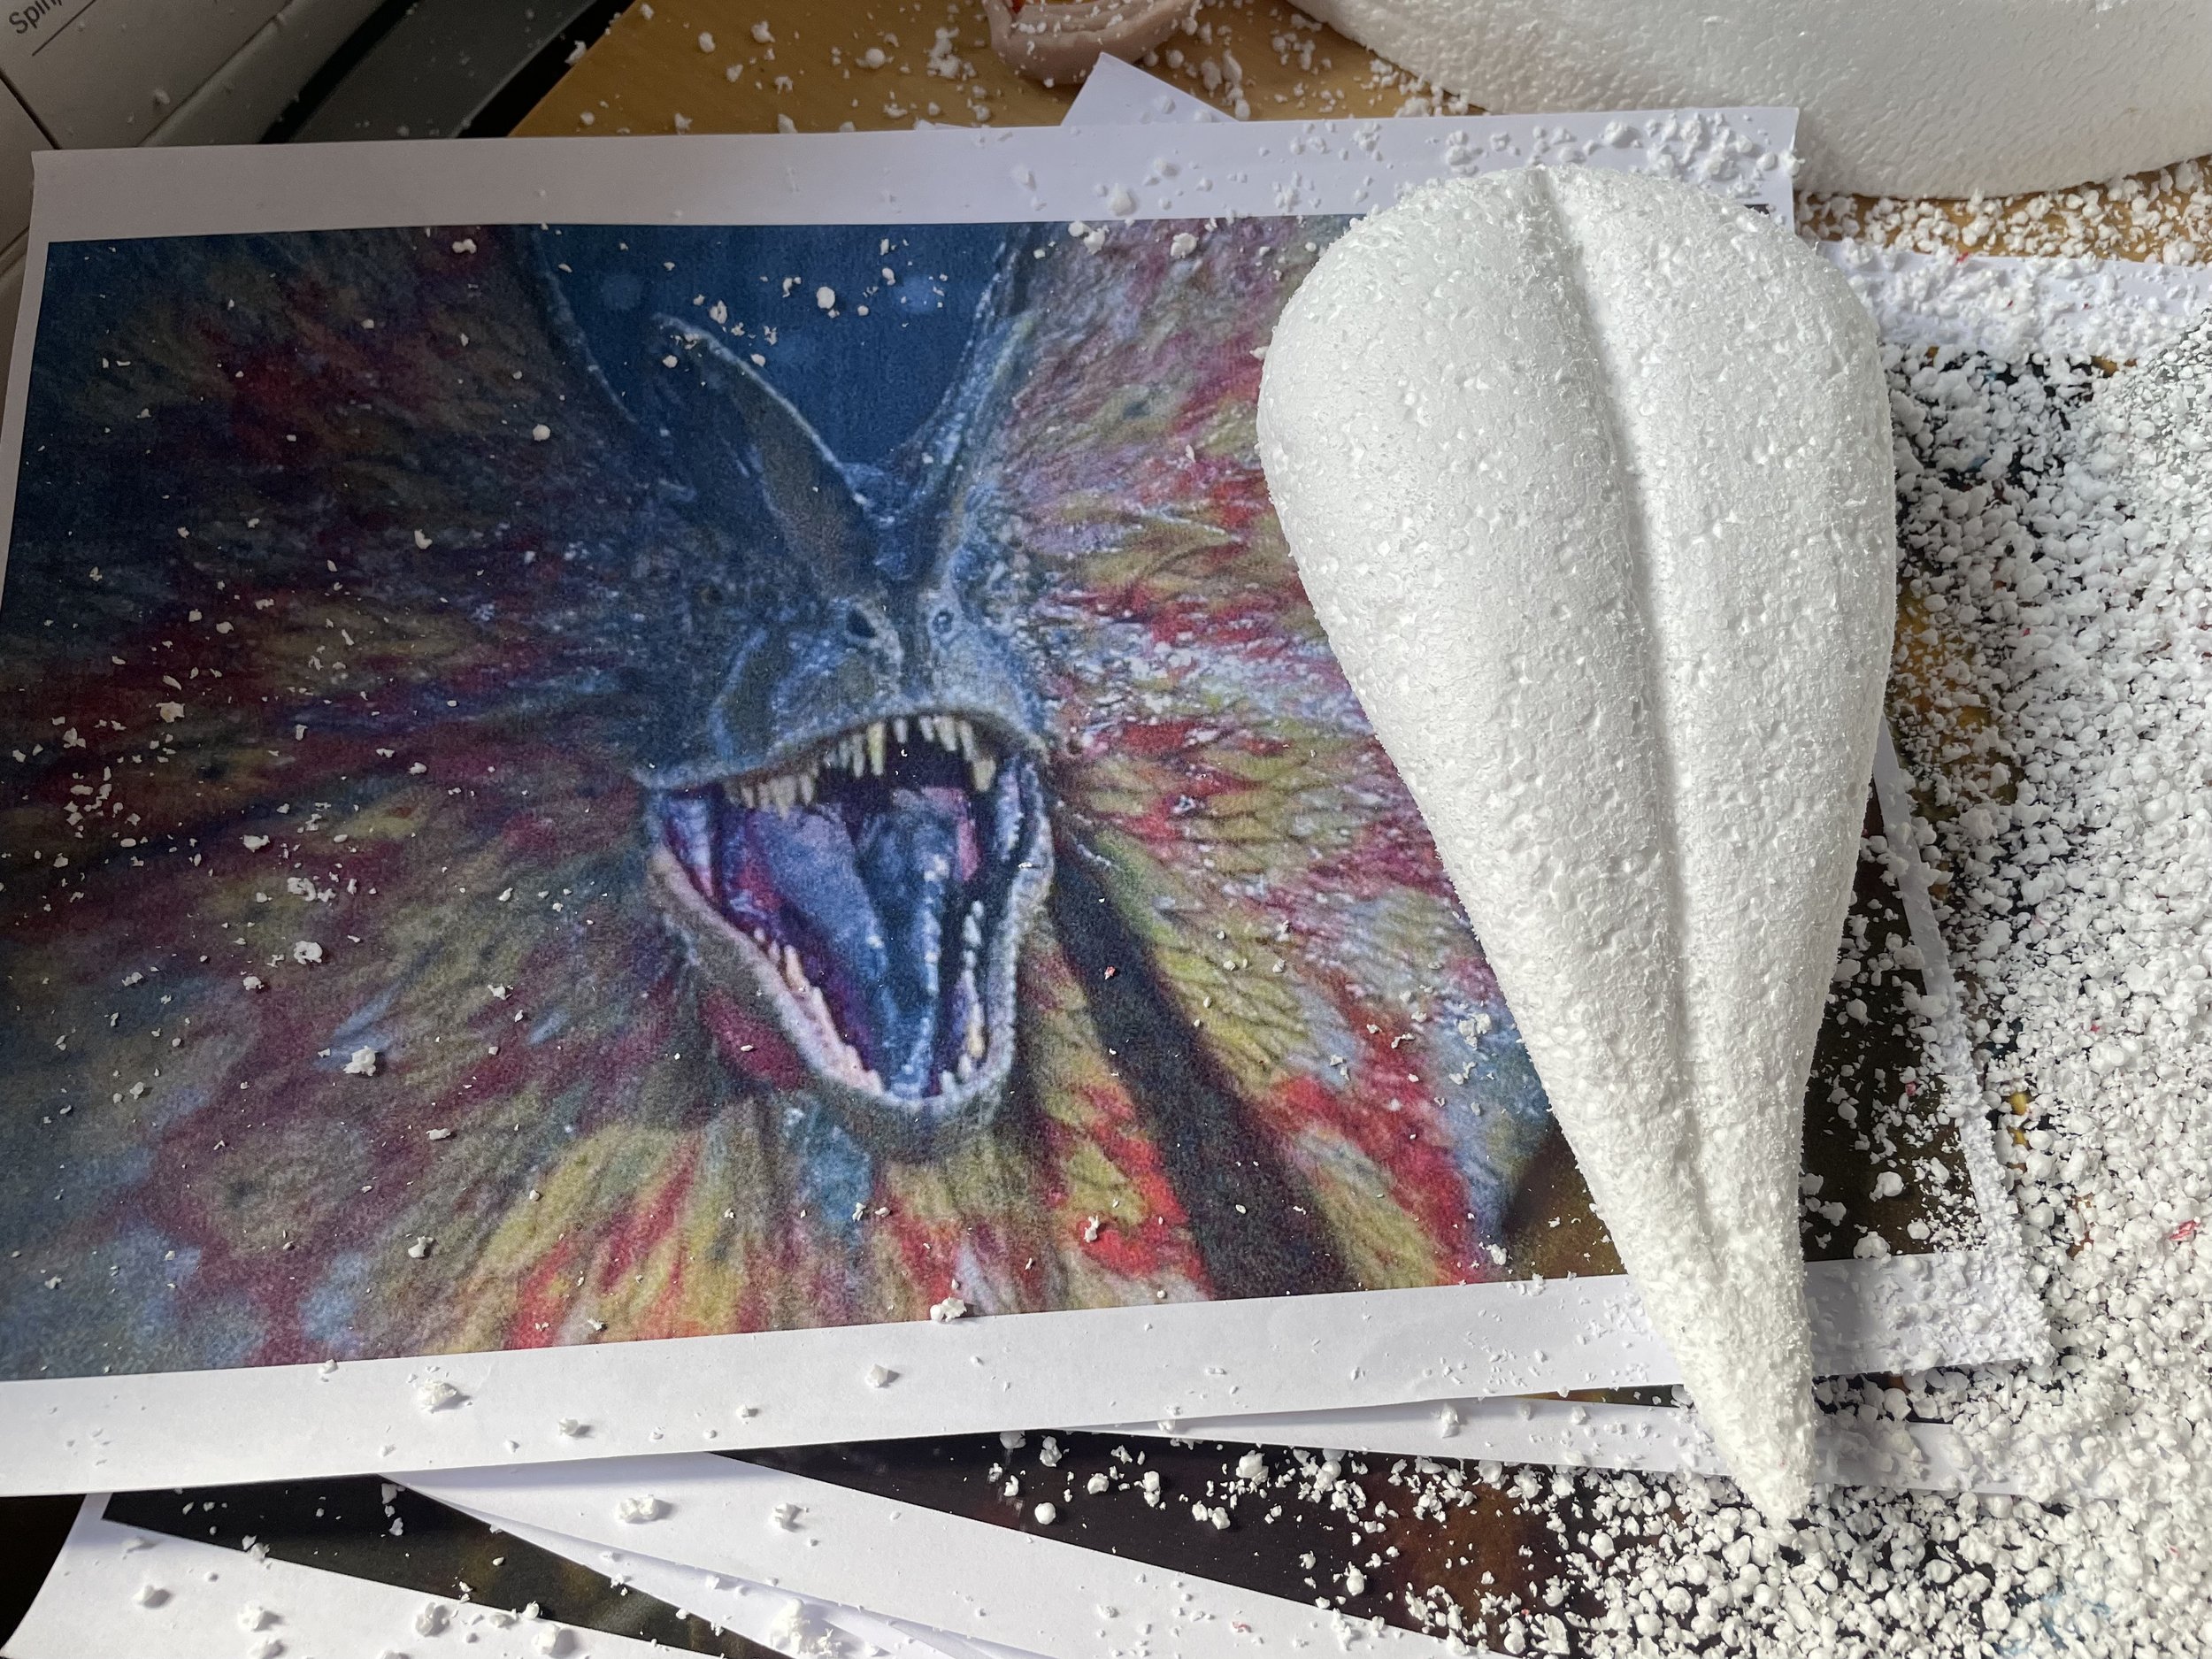
Reference images of the Dilophosaurus in variety of poses and angles were sourced online from the original movie, concept art and production photos. This gave outlines of the head and neck to be initially cut from polystyrene blocks. Grids were drawn onto opposite sides of the polystyrene block to make sure the shape was positioned in parallel.
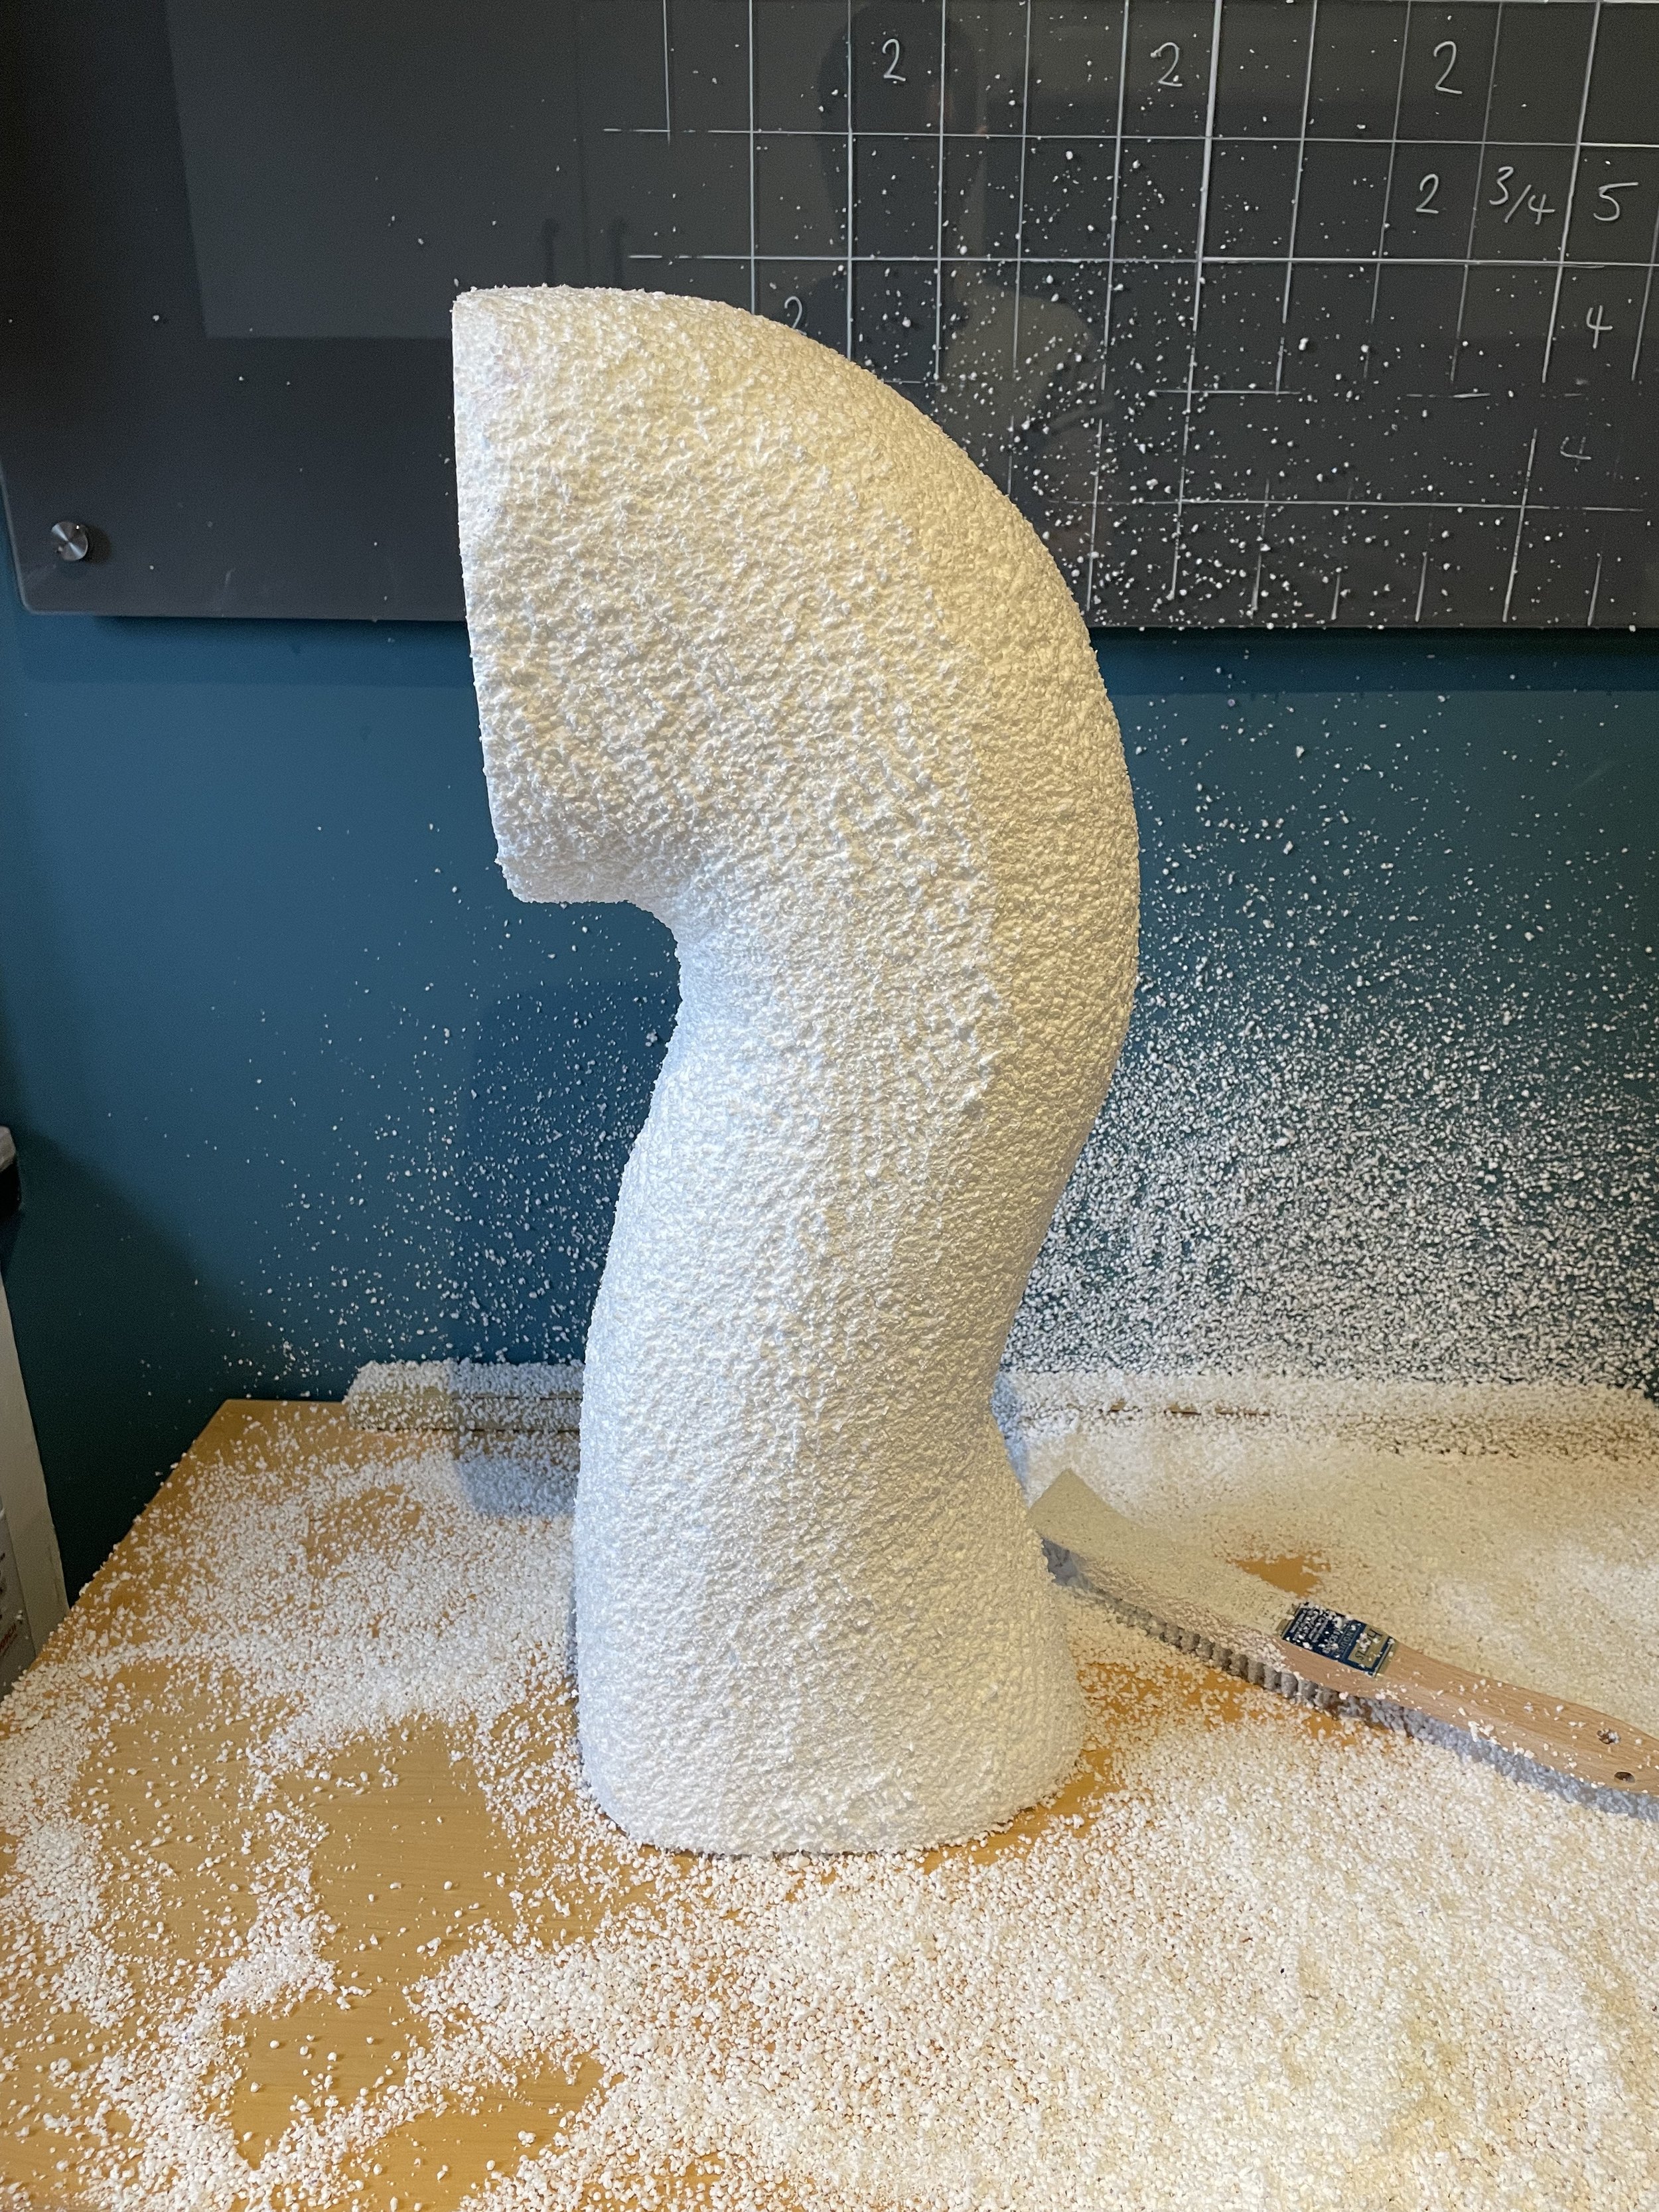
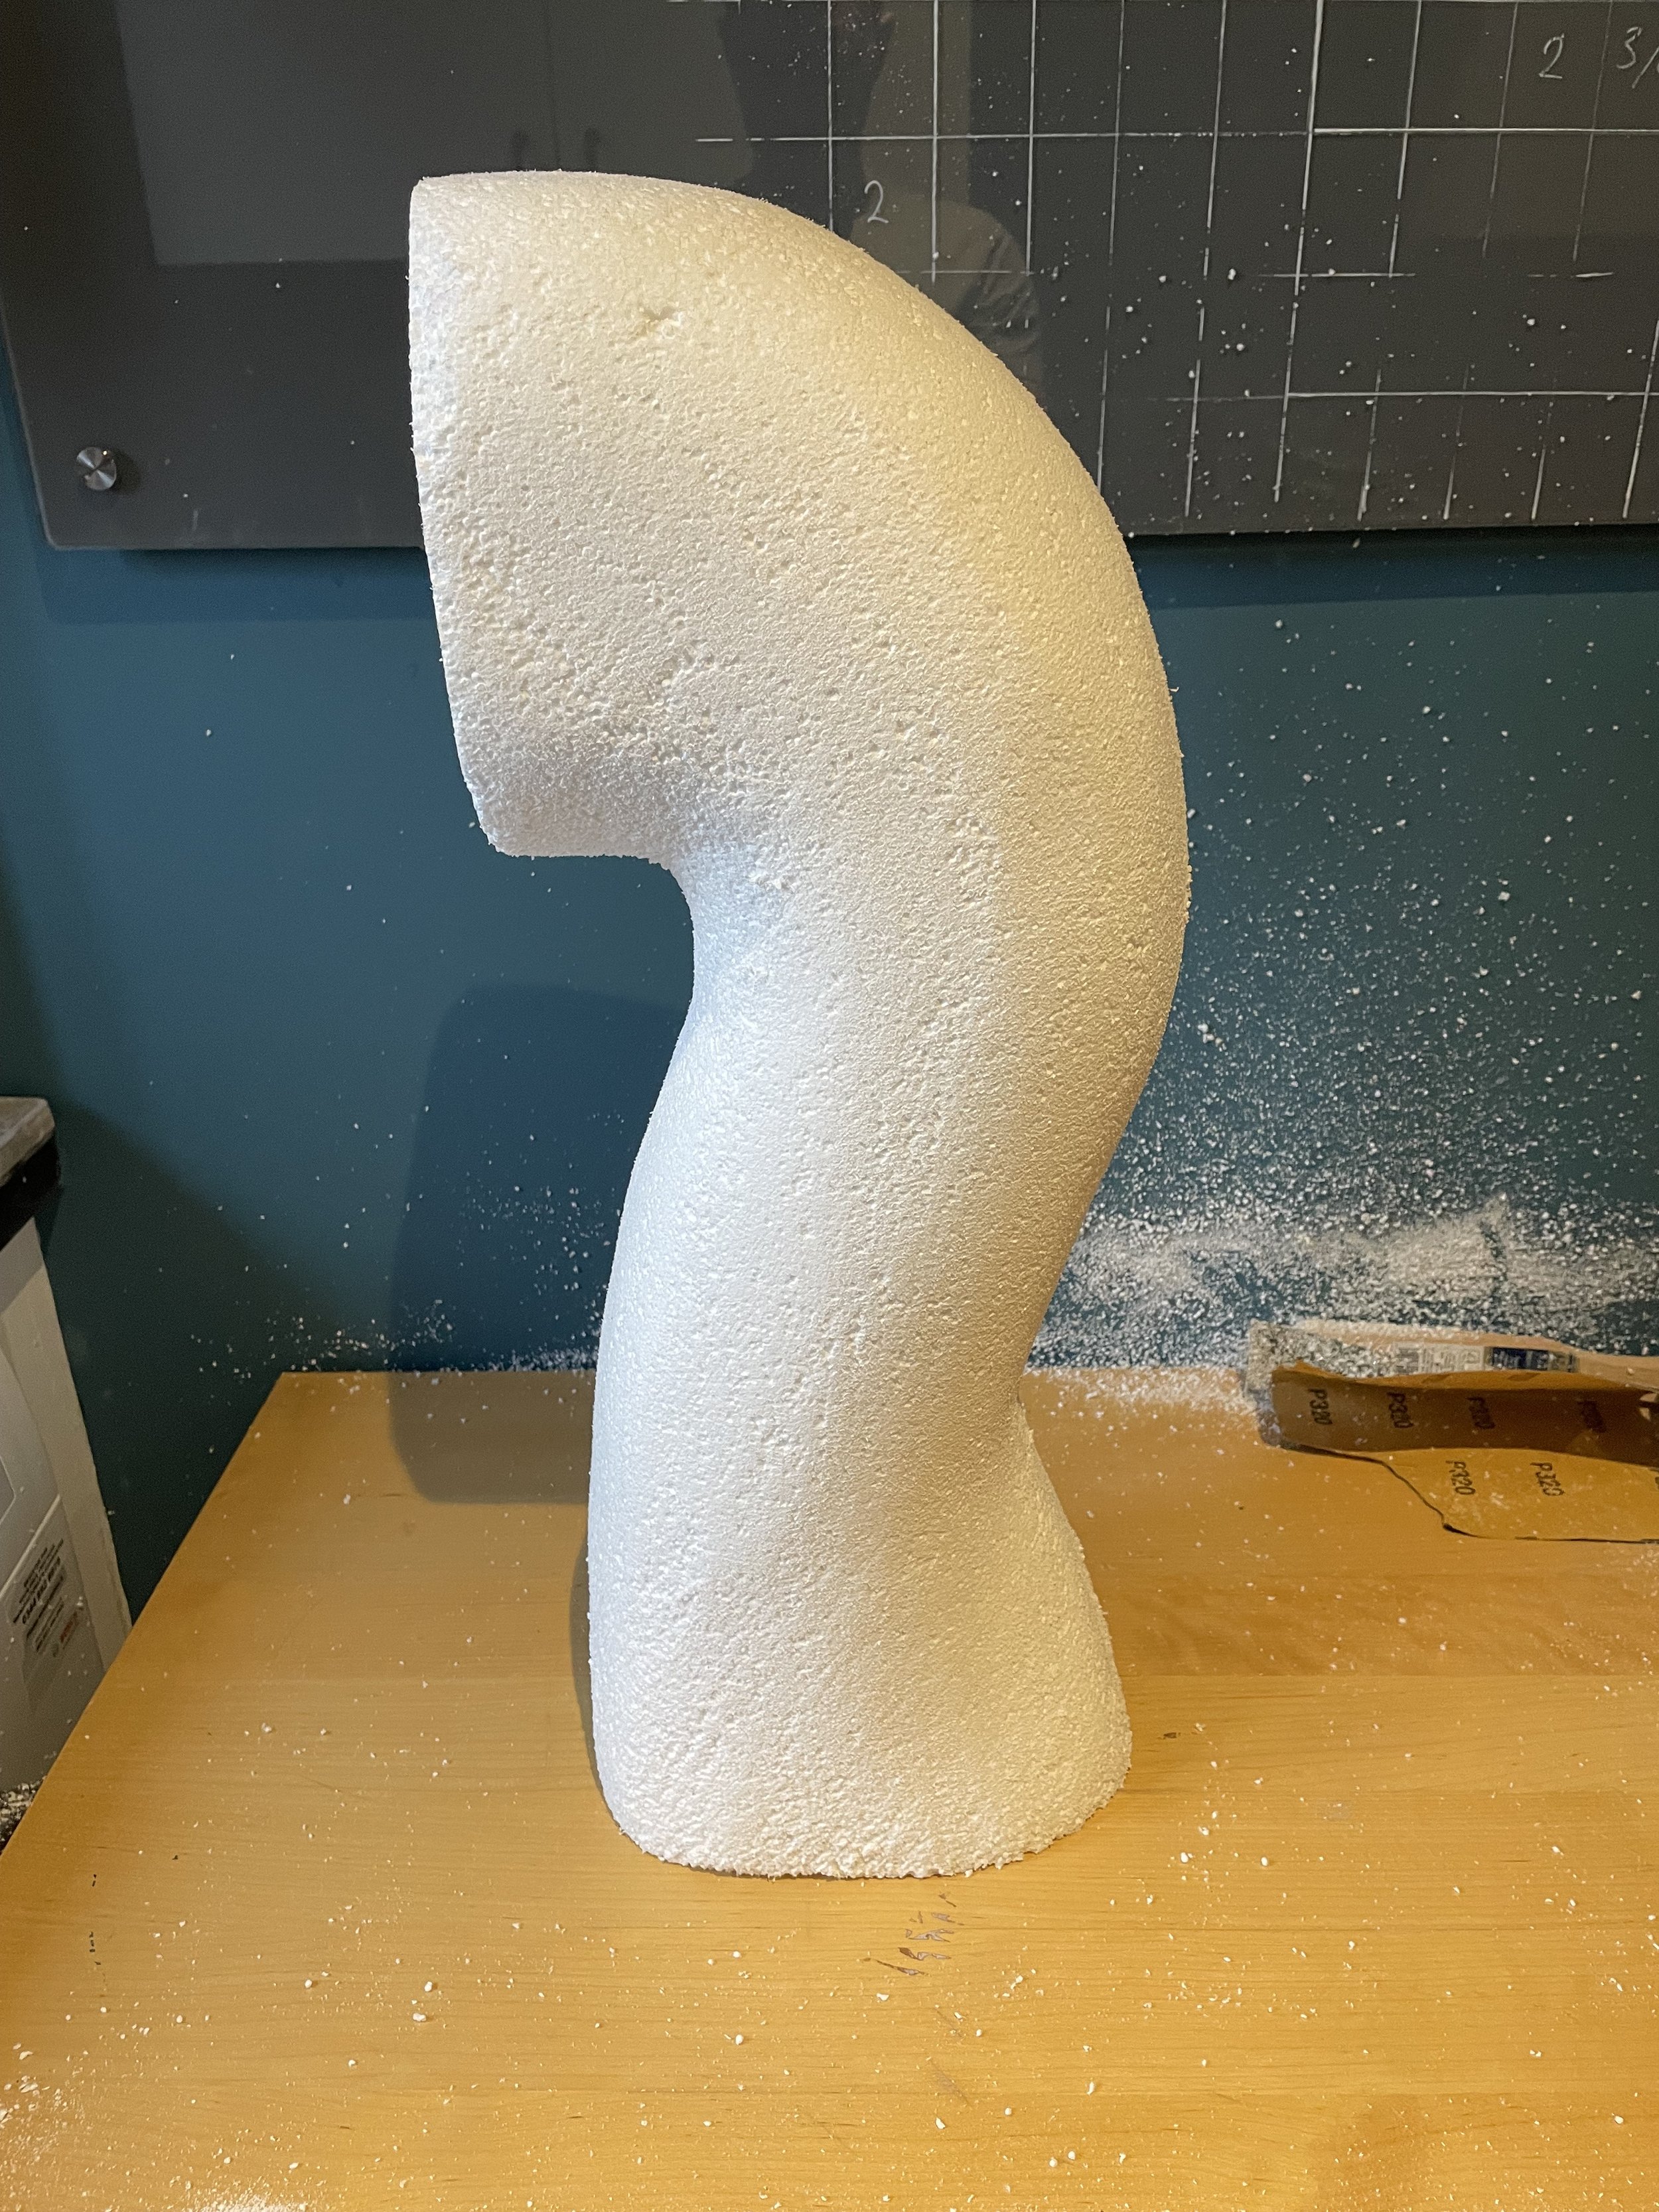
The shapes and features were refined using a wire brush and sanded smooth.
Refining the two head crests with the wire brush and sanding whilst still attached as part of the head kept causing them to break, so they were re-sculpted out of separate pieces, which also allowed them to be re-sized to better proportions. They were re-attached to the head with expanding foam and all pieces assembled to check for fit & proportions.
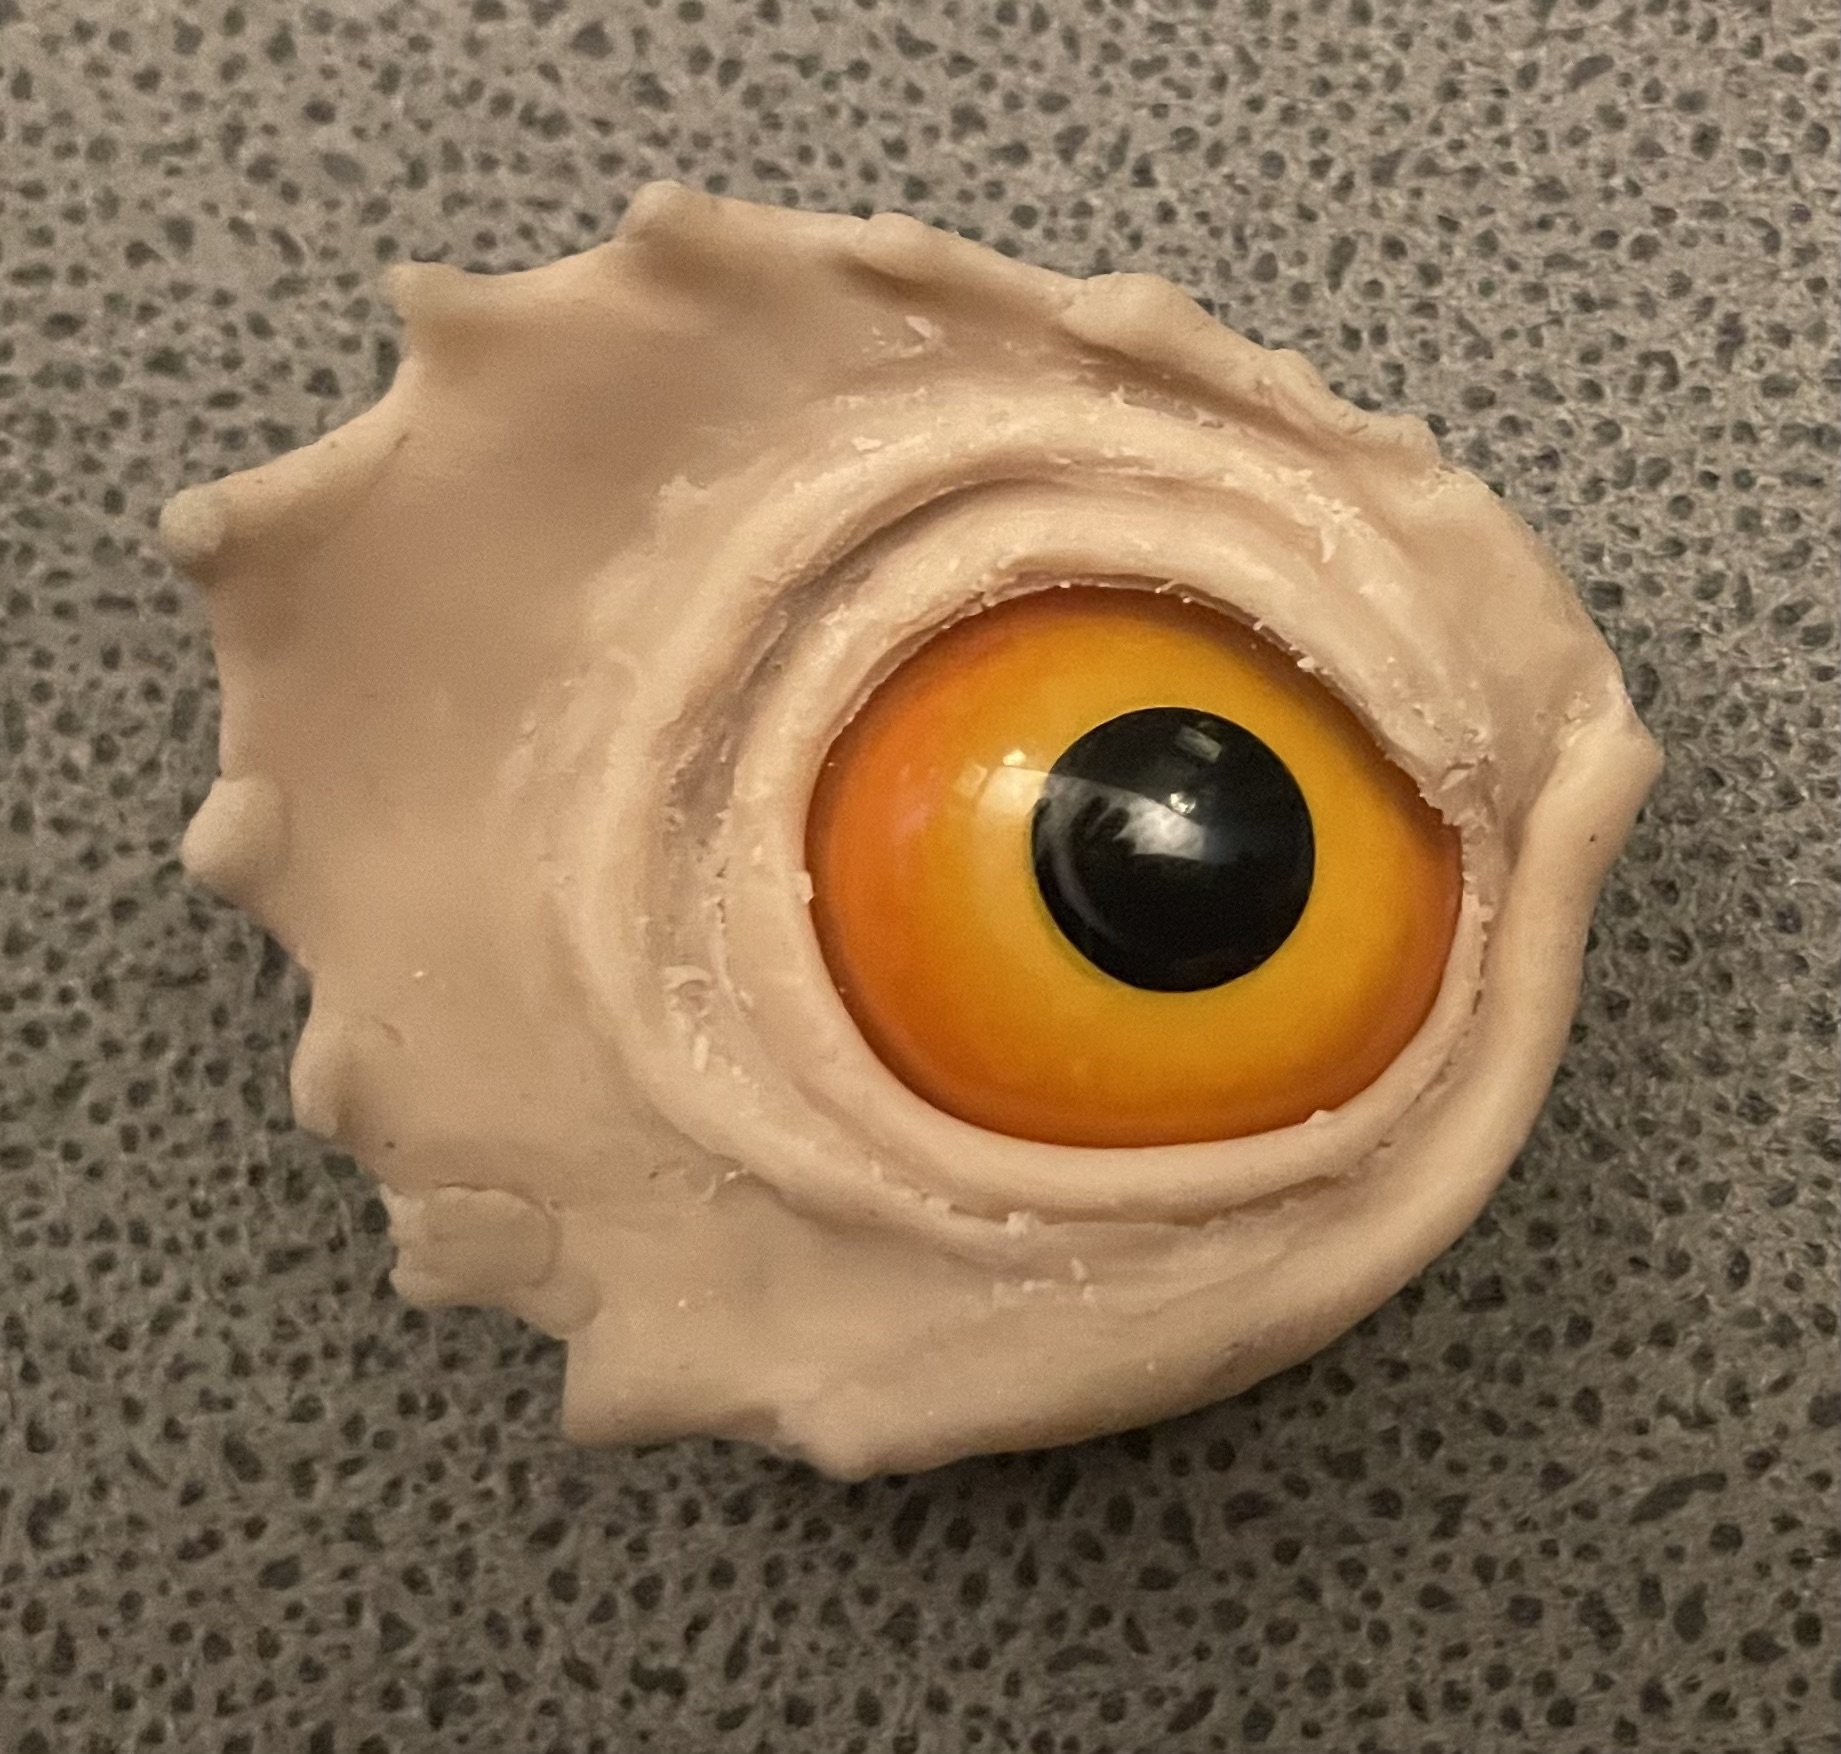
Using polymer clay, different styles of eyes were tried out for size and scale
The style with more ridges behind the eye was closer to the reference images, so pieces were created in poly and fixed to the face to sculpt in the eyes at a later stage.
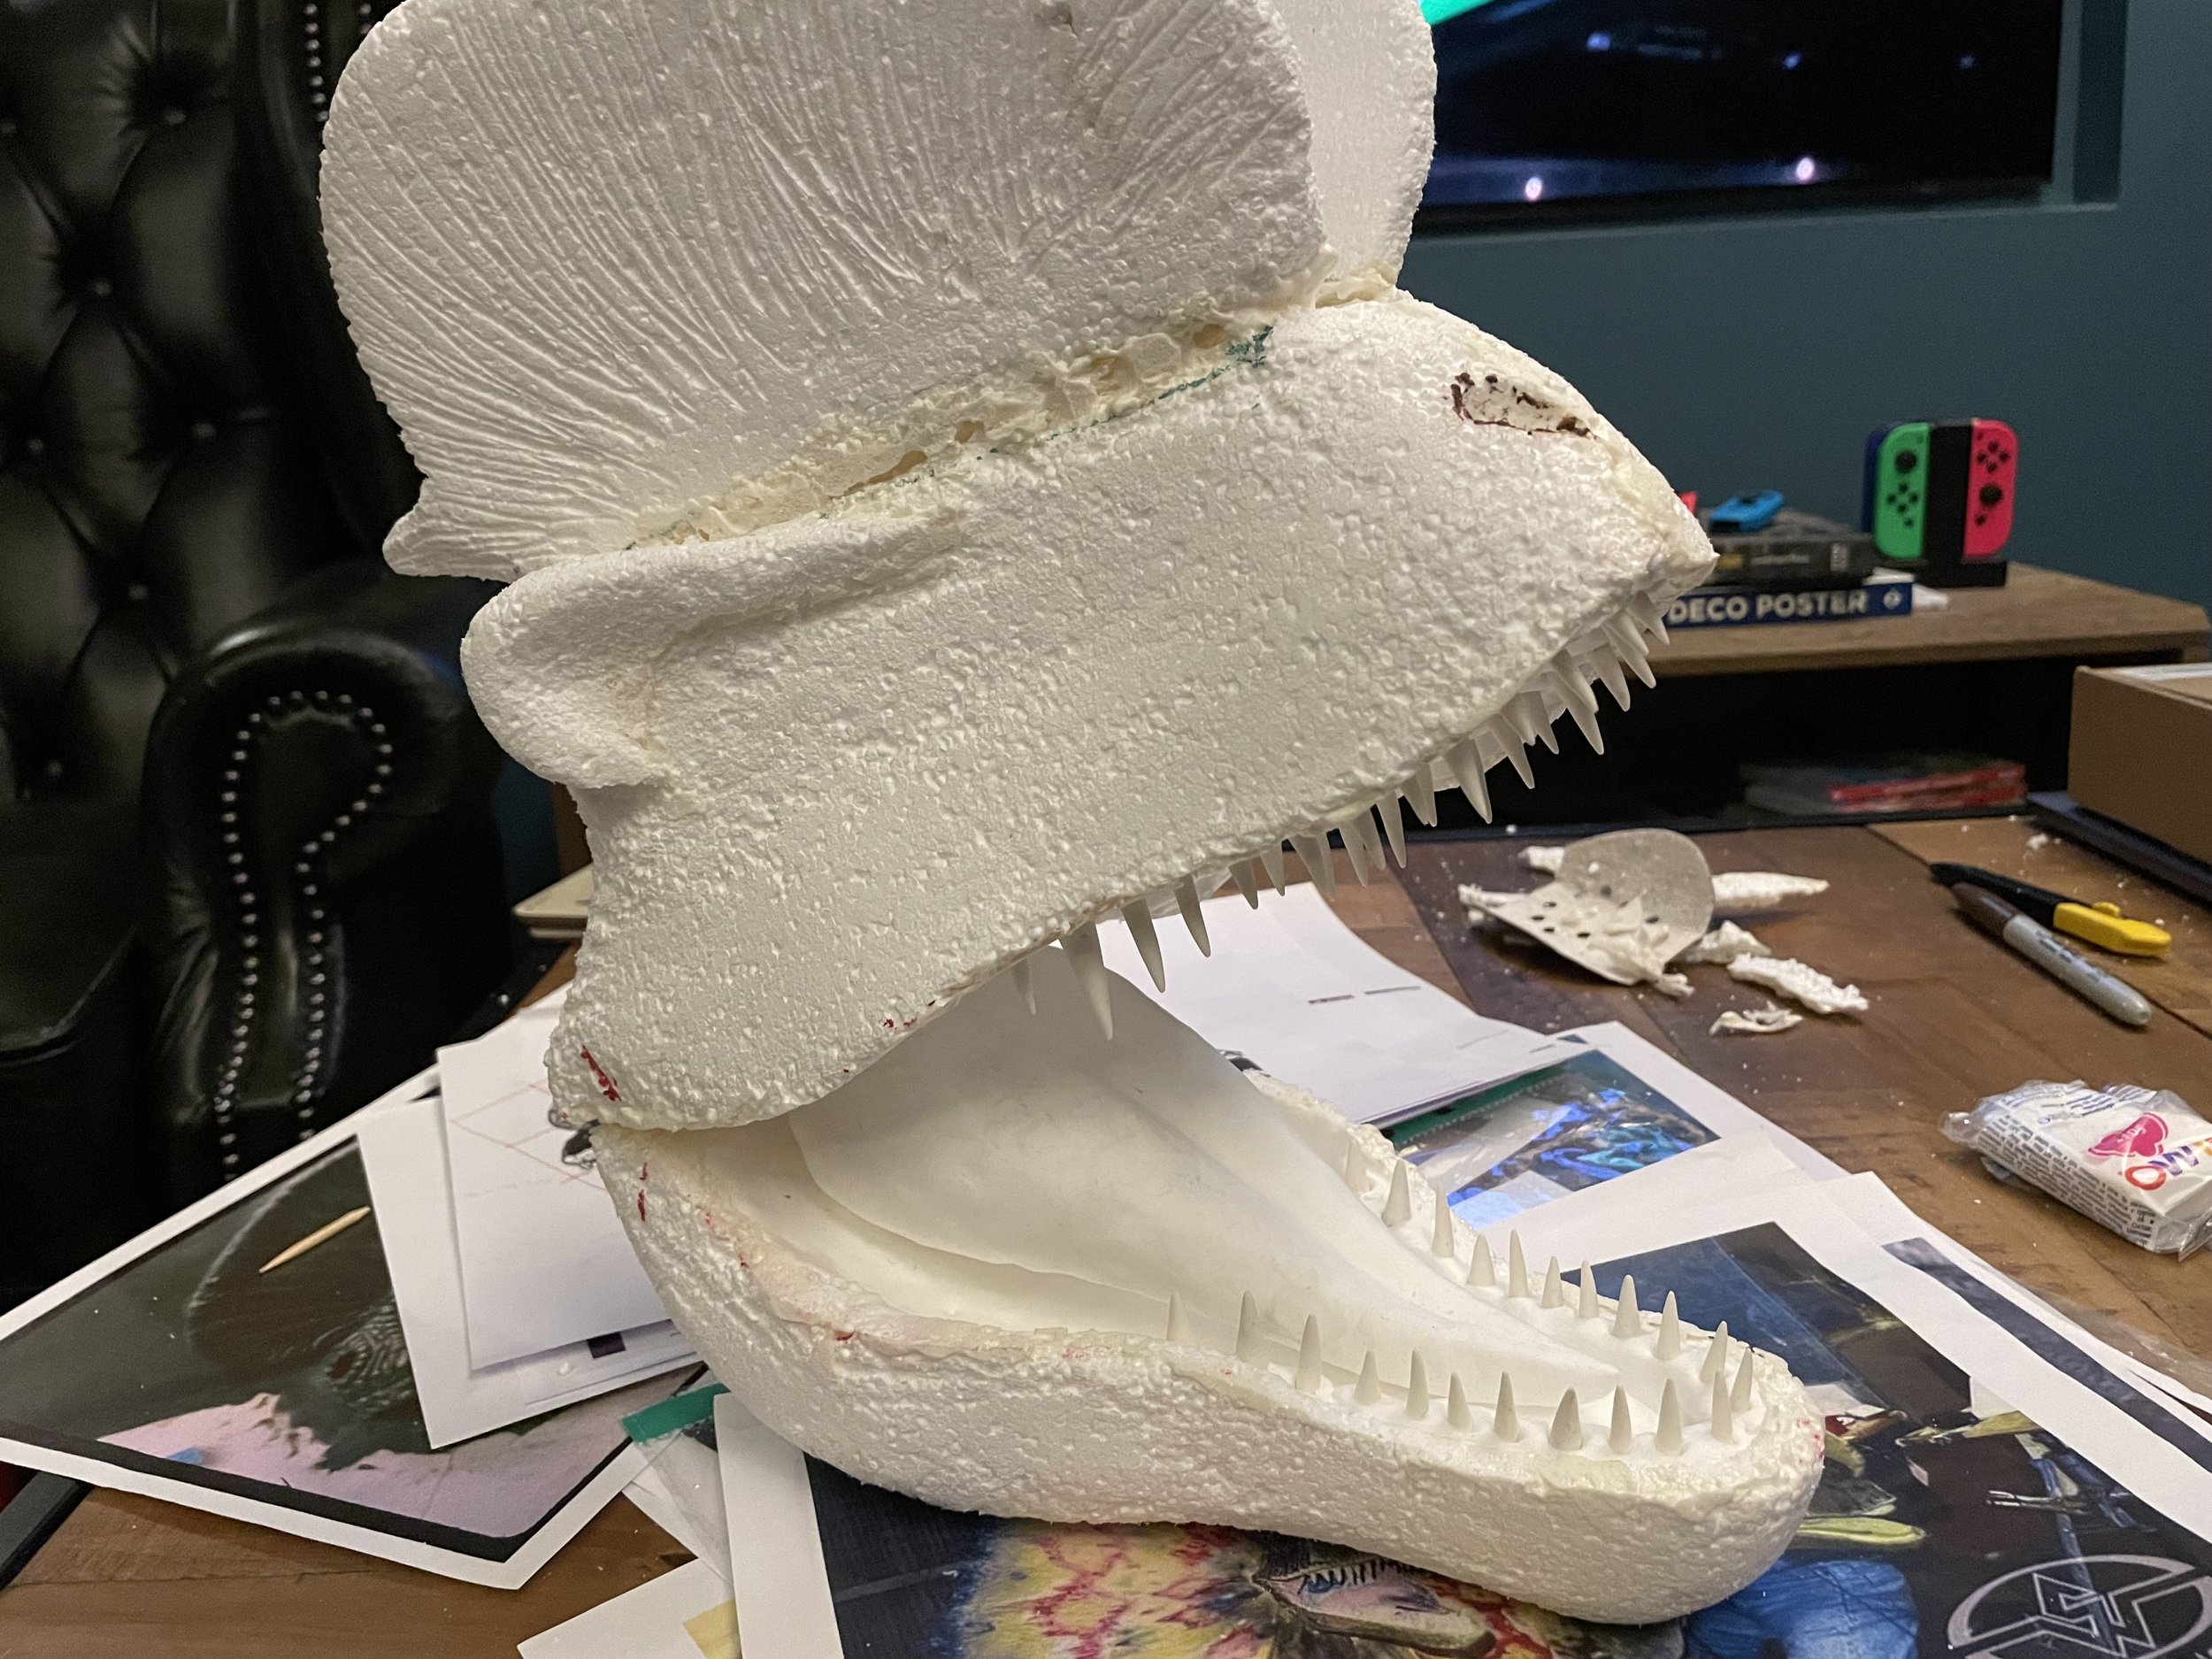
Constantly comparing with the reference images, I wasn’t happy with the angle & proportion of the bottom jaw, it was too thick and didn’t look as if it naturally lined up with the top jaw. So it was cut off and a wedge of poly inserted to allow the jaws to close and their edges align. The proportions were then refined with more wire brush work & sanding. Working with a detachable bottom jaw would also make the next stages for tongue and teeth easier to complete.
With the jaws adjusted, the tongue could be cut, shaped and sanded.
The teeth were shaped in white polymer clay, in pairs and baked to harden.
Foam clay was sculpted into the jaws to create gums where the teeth could be fitted around the tongue in their pairs to create natural-symmetry.
The base of each tooth was hot glued to a cocktail stick. This created a handle to make it easier to dip them in varnish to give them a yellowish tinge and enamel-like shine.
It also made it possible to stand them in a spare piece of poly, marked with if they were top or bottom jaw and their position left & right.
The other advantage of standing them up to dry meant the varnish ran down the tooth, leaving a darker colour and more authentic look around the base.
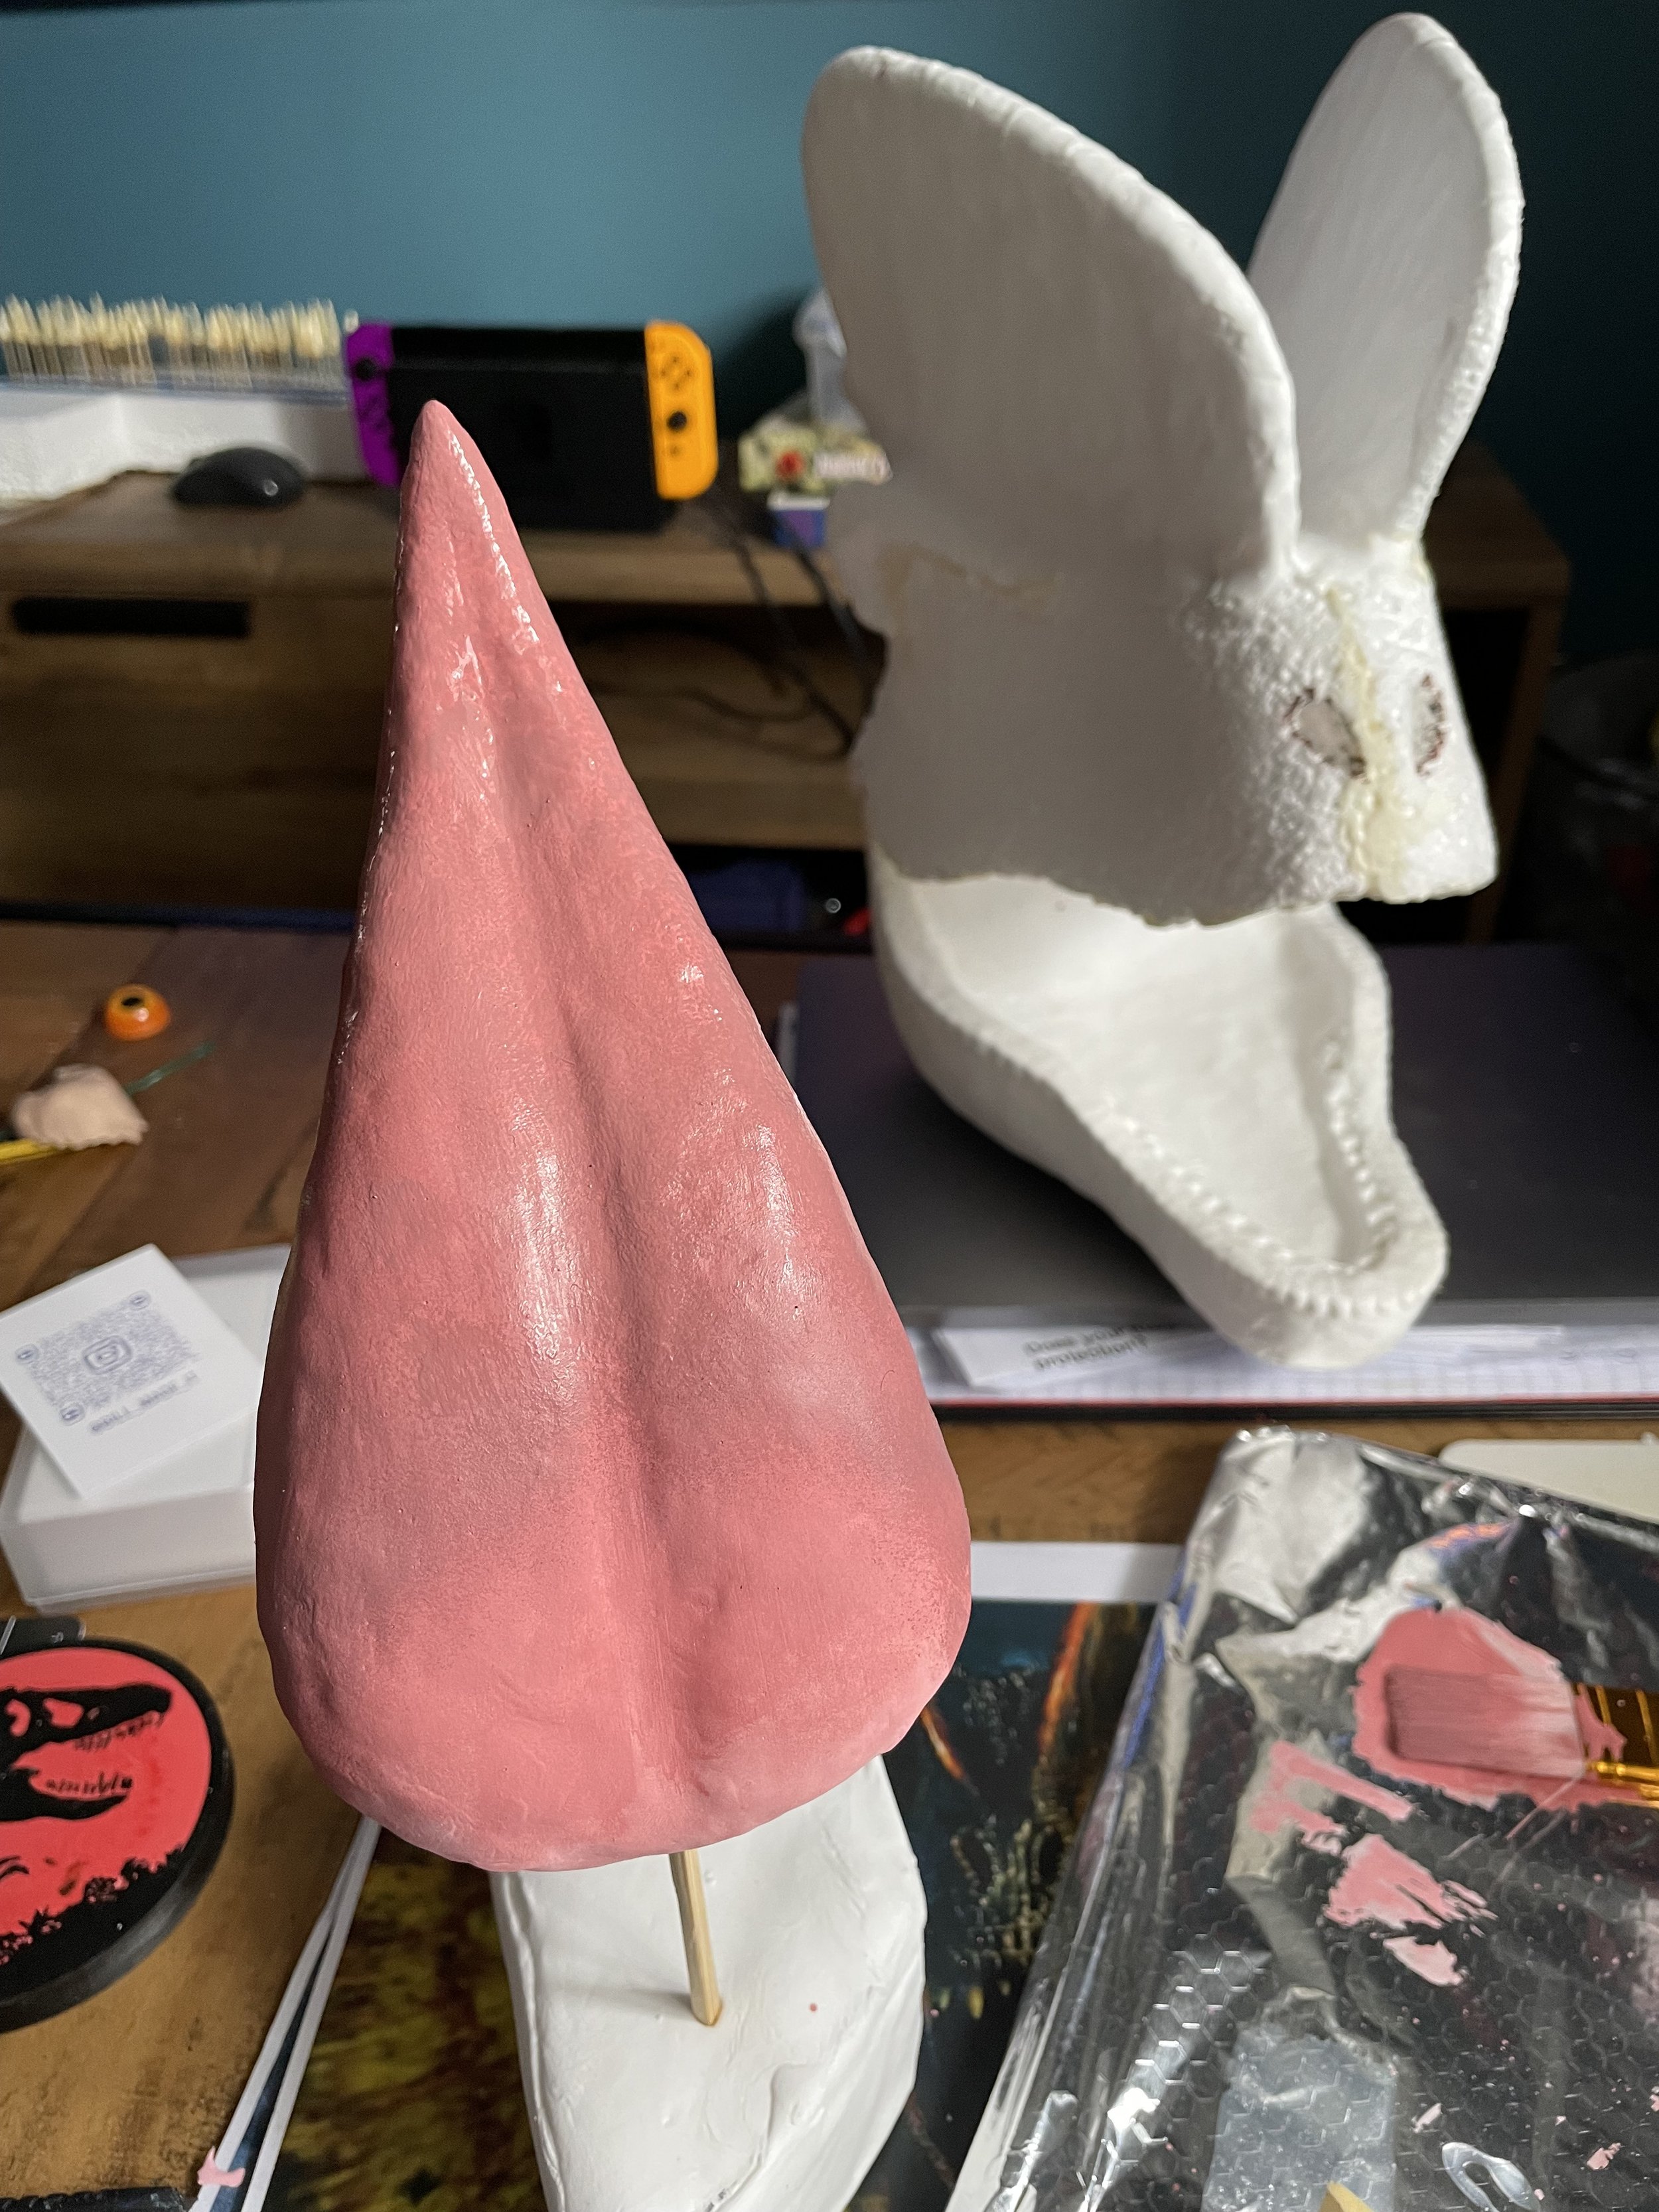
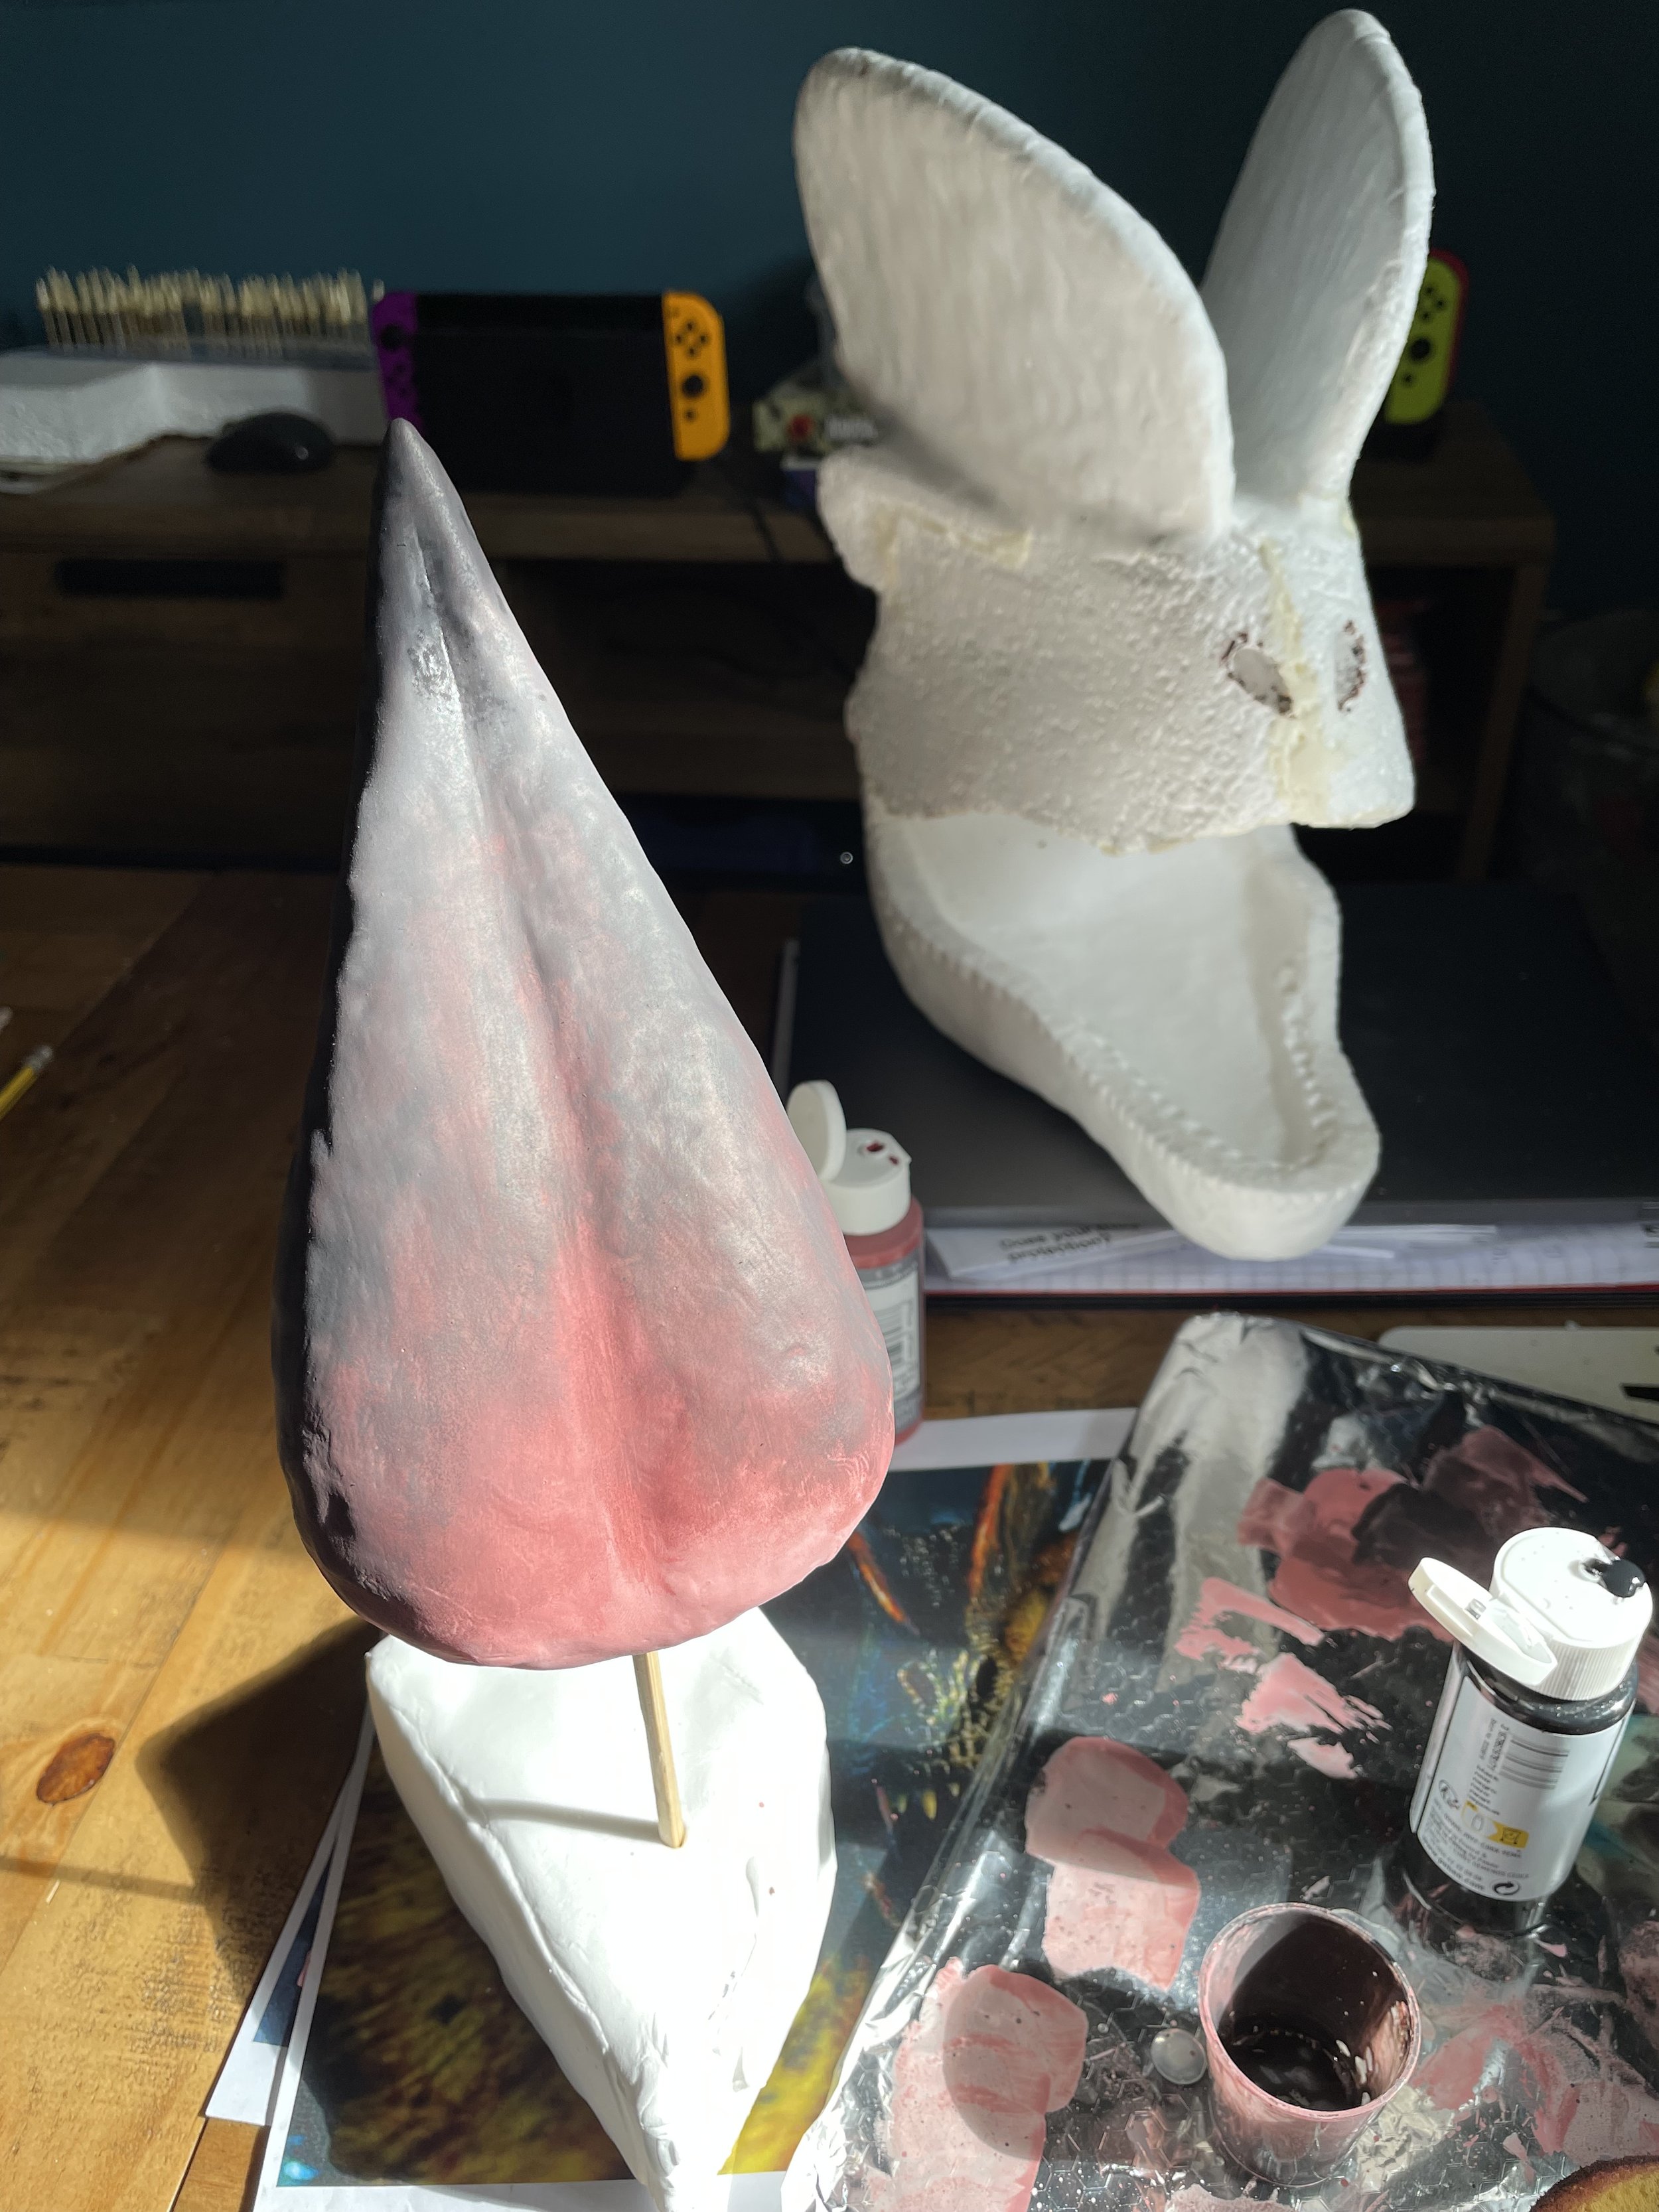
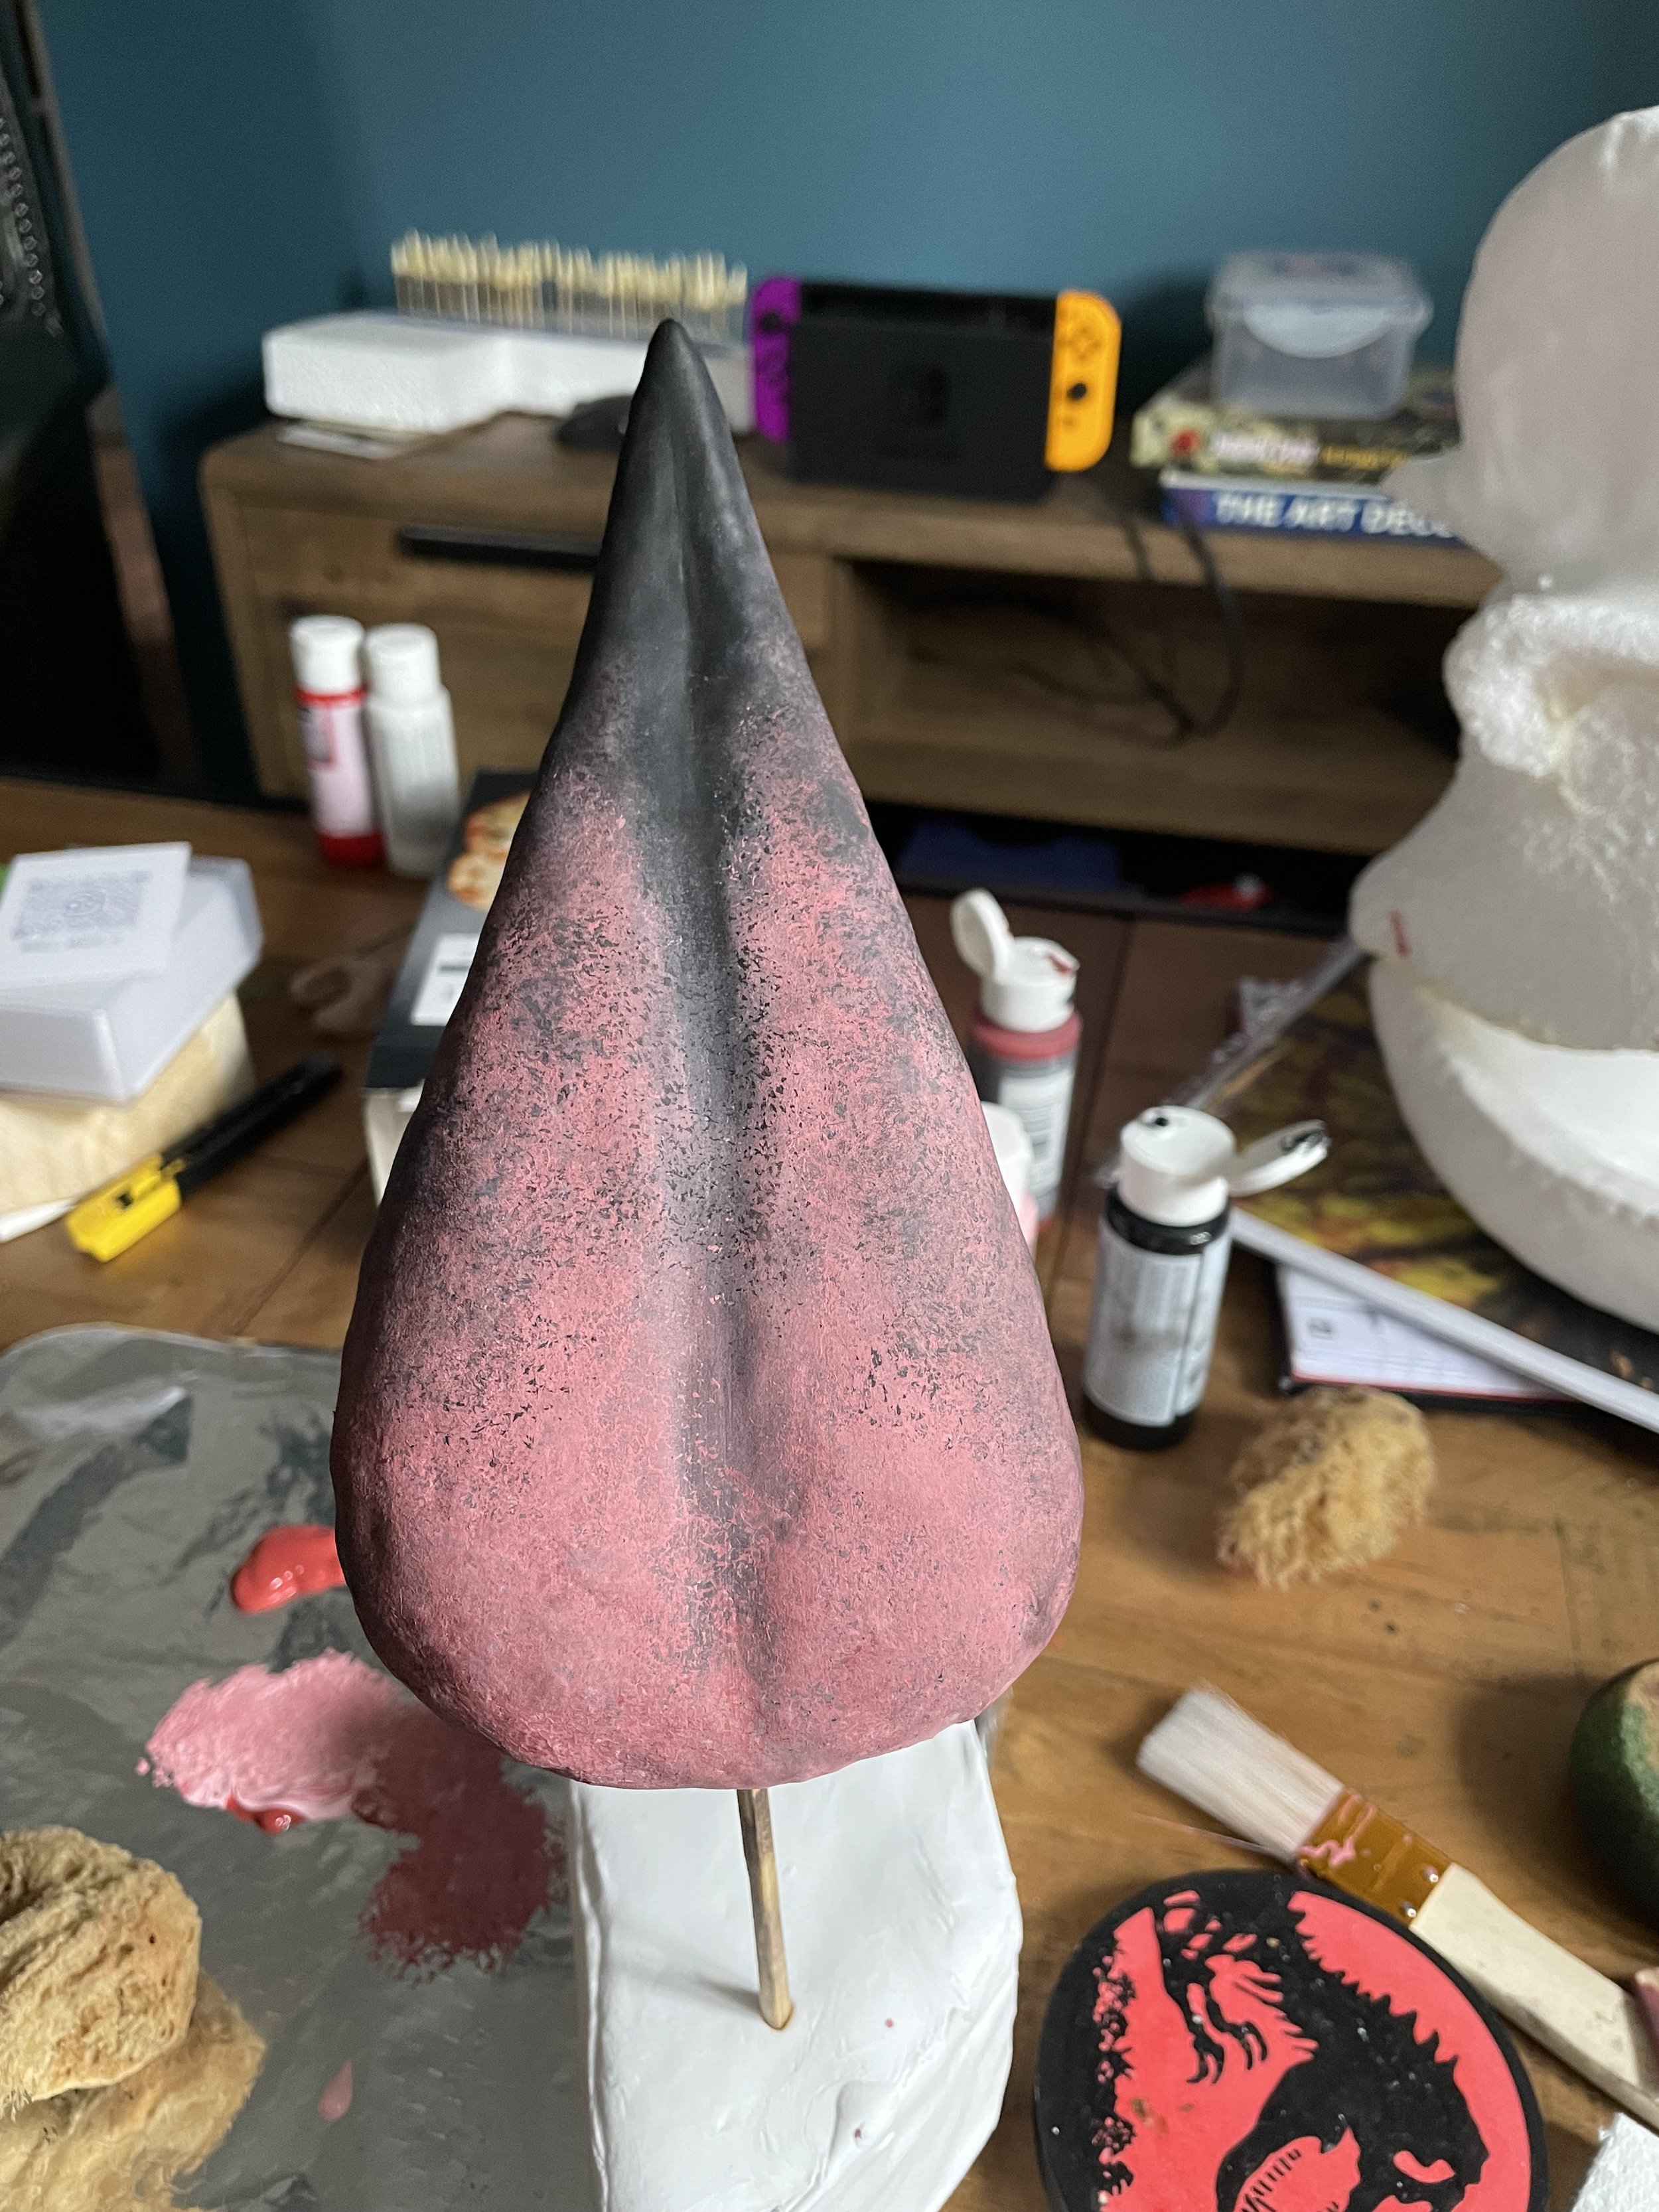
Using varnish for the teeth gave me an idea of also using it on the tongue to make it look wet. It also gave me a chance to play with painting foam clay, which the whole Dilophosaurus would be coated & sealed with, a material I was using for the first time.
Below you can see the various stages of building up colours on the foam clay-coated tongue, until finally the varnish coat for that wet look.
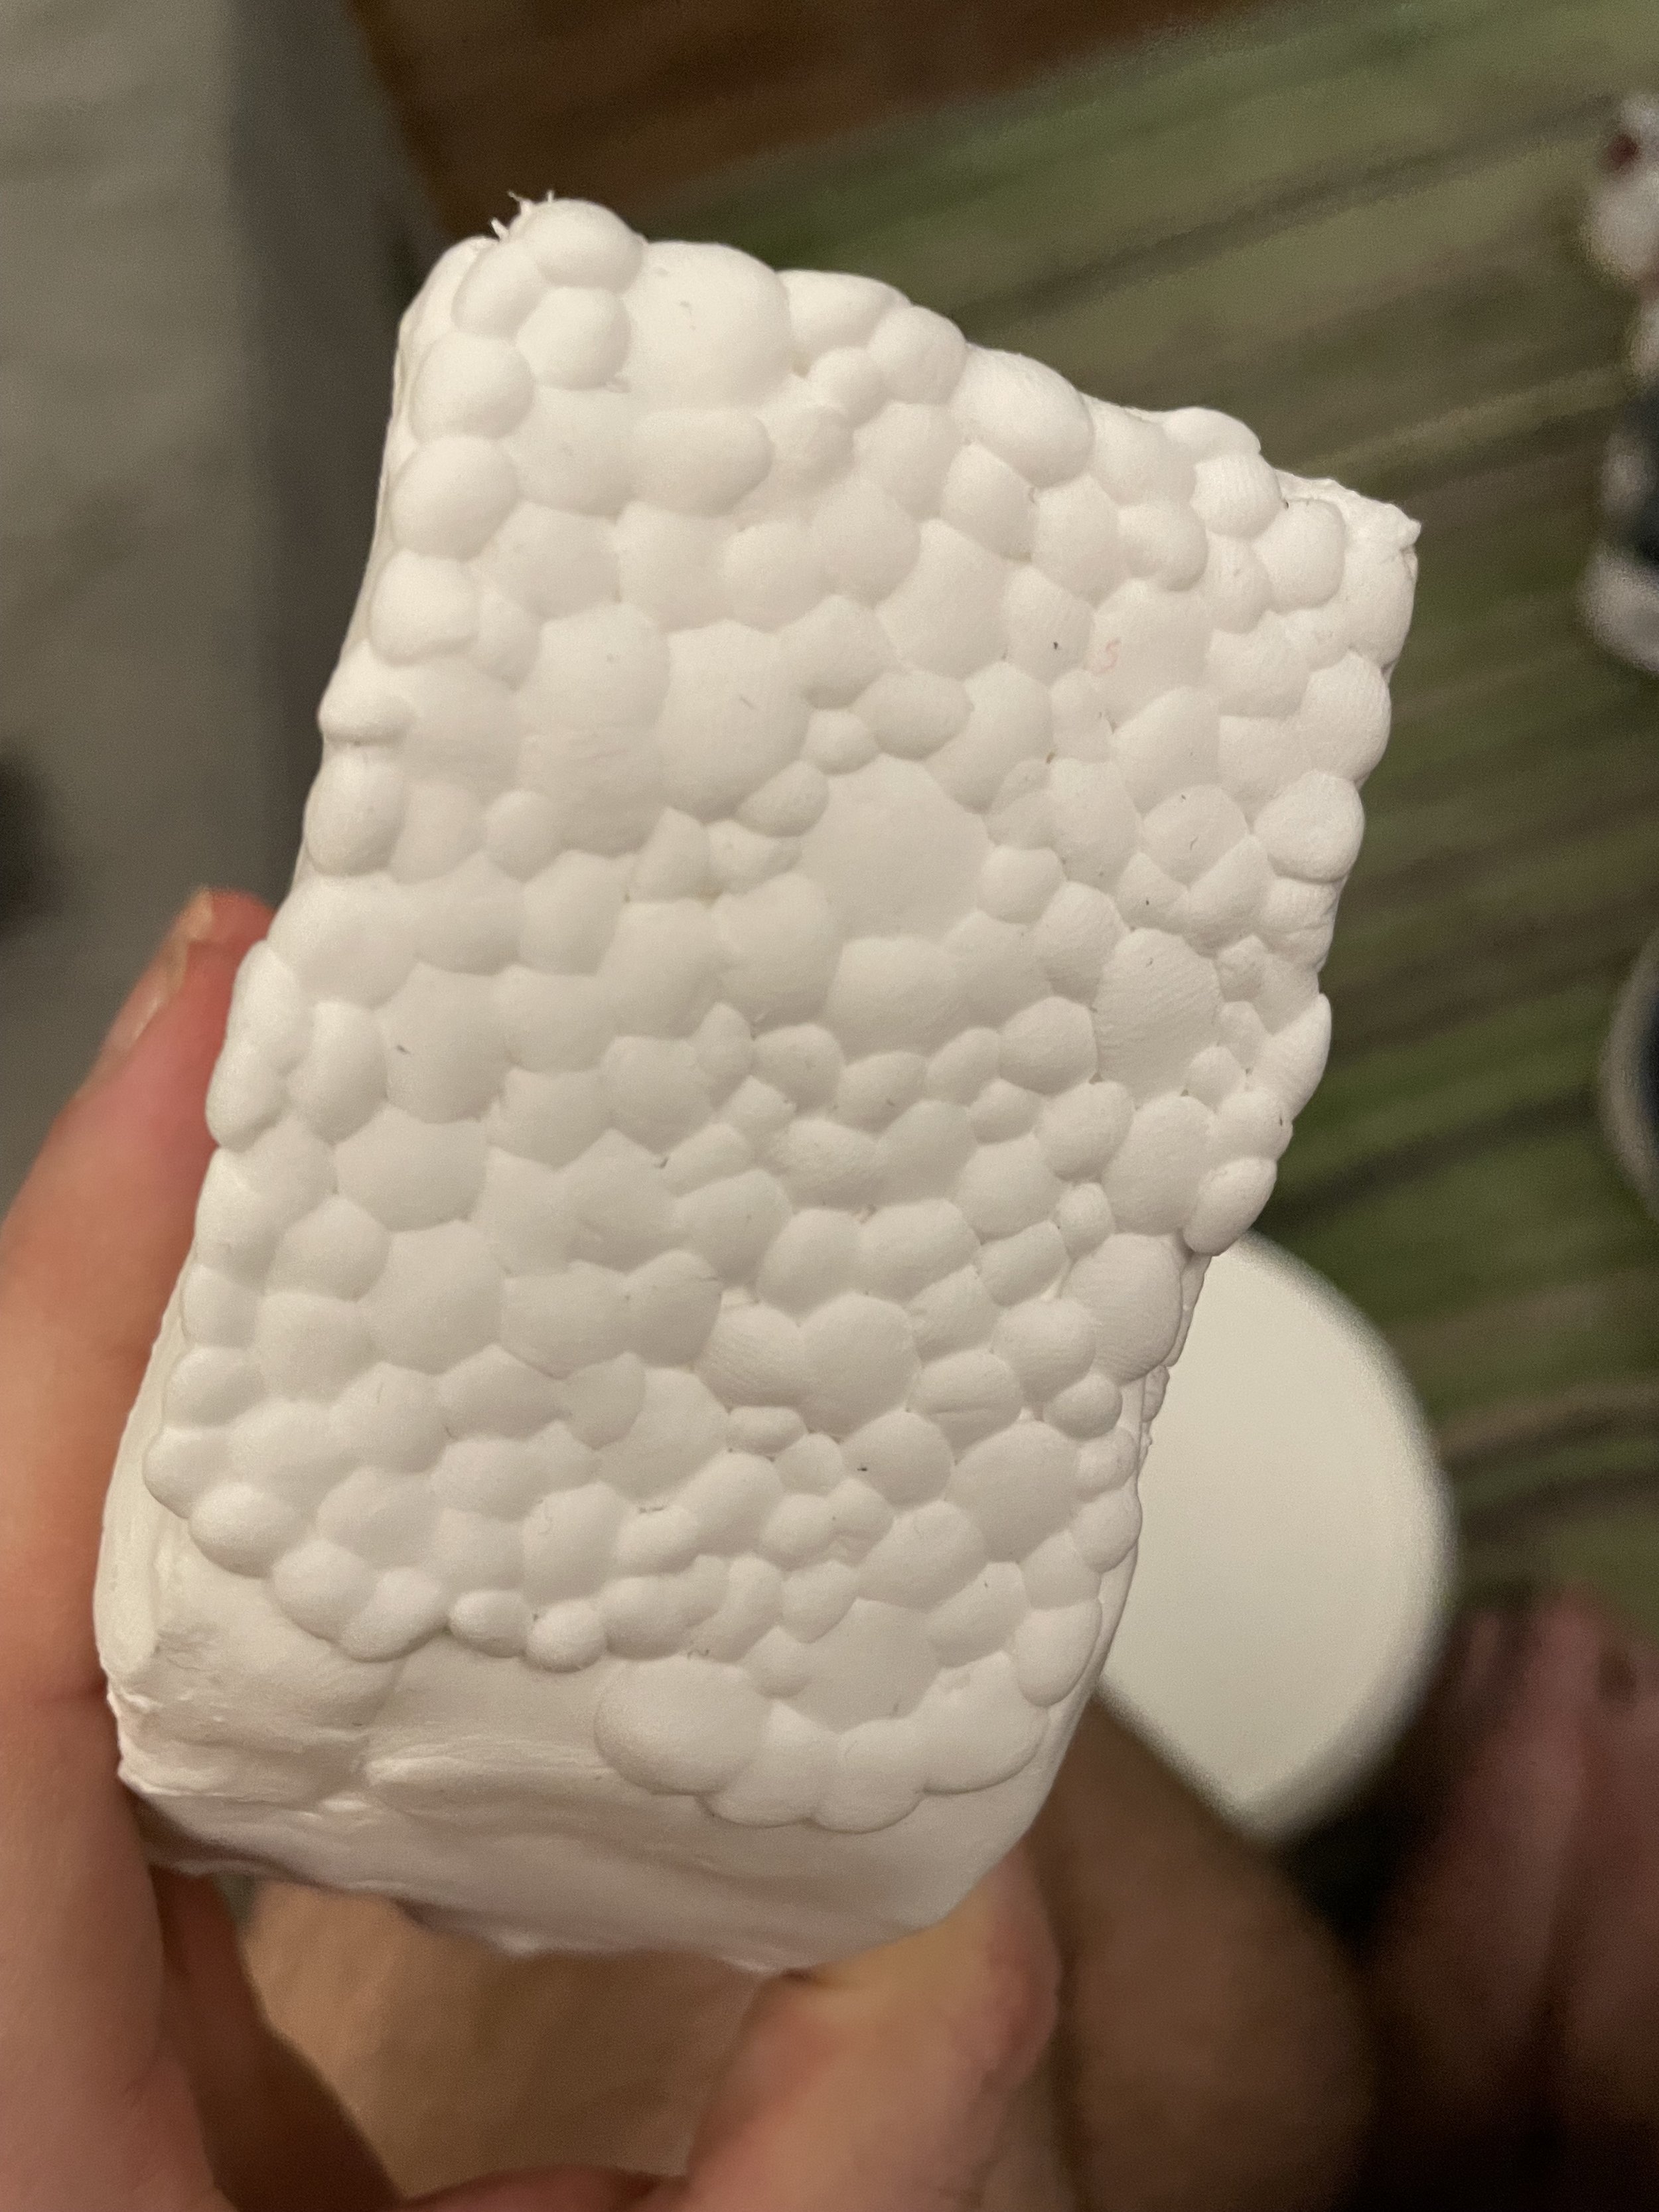
Having not worked with foam clay before, creating the scale texture for the skin required some testing. Once set, foam clay becomes rigid and difficult to carve into with tools and even pyrography pen, so the closest way to replicate the scales was to roll and place them individually. Although this was more time-consuming, the end result looked more authentic. Below you can see the test piece, the bottom jaw with the lip scales and general skin pattern, followed by progress texturing the top jaw and head.
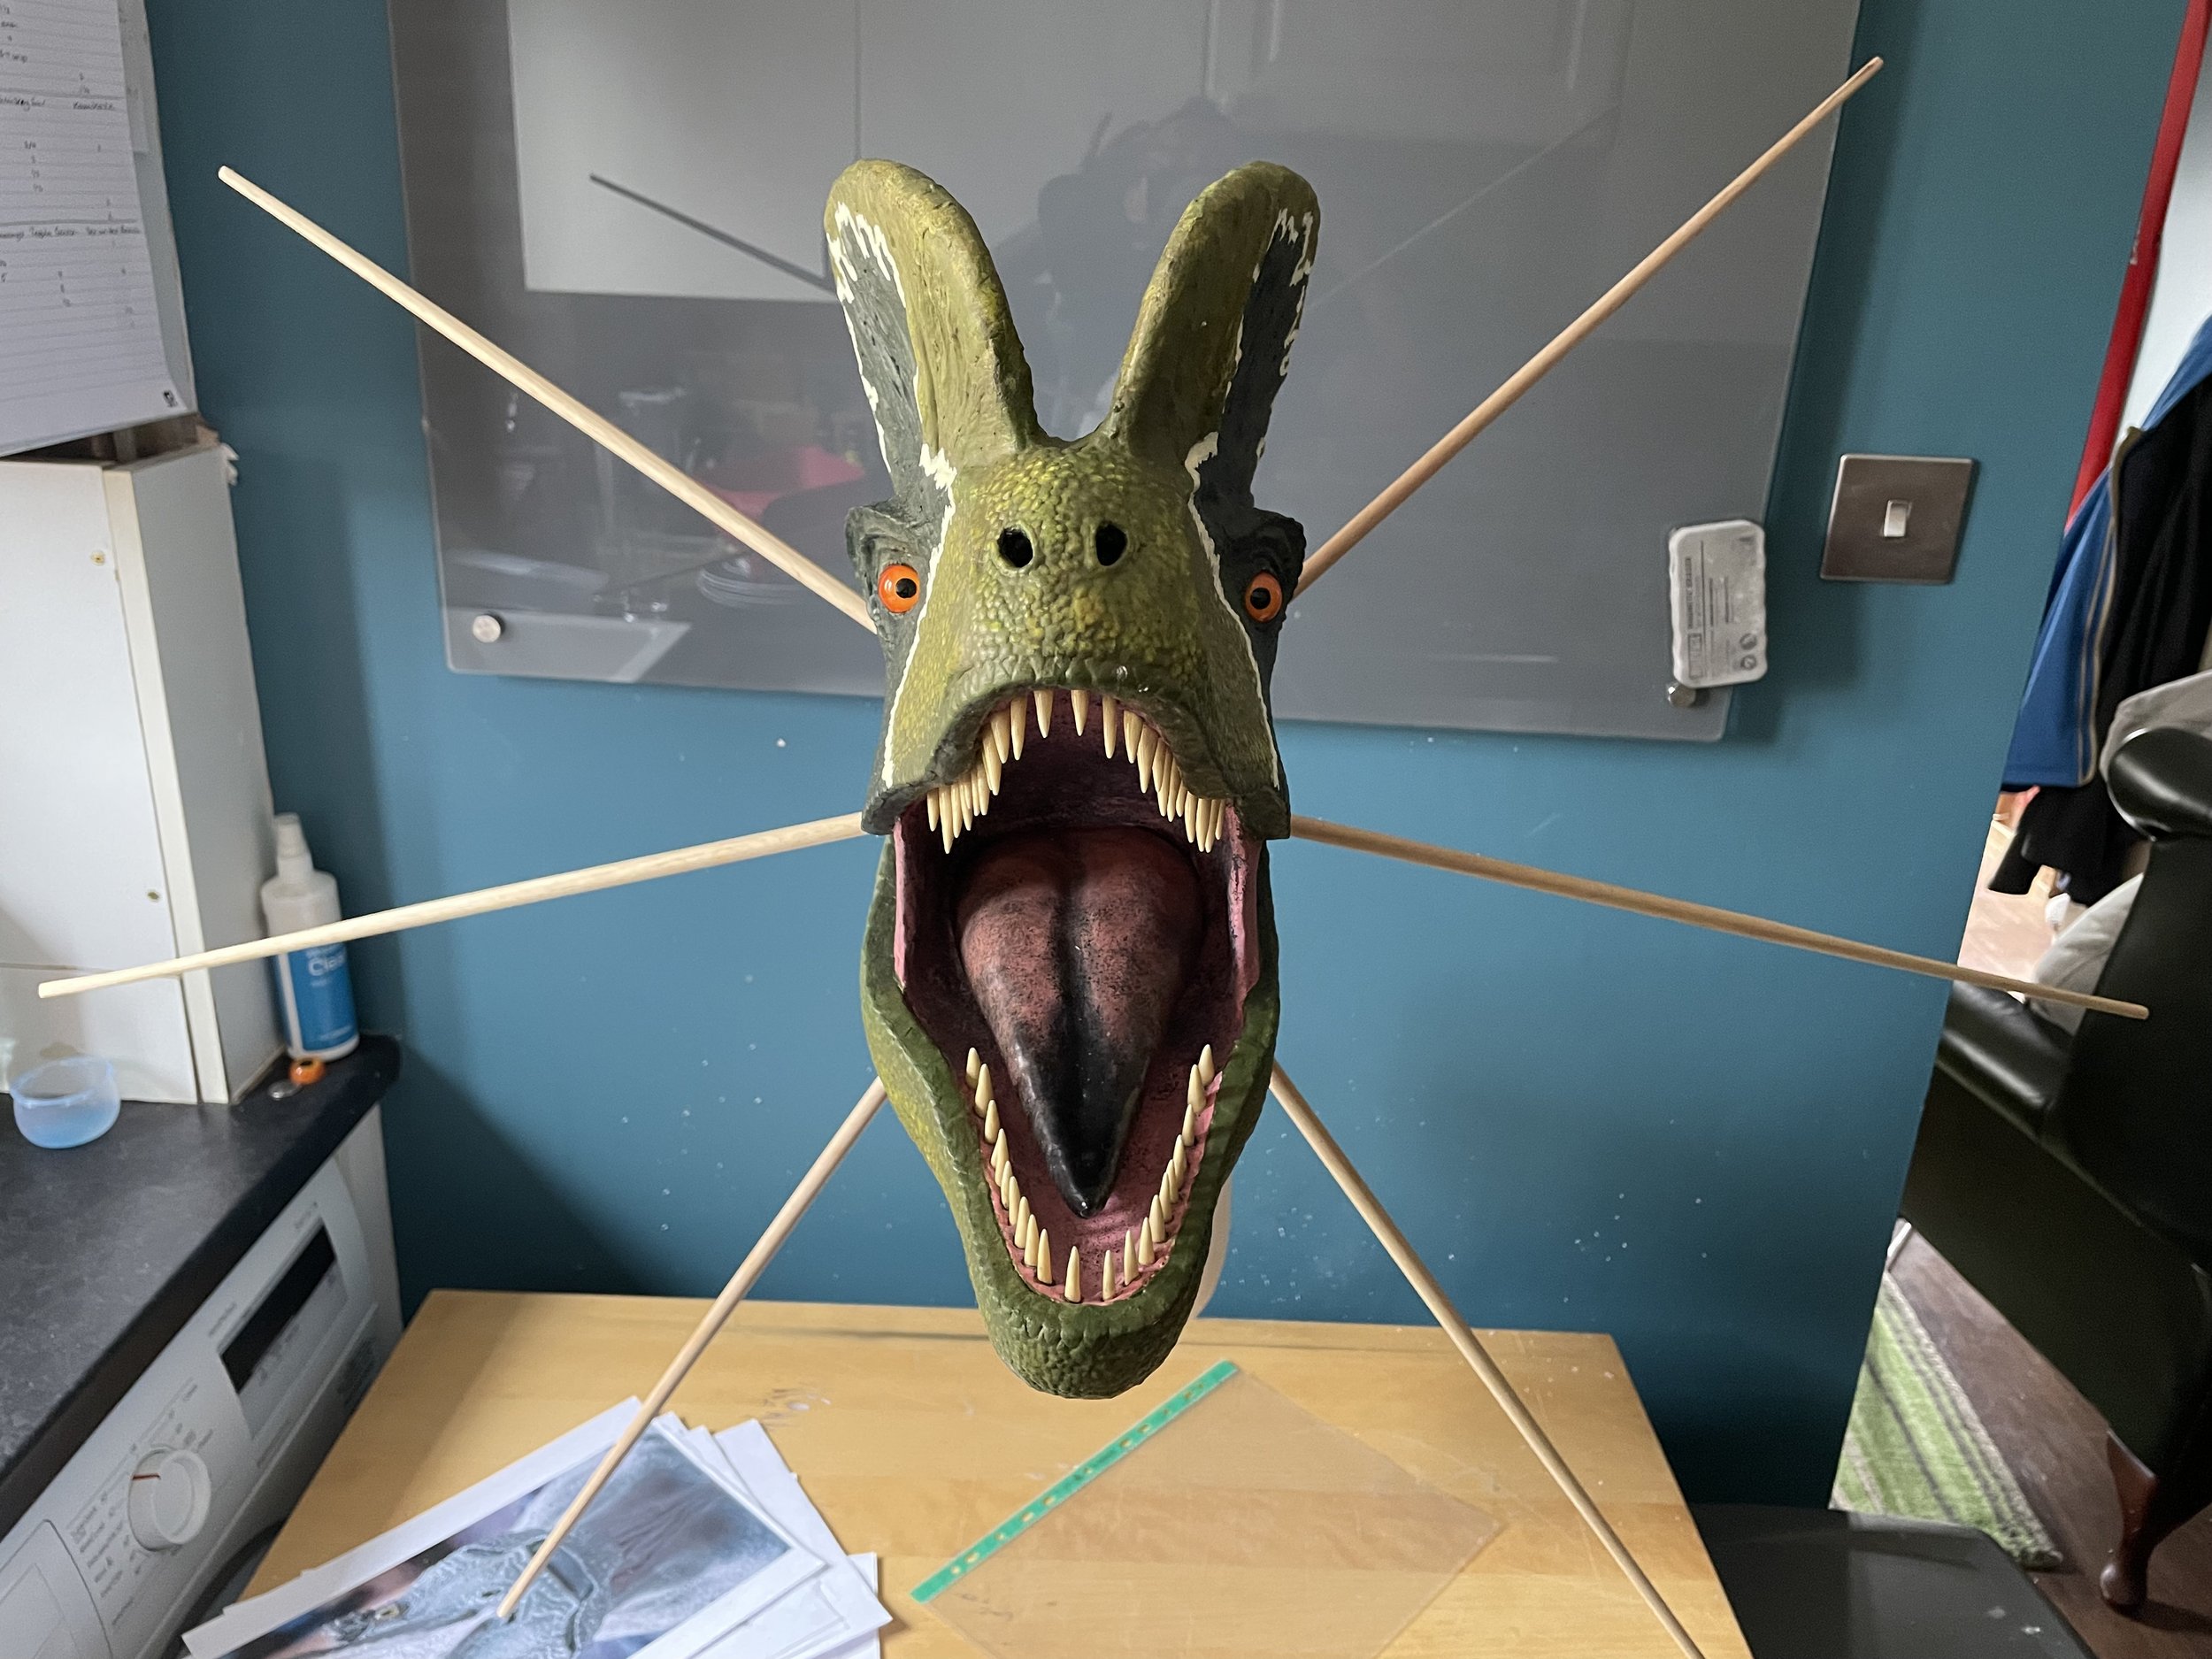
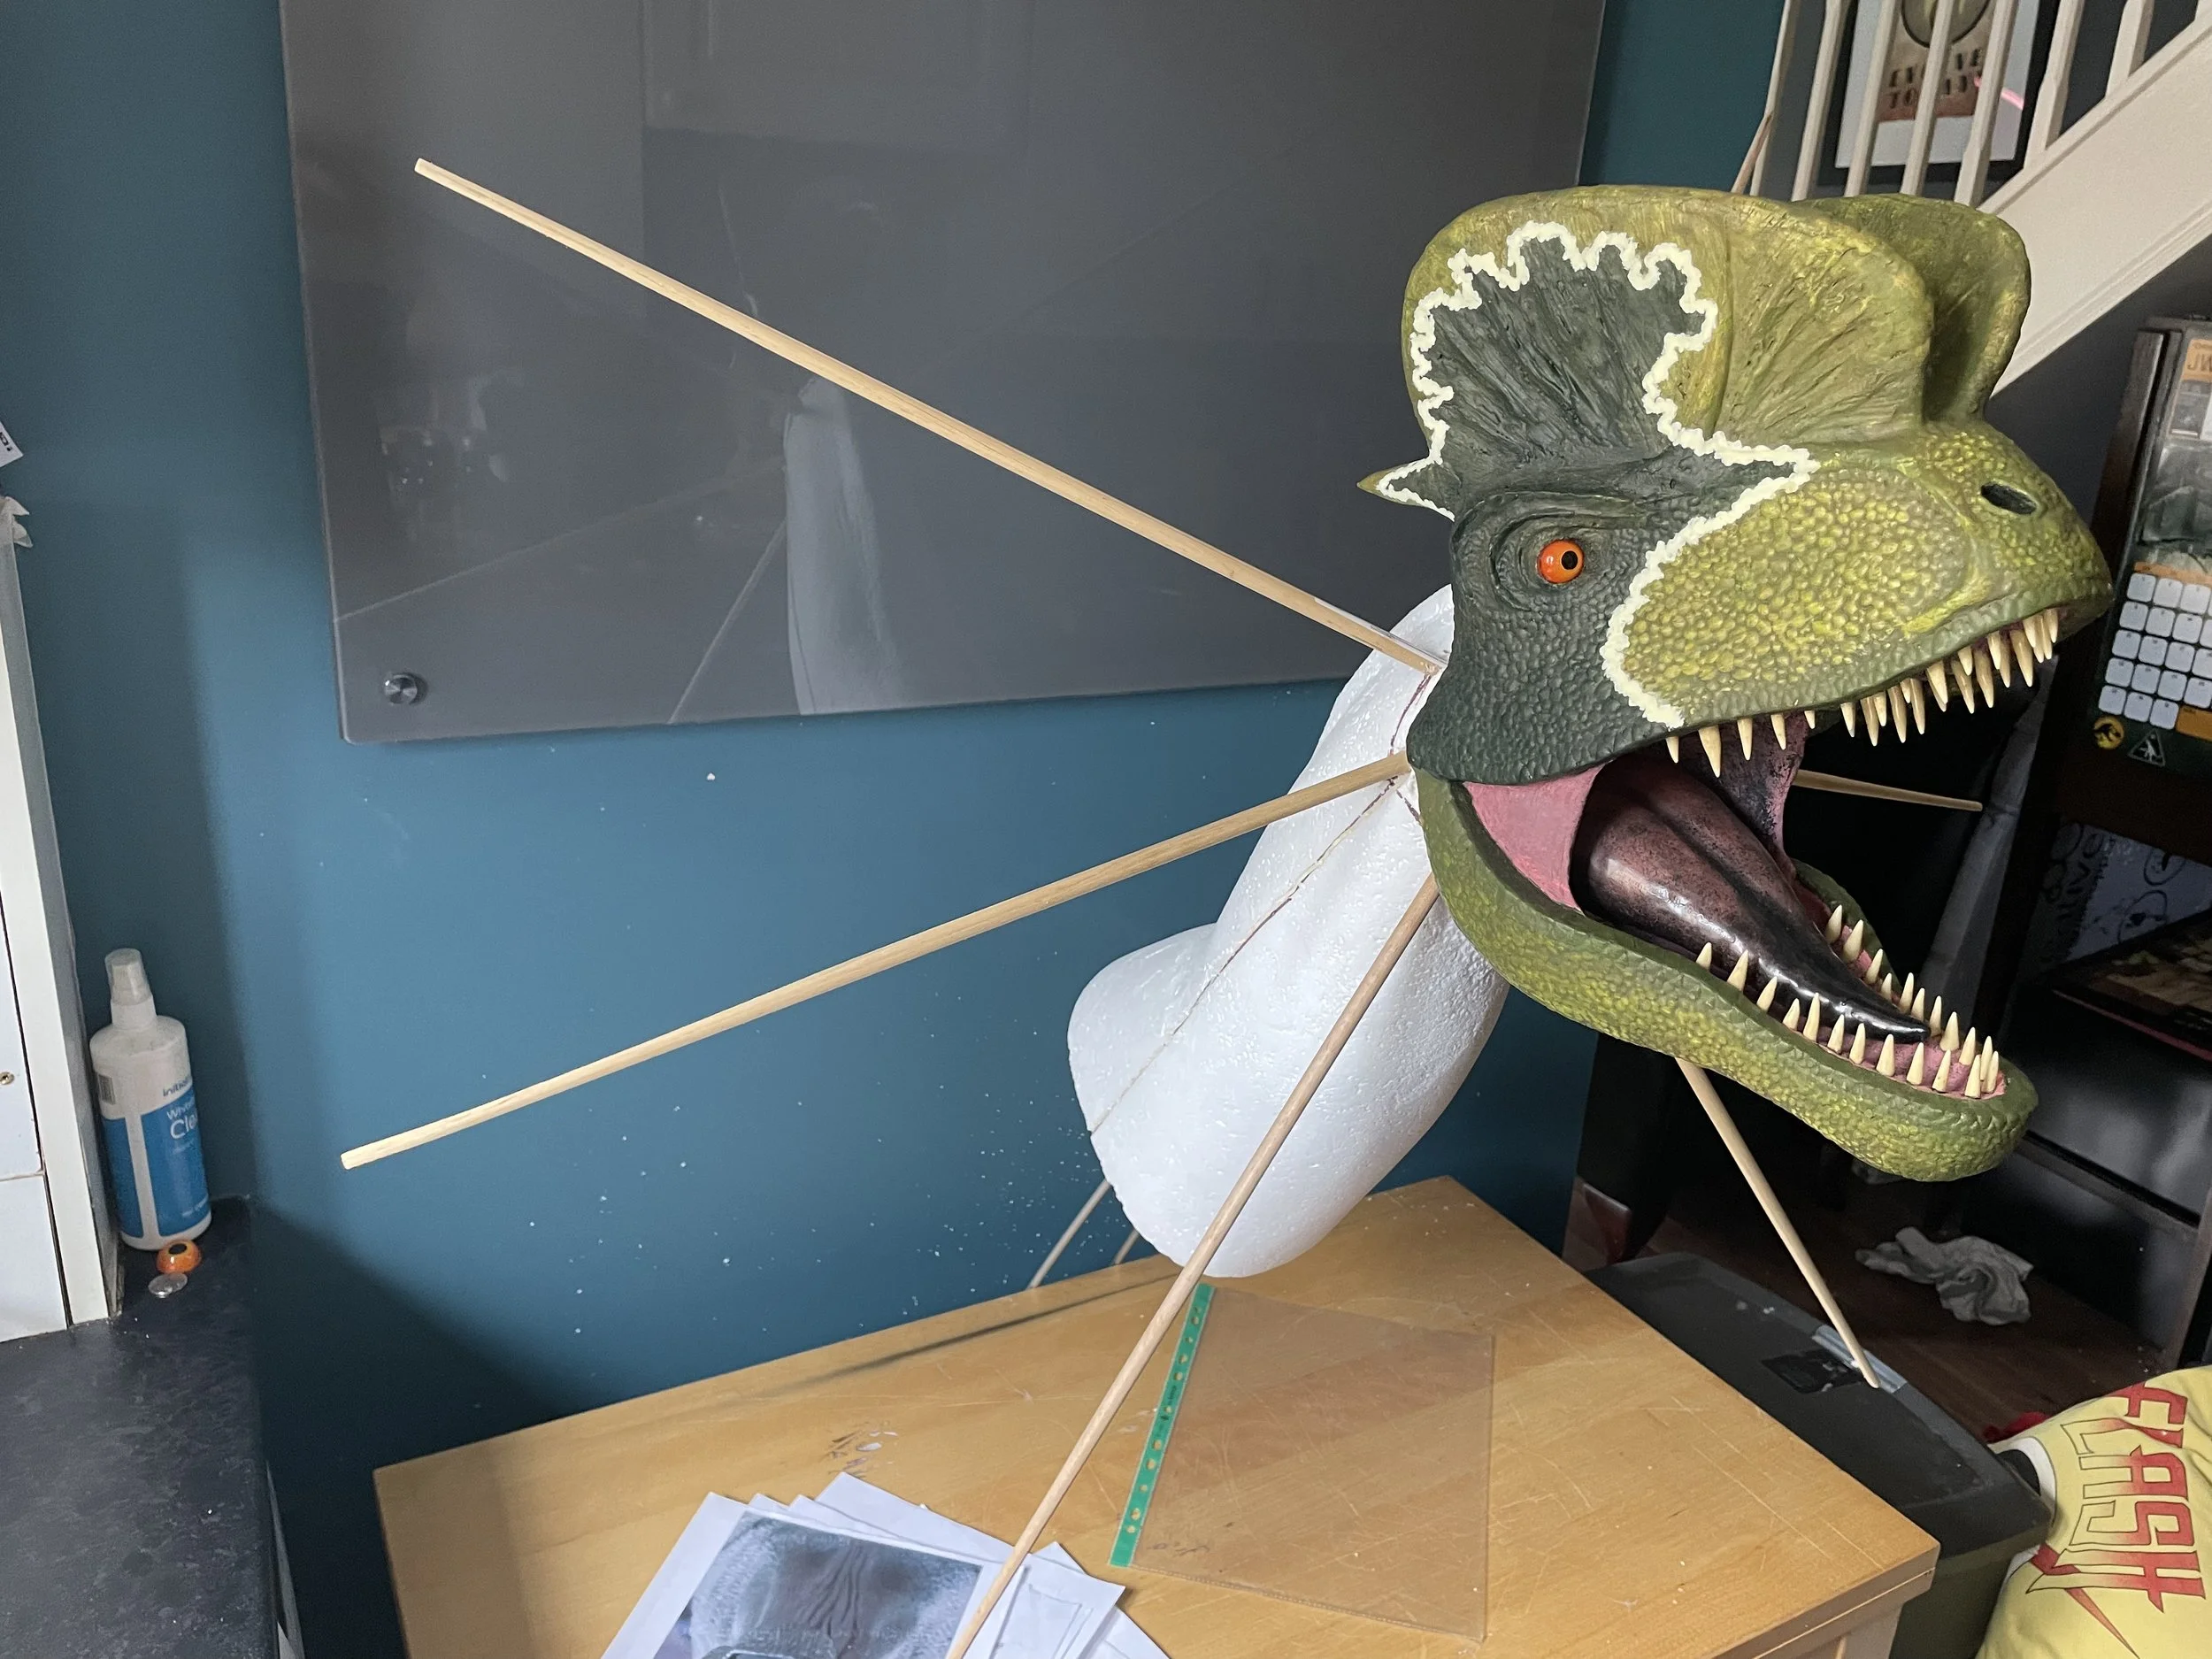
Knives and modelling tools were used to create the texture on the crests and around the eyes. Once both pieces were fully textured, the jaws were fixed in their open position with dowels and expanding foam, then covered with foam clay. The tongue and teeth were inserted to check for fit and look. The head is now ready to be sealed and painted.
At this point in the process, I needed to make a decision to paint the head, frill and neck as separate pieces, then assemble and touch up the joins, or finish coating the neck and frill, piece the whole thing together, then paint. Painting them separately would make them much easier to handle and manoeuvre to get into the hard to reach places and positioning for drying, so I progressed with painting the head.
The teeth and tongue were removed for painting. The inside of the mouth was painted by building up the same colours as the tongue and spackled with black to match. Once dry, the teeth and tongue were glued in place.
Colour for the rest of the head was built up using gradually darker shades of green and brown washes. The darker patches of the main pattern were painted on next followed by the white outline using reference pictures from the Stan Winston studio of the original Dilophosaurus puppet
Left: The original Dilophosaurus puppet (copyright The Stan Winston School)
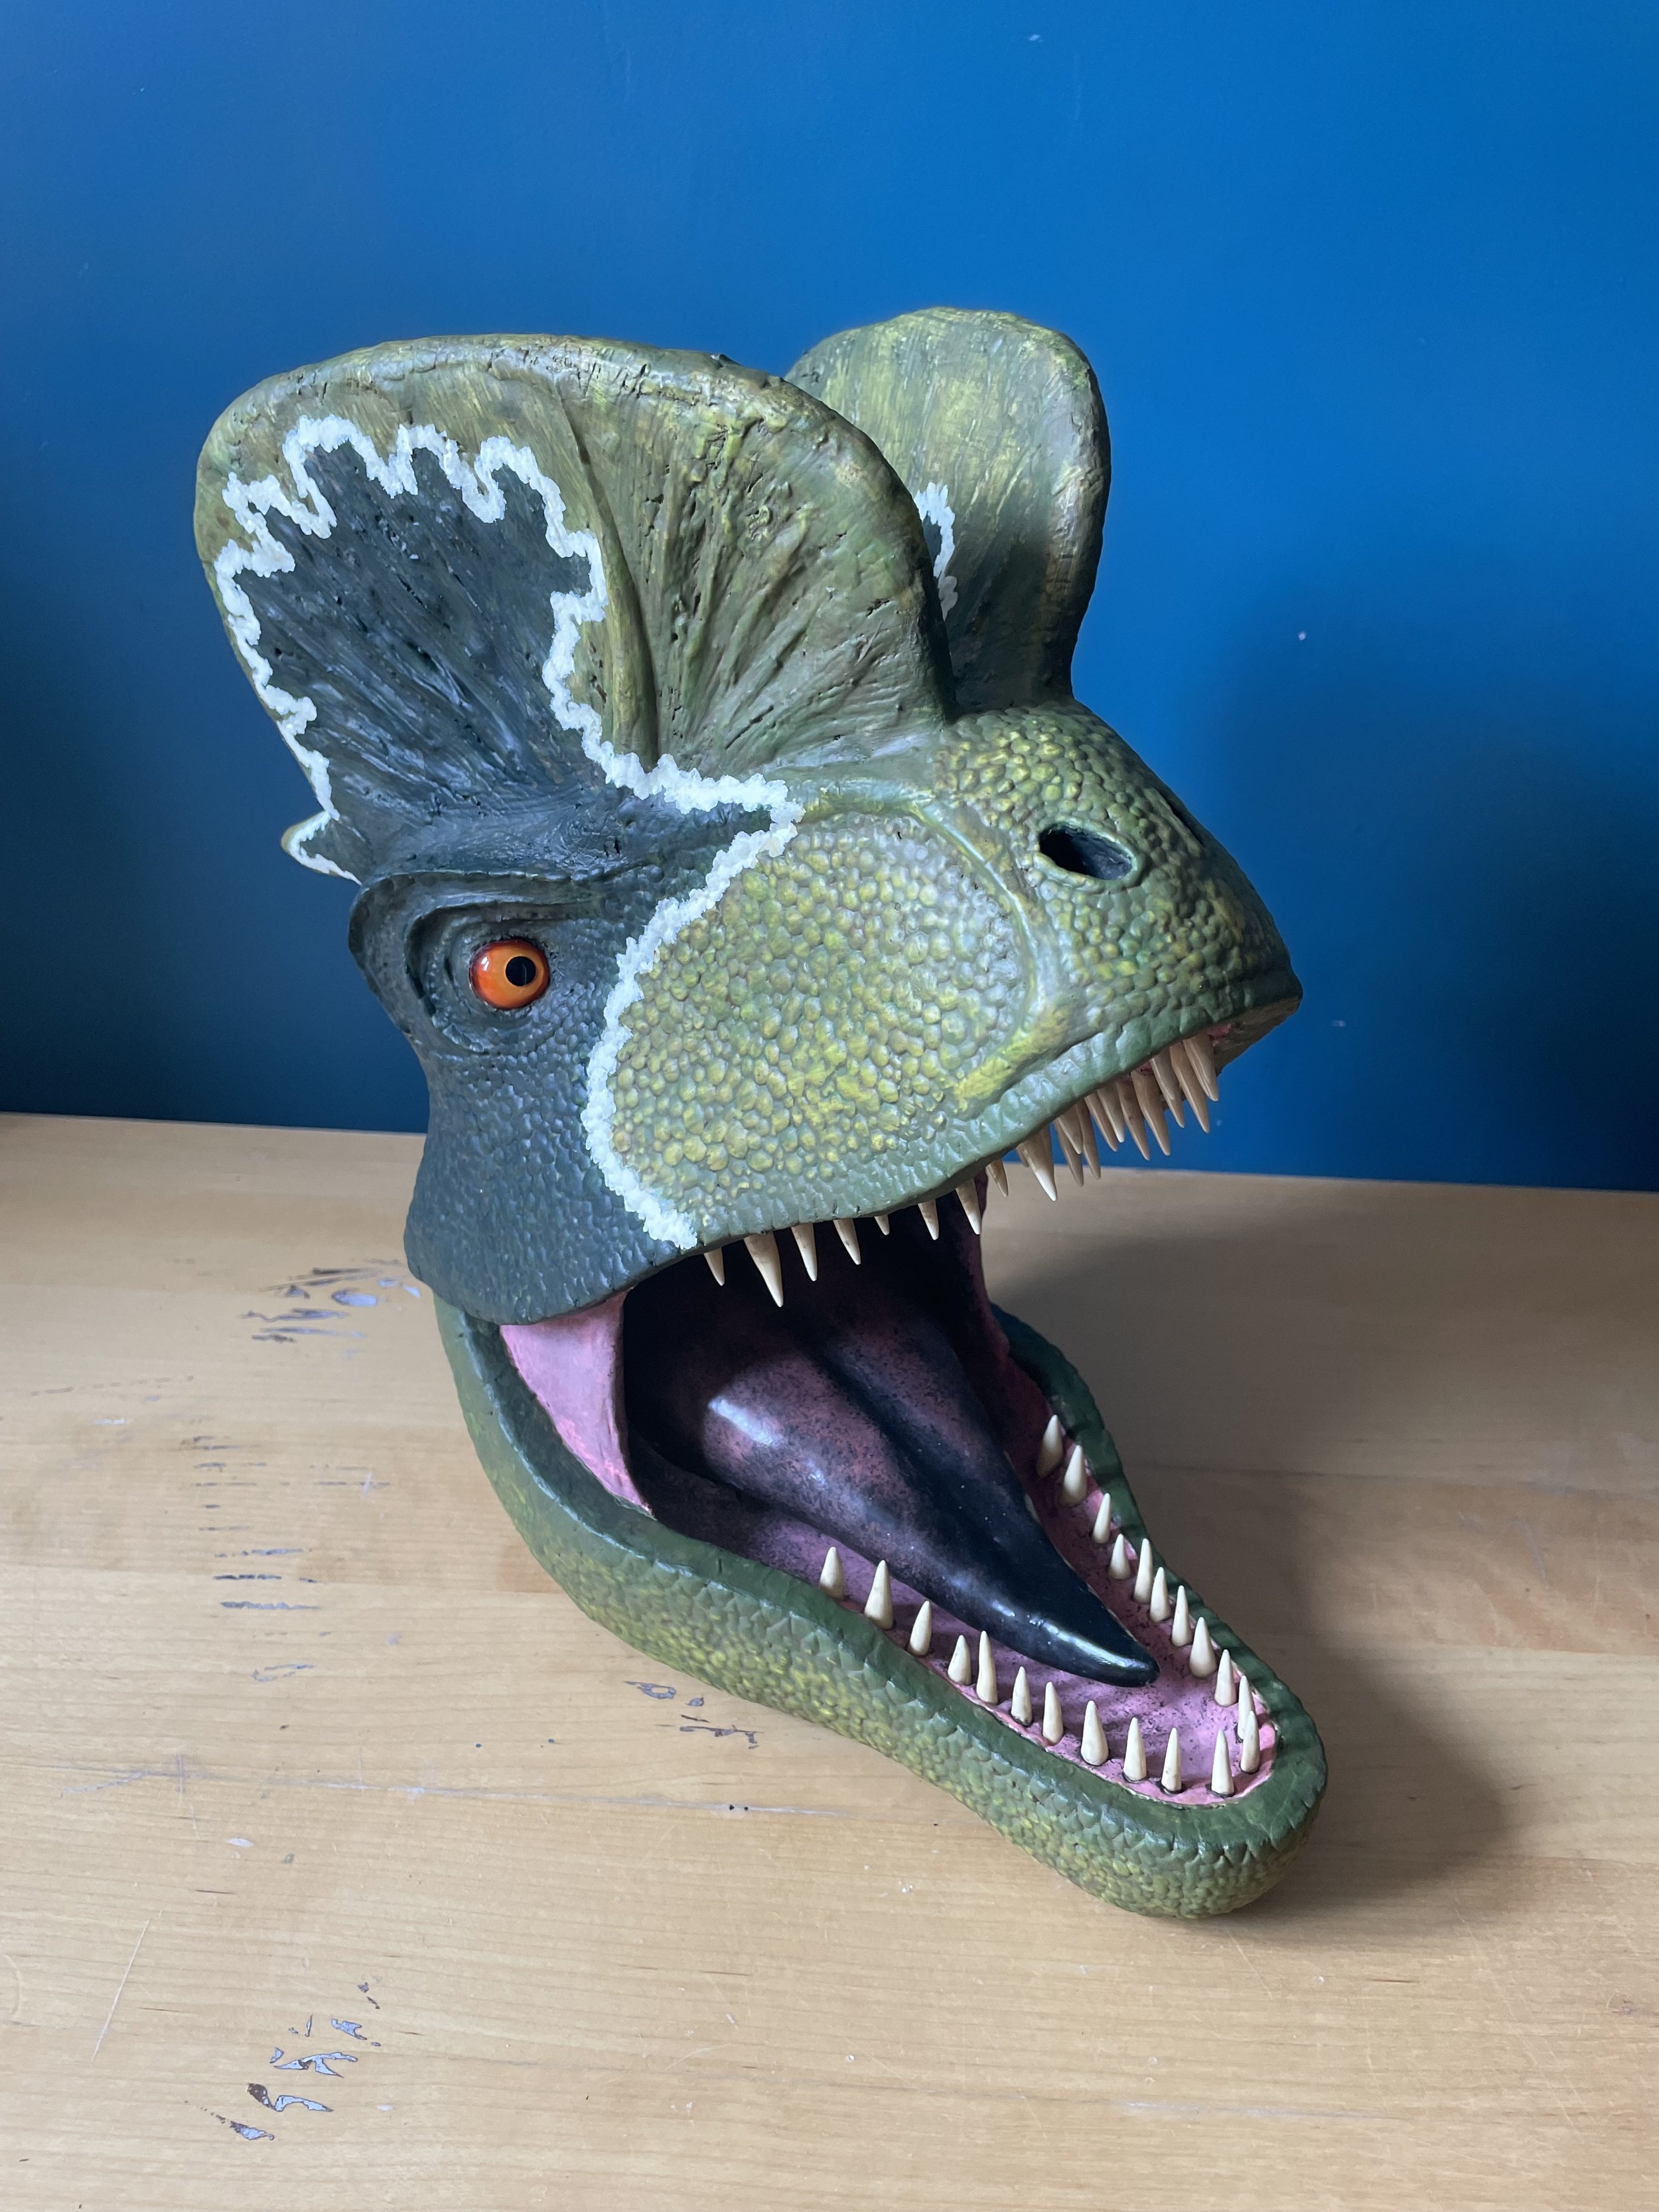
Right: Finished painted head
Metal rods were inlaid up through the centre of the neck to connect the head, provide a way to secure the whole thing to a wall mount and provide extra stability to support the weight of the head and frill. Wooden rods were inserted into the neck to support the frill.
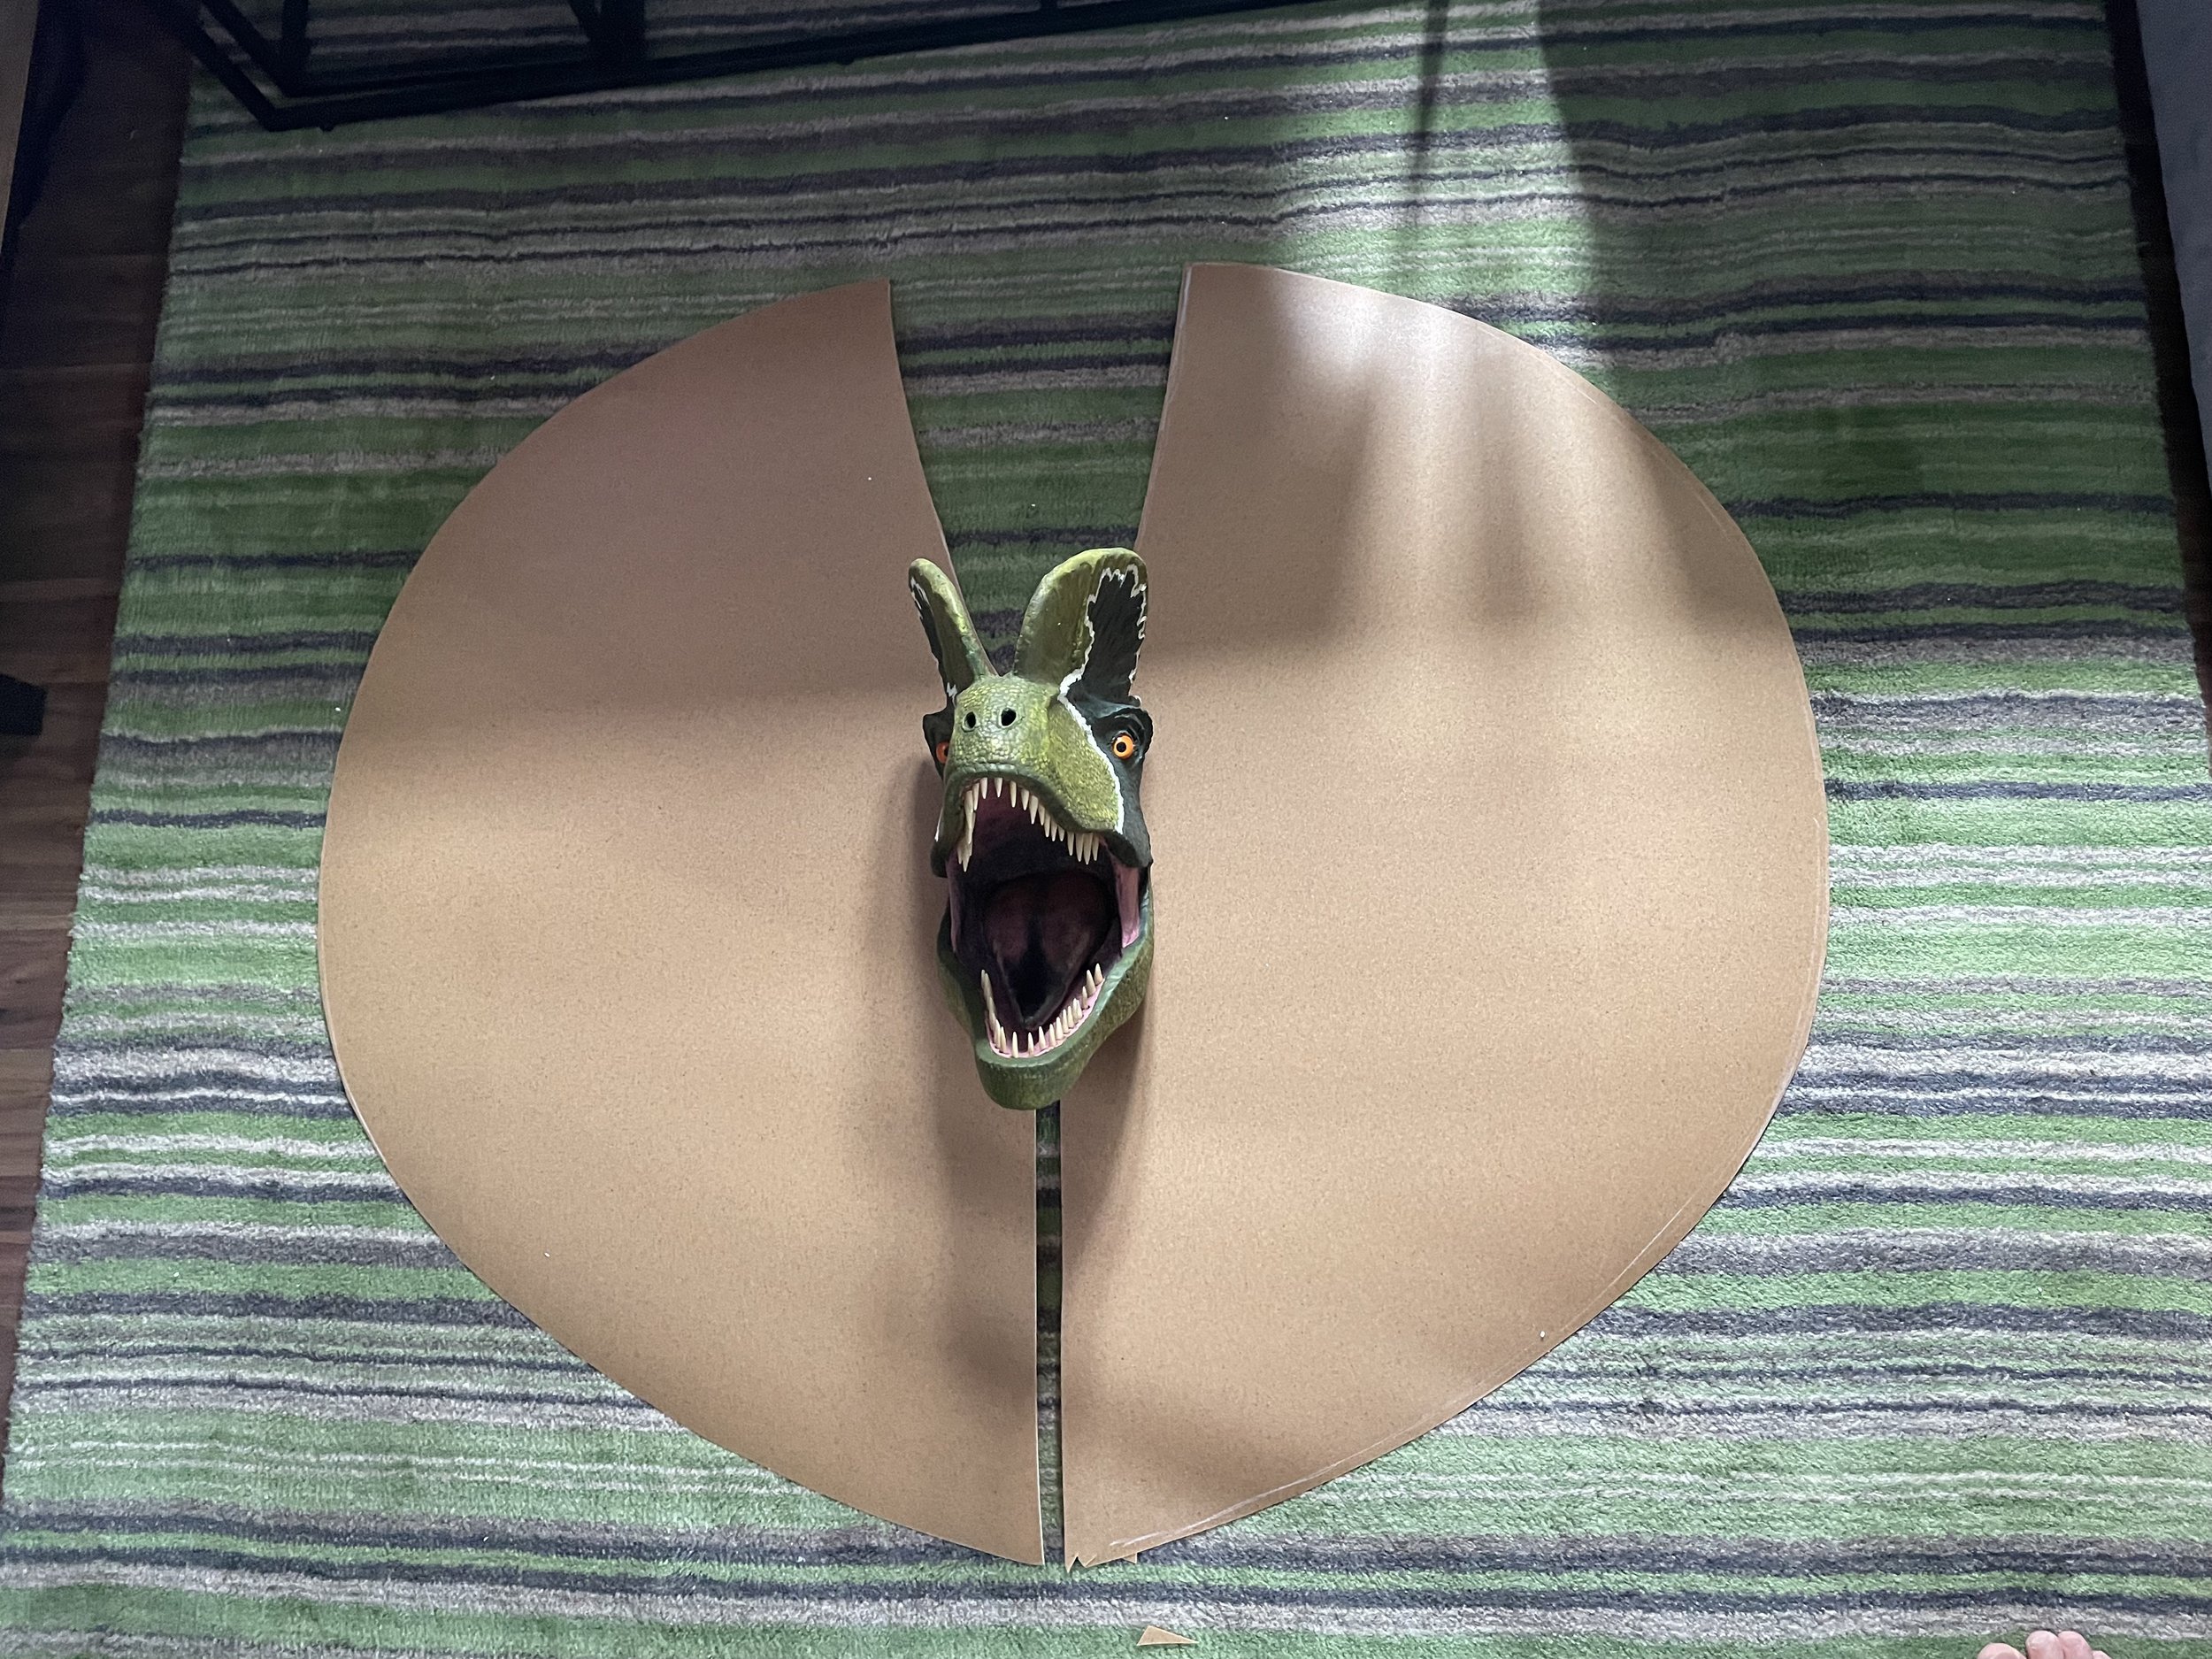
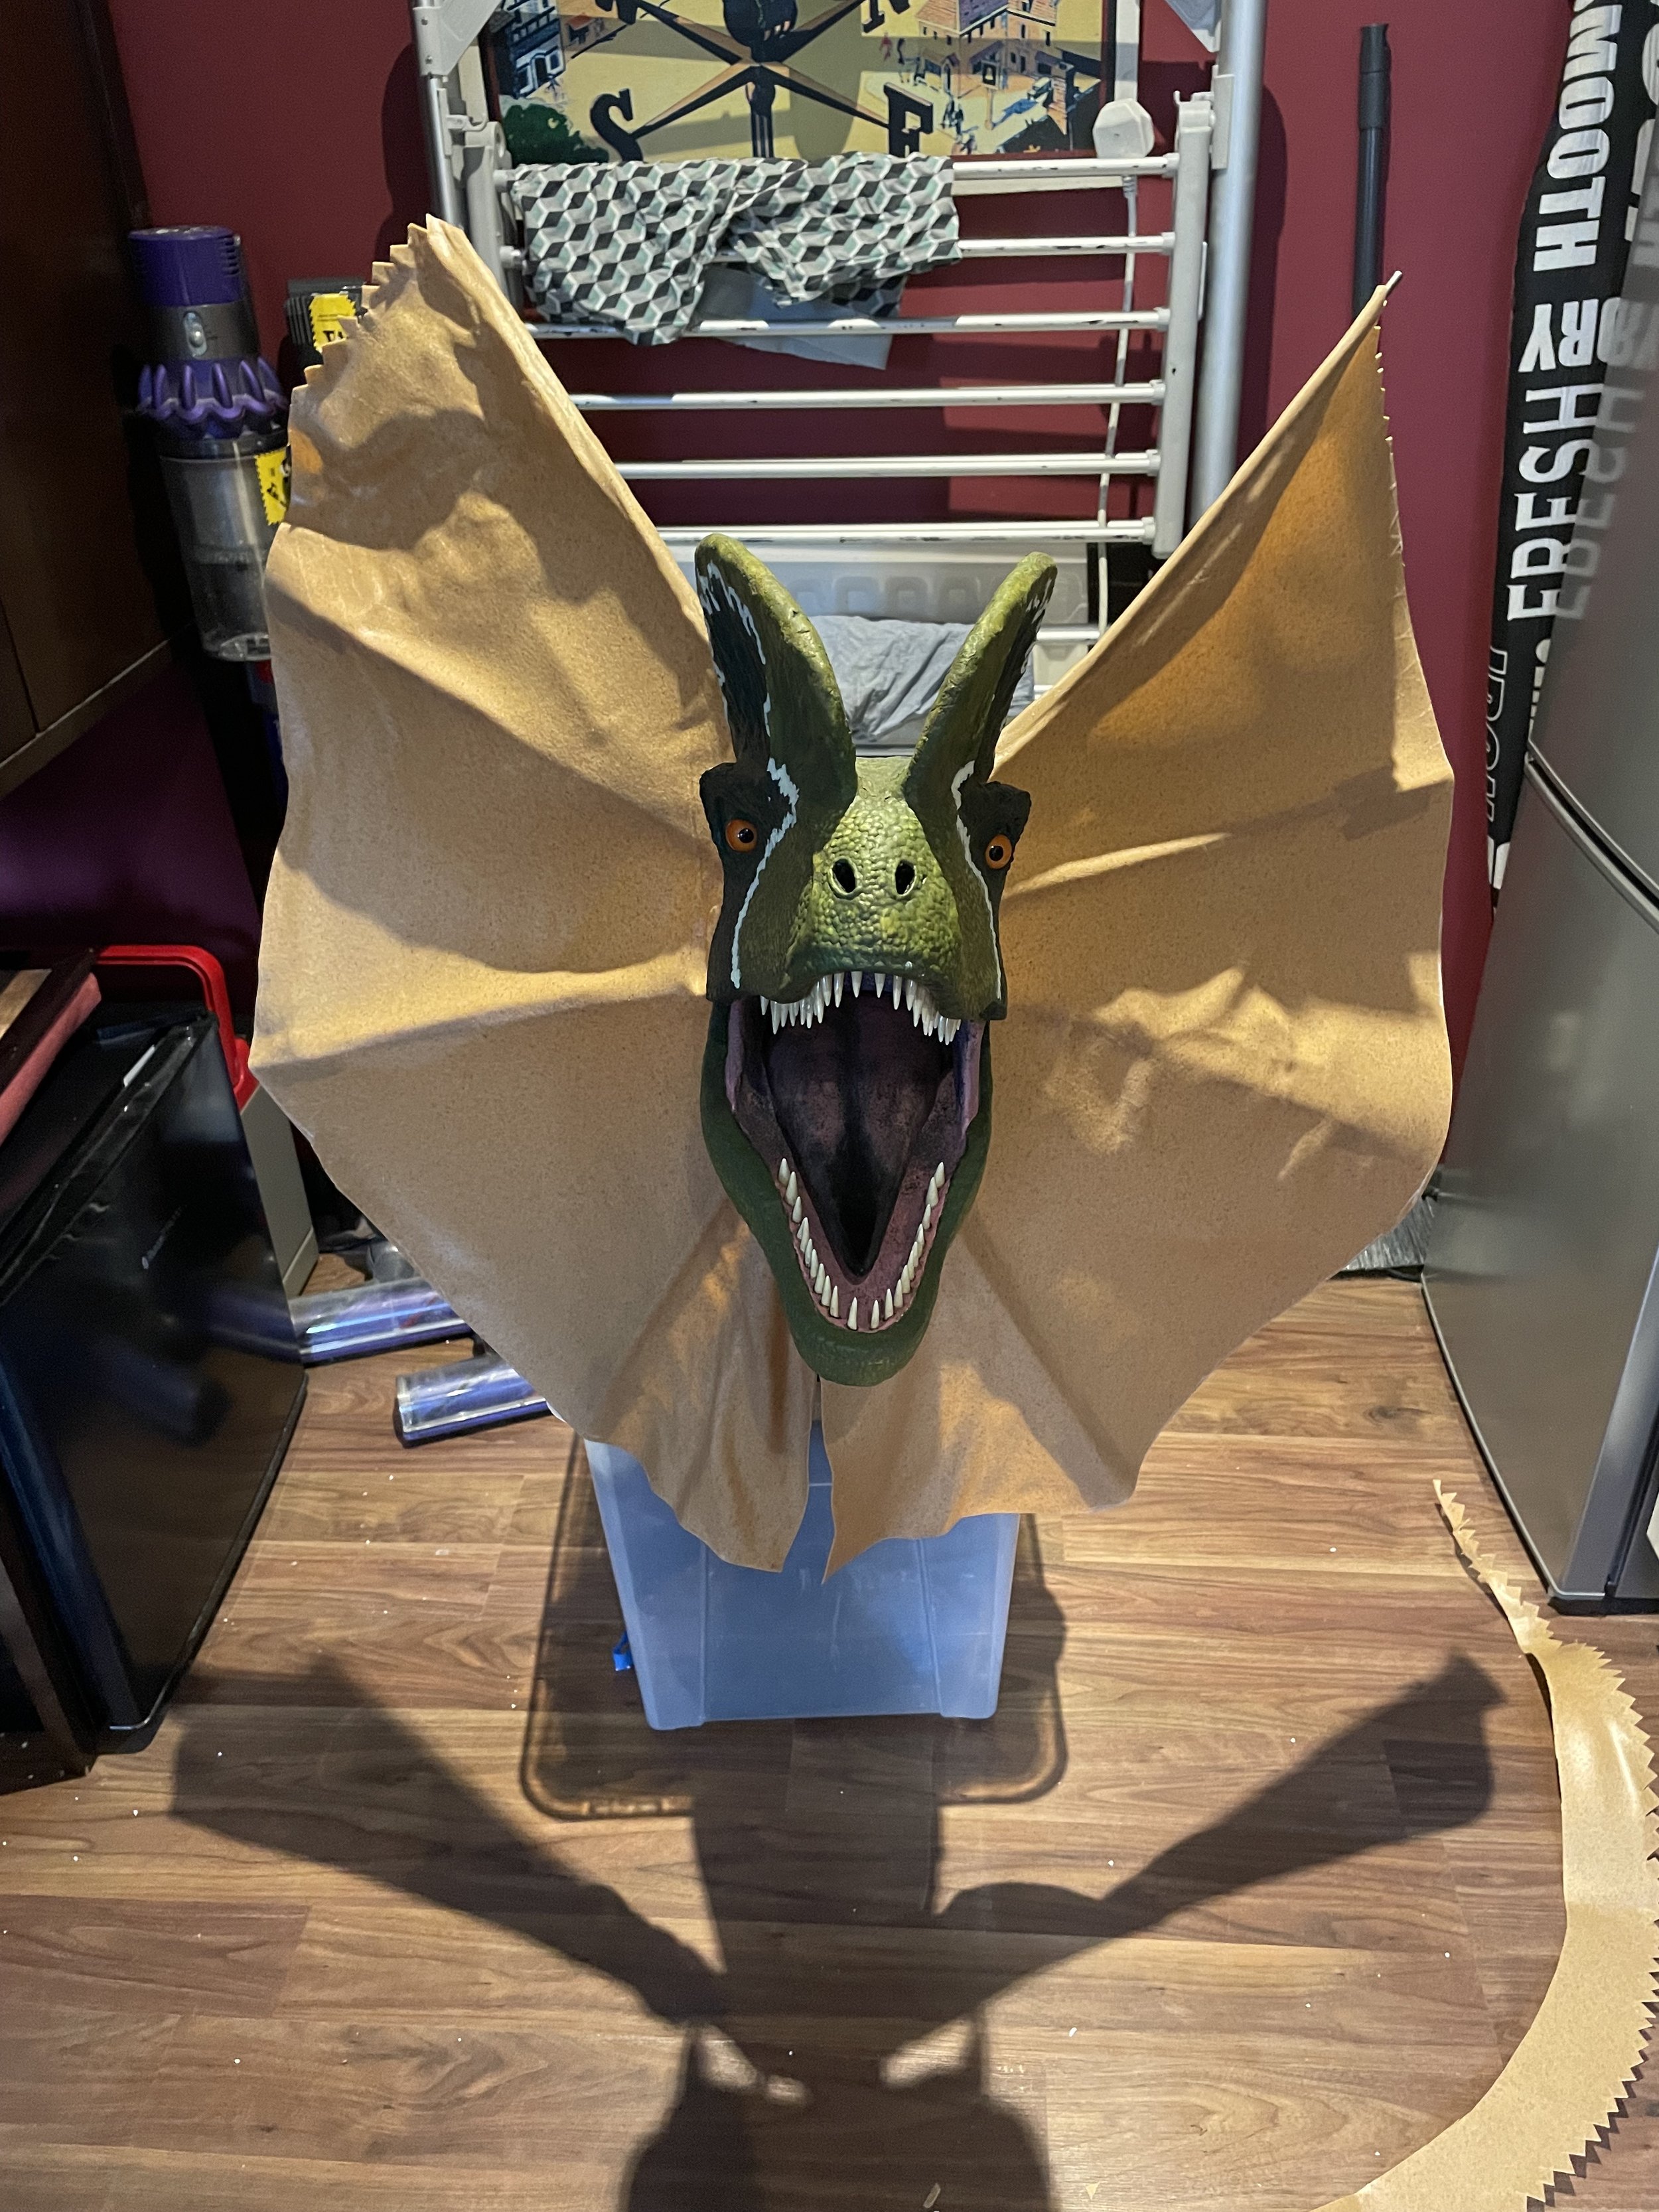
Two large sheets of Worbla were needed. The width of the mounting location was measured first to make sure the frill wasn’t too wide once fitted to the wooden rods. Once the size restrictions were known, the frill was cut to size.
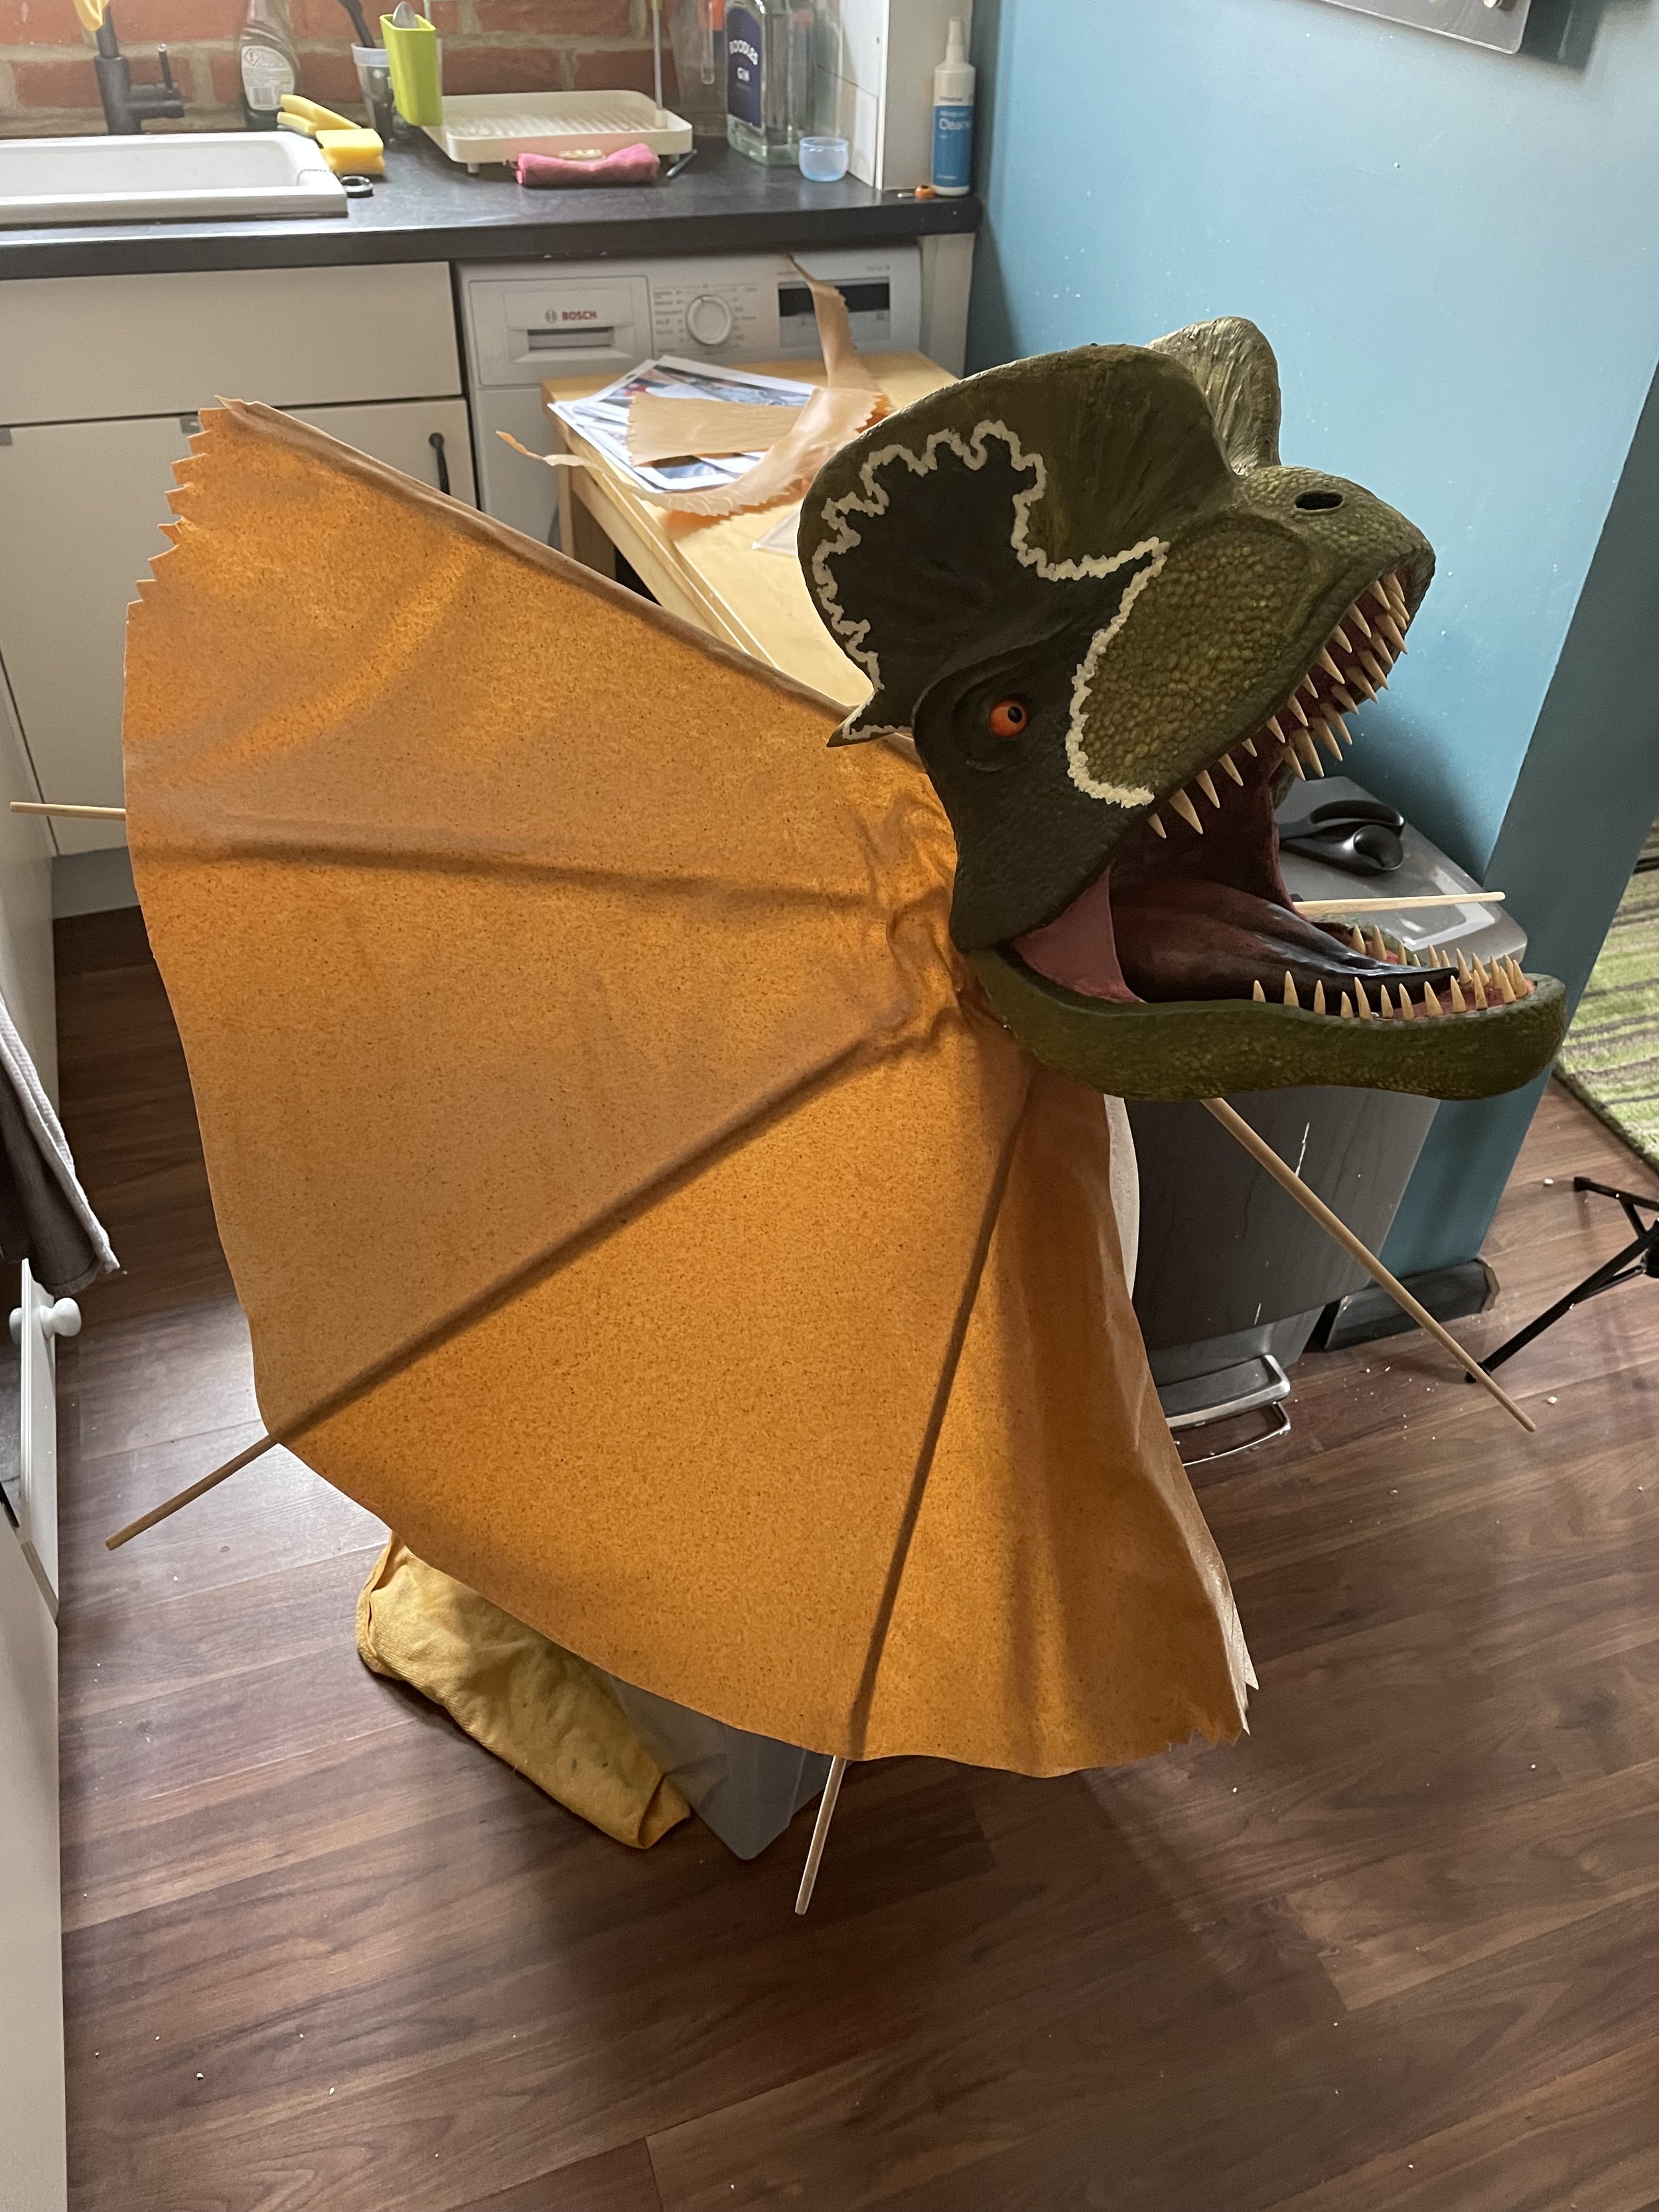
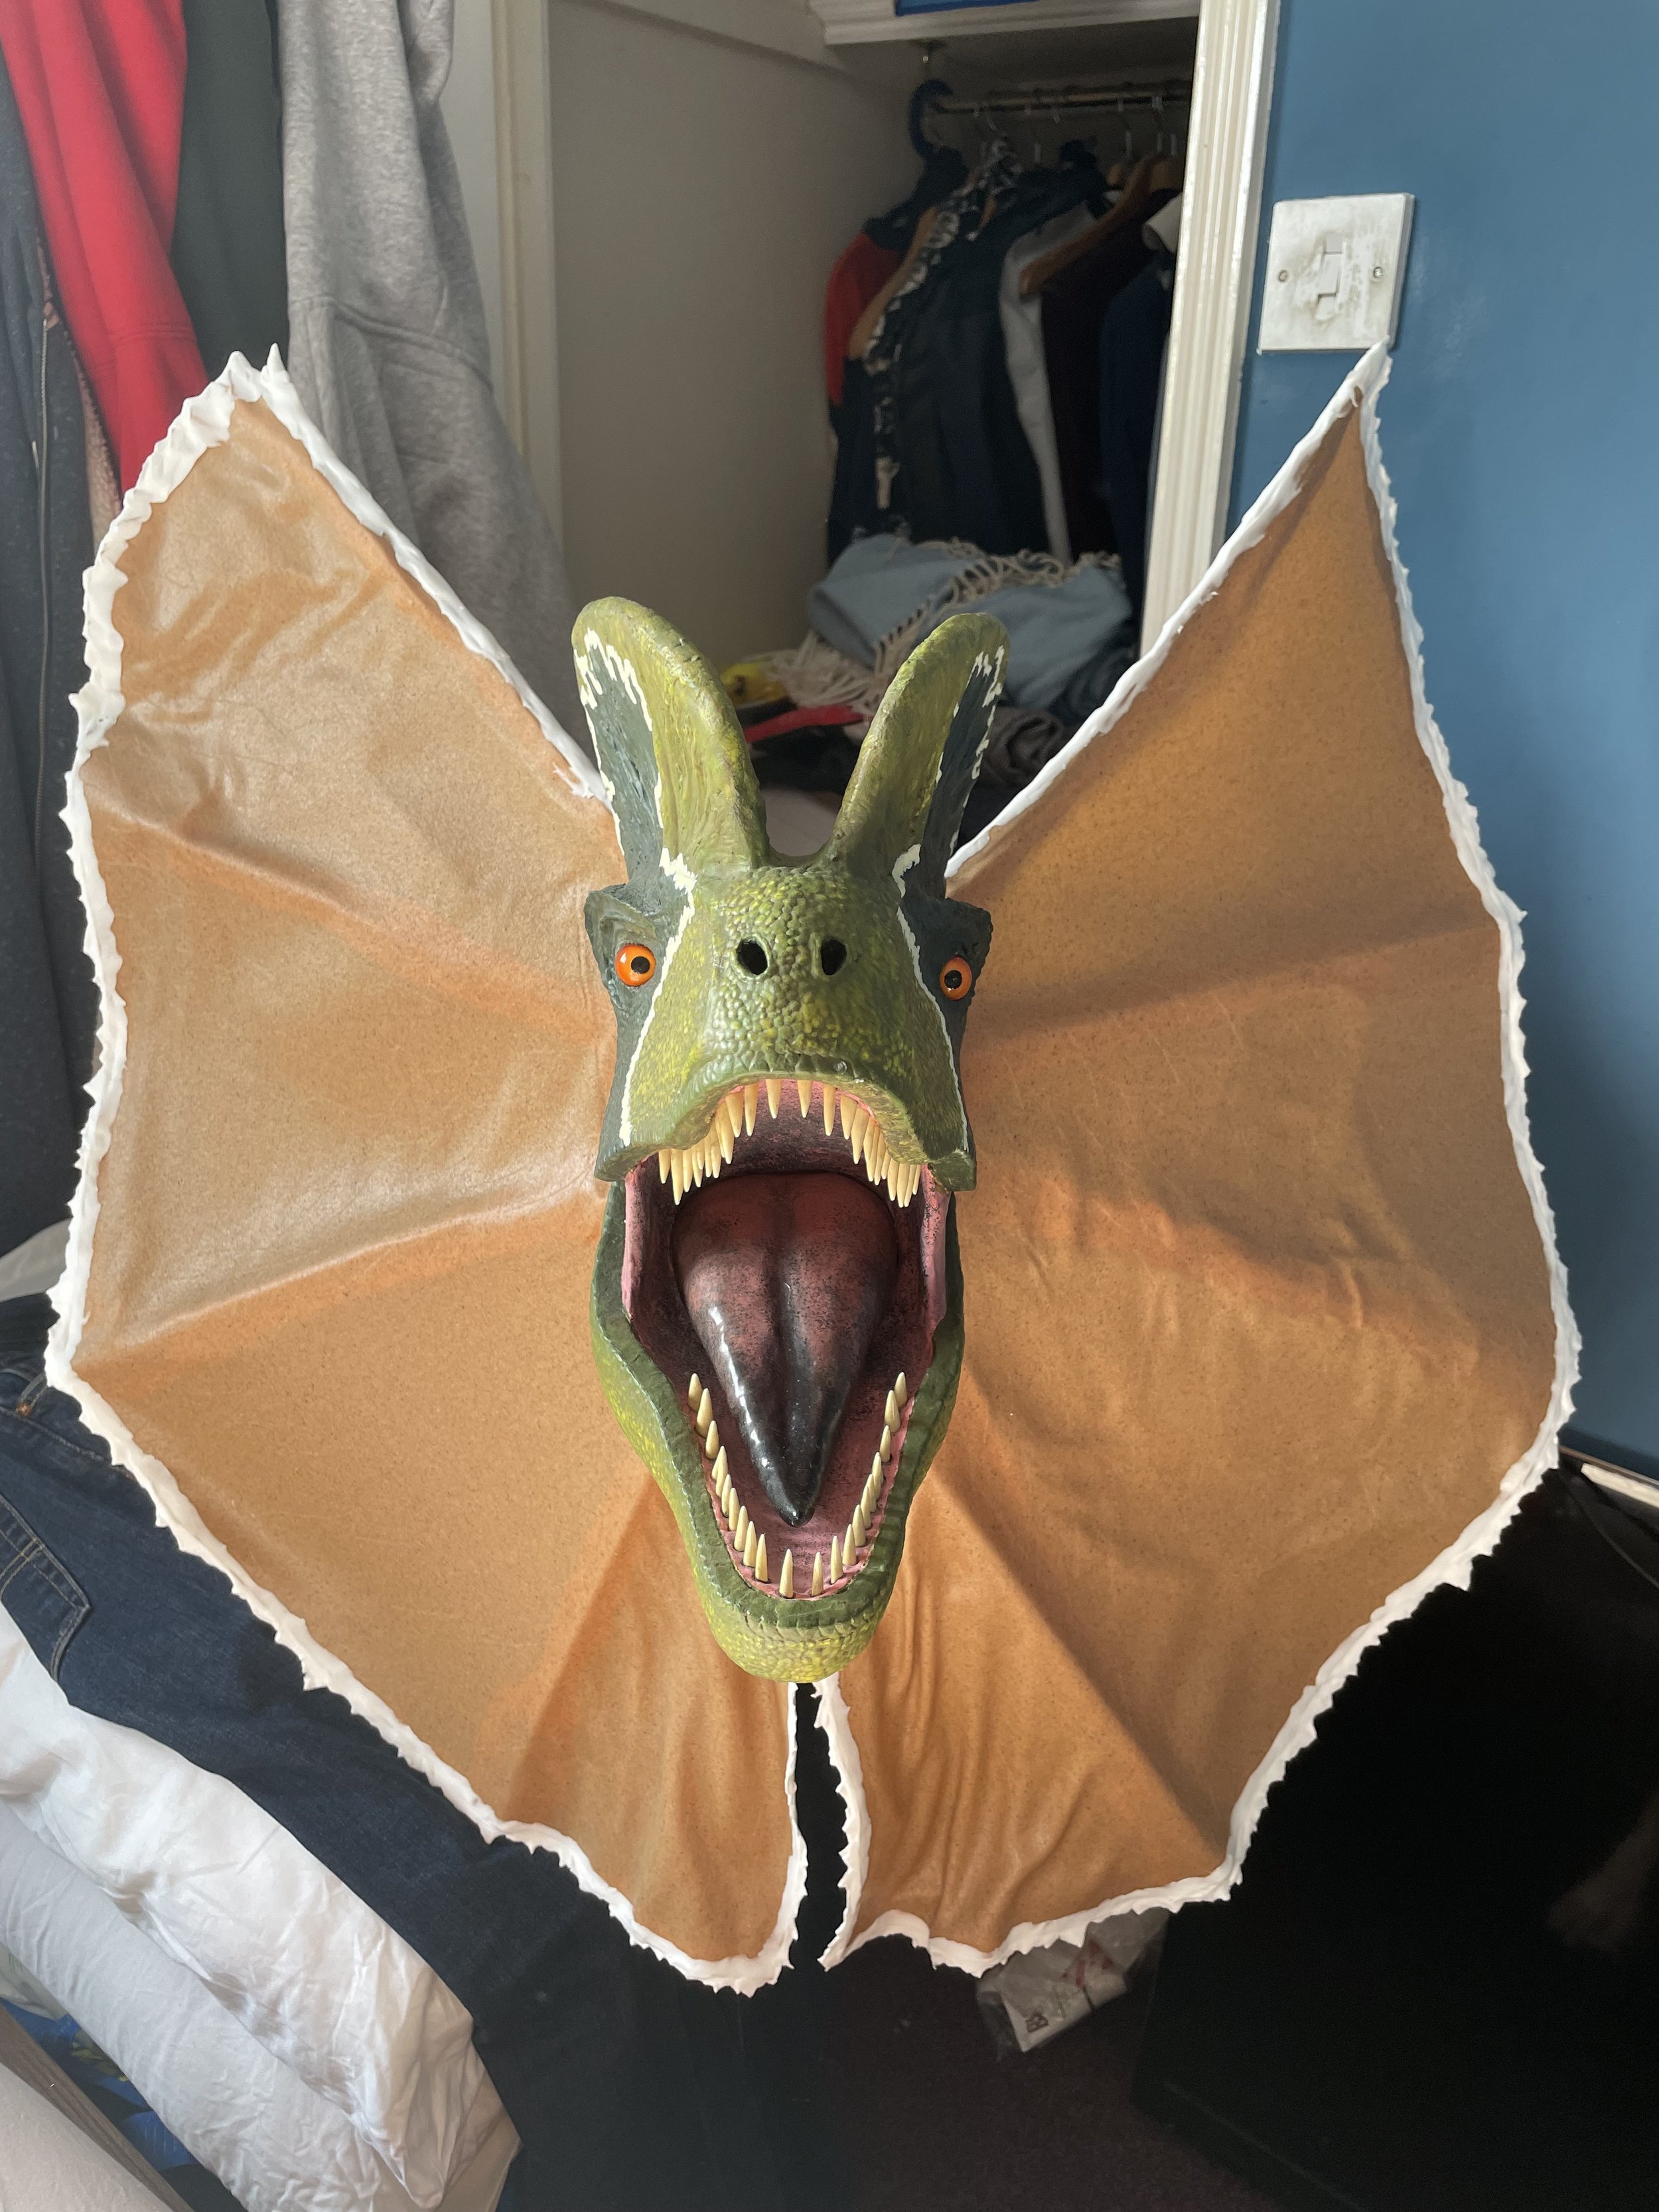
The top edge of each Worbla frill piece was heated with a heat gun and moulded around a metal rod, which was then inserted into the join between the neck and the head. The heat gun was used to soften the frill over the wooden rods, to give the look of thin, slightly slack skin, with gathers at the bottom where the frill would hang loose. Foam clay was used to add the piked rim to the frill, fill and cover the join between the neck and the head, as well as cover and secure the wooden rods to the back of the frill.
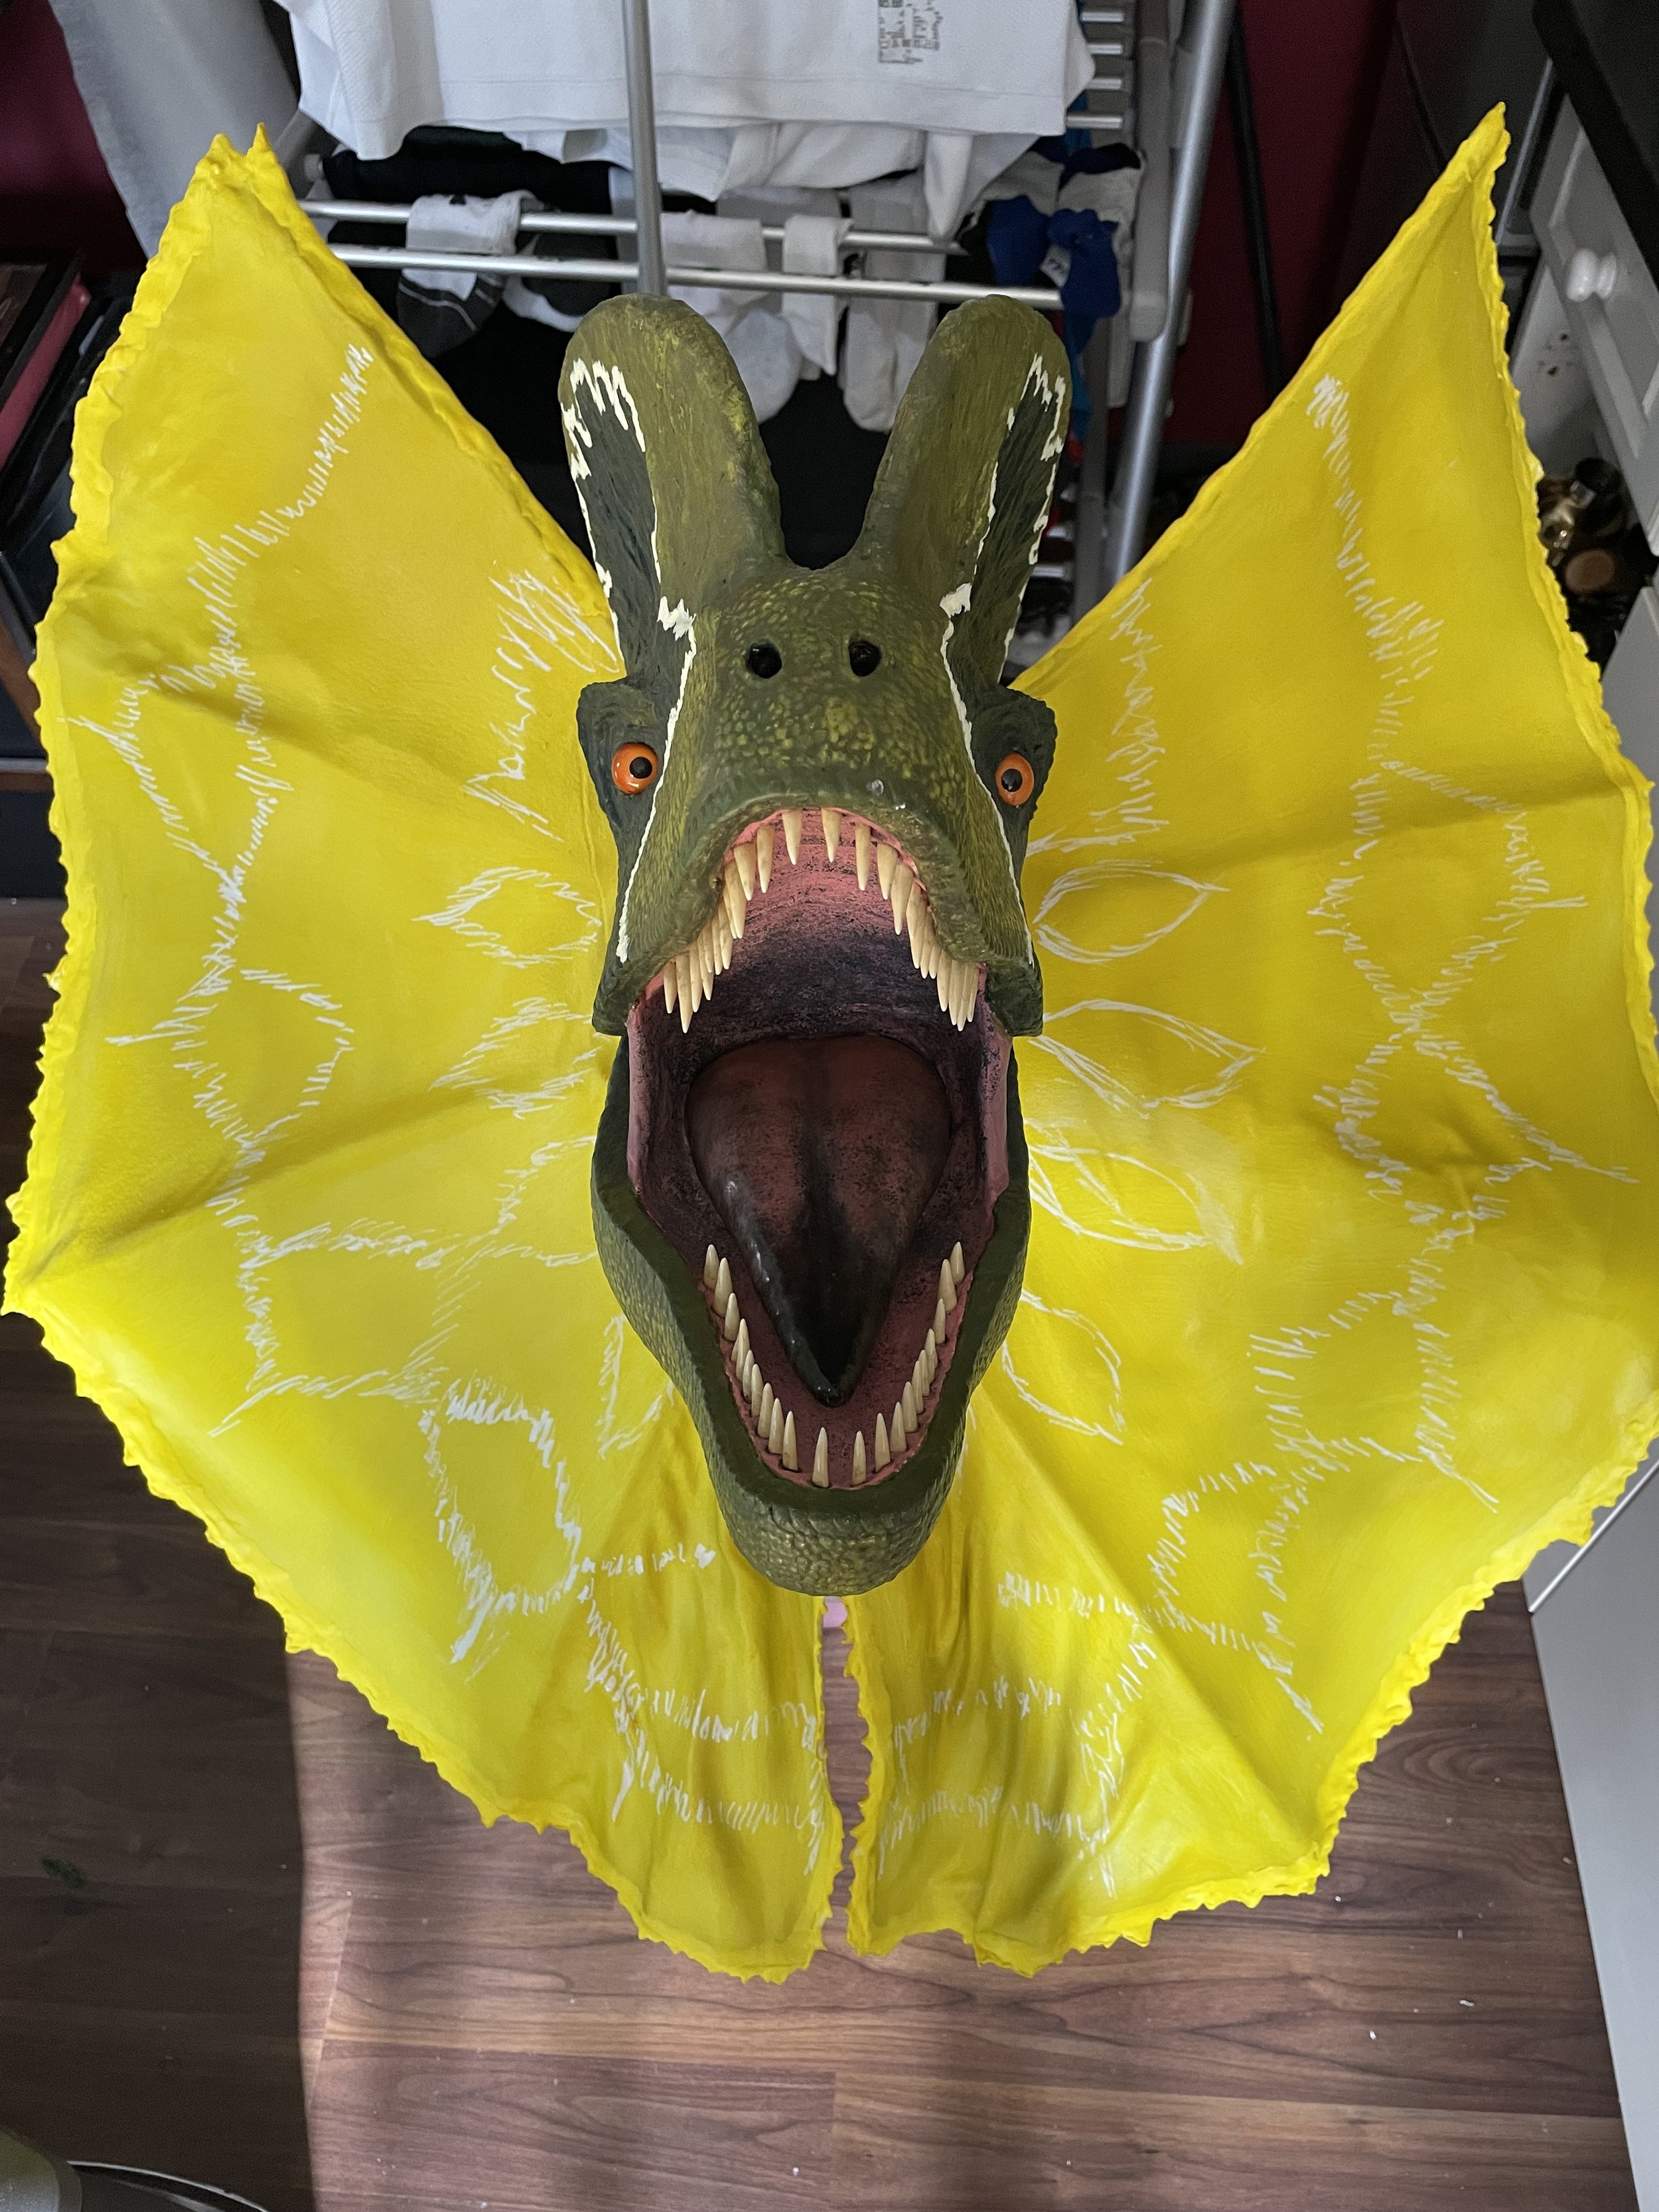
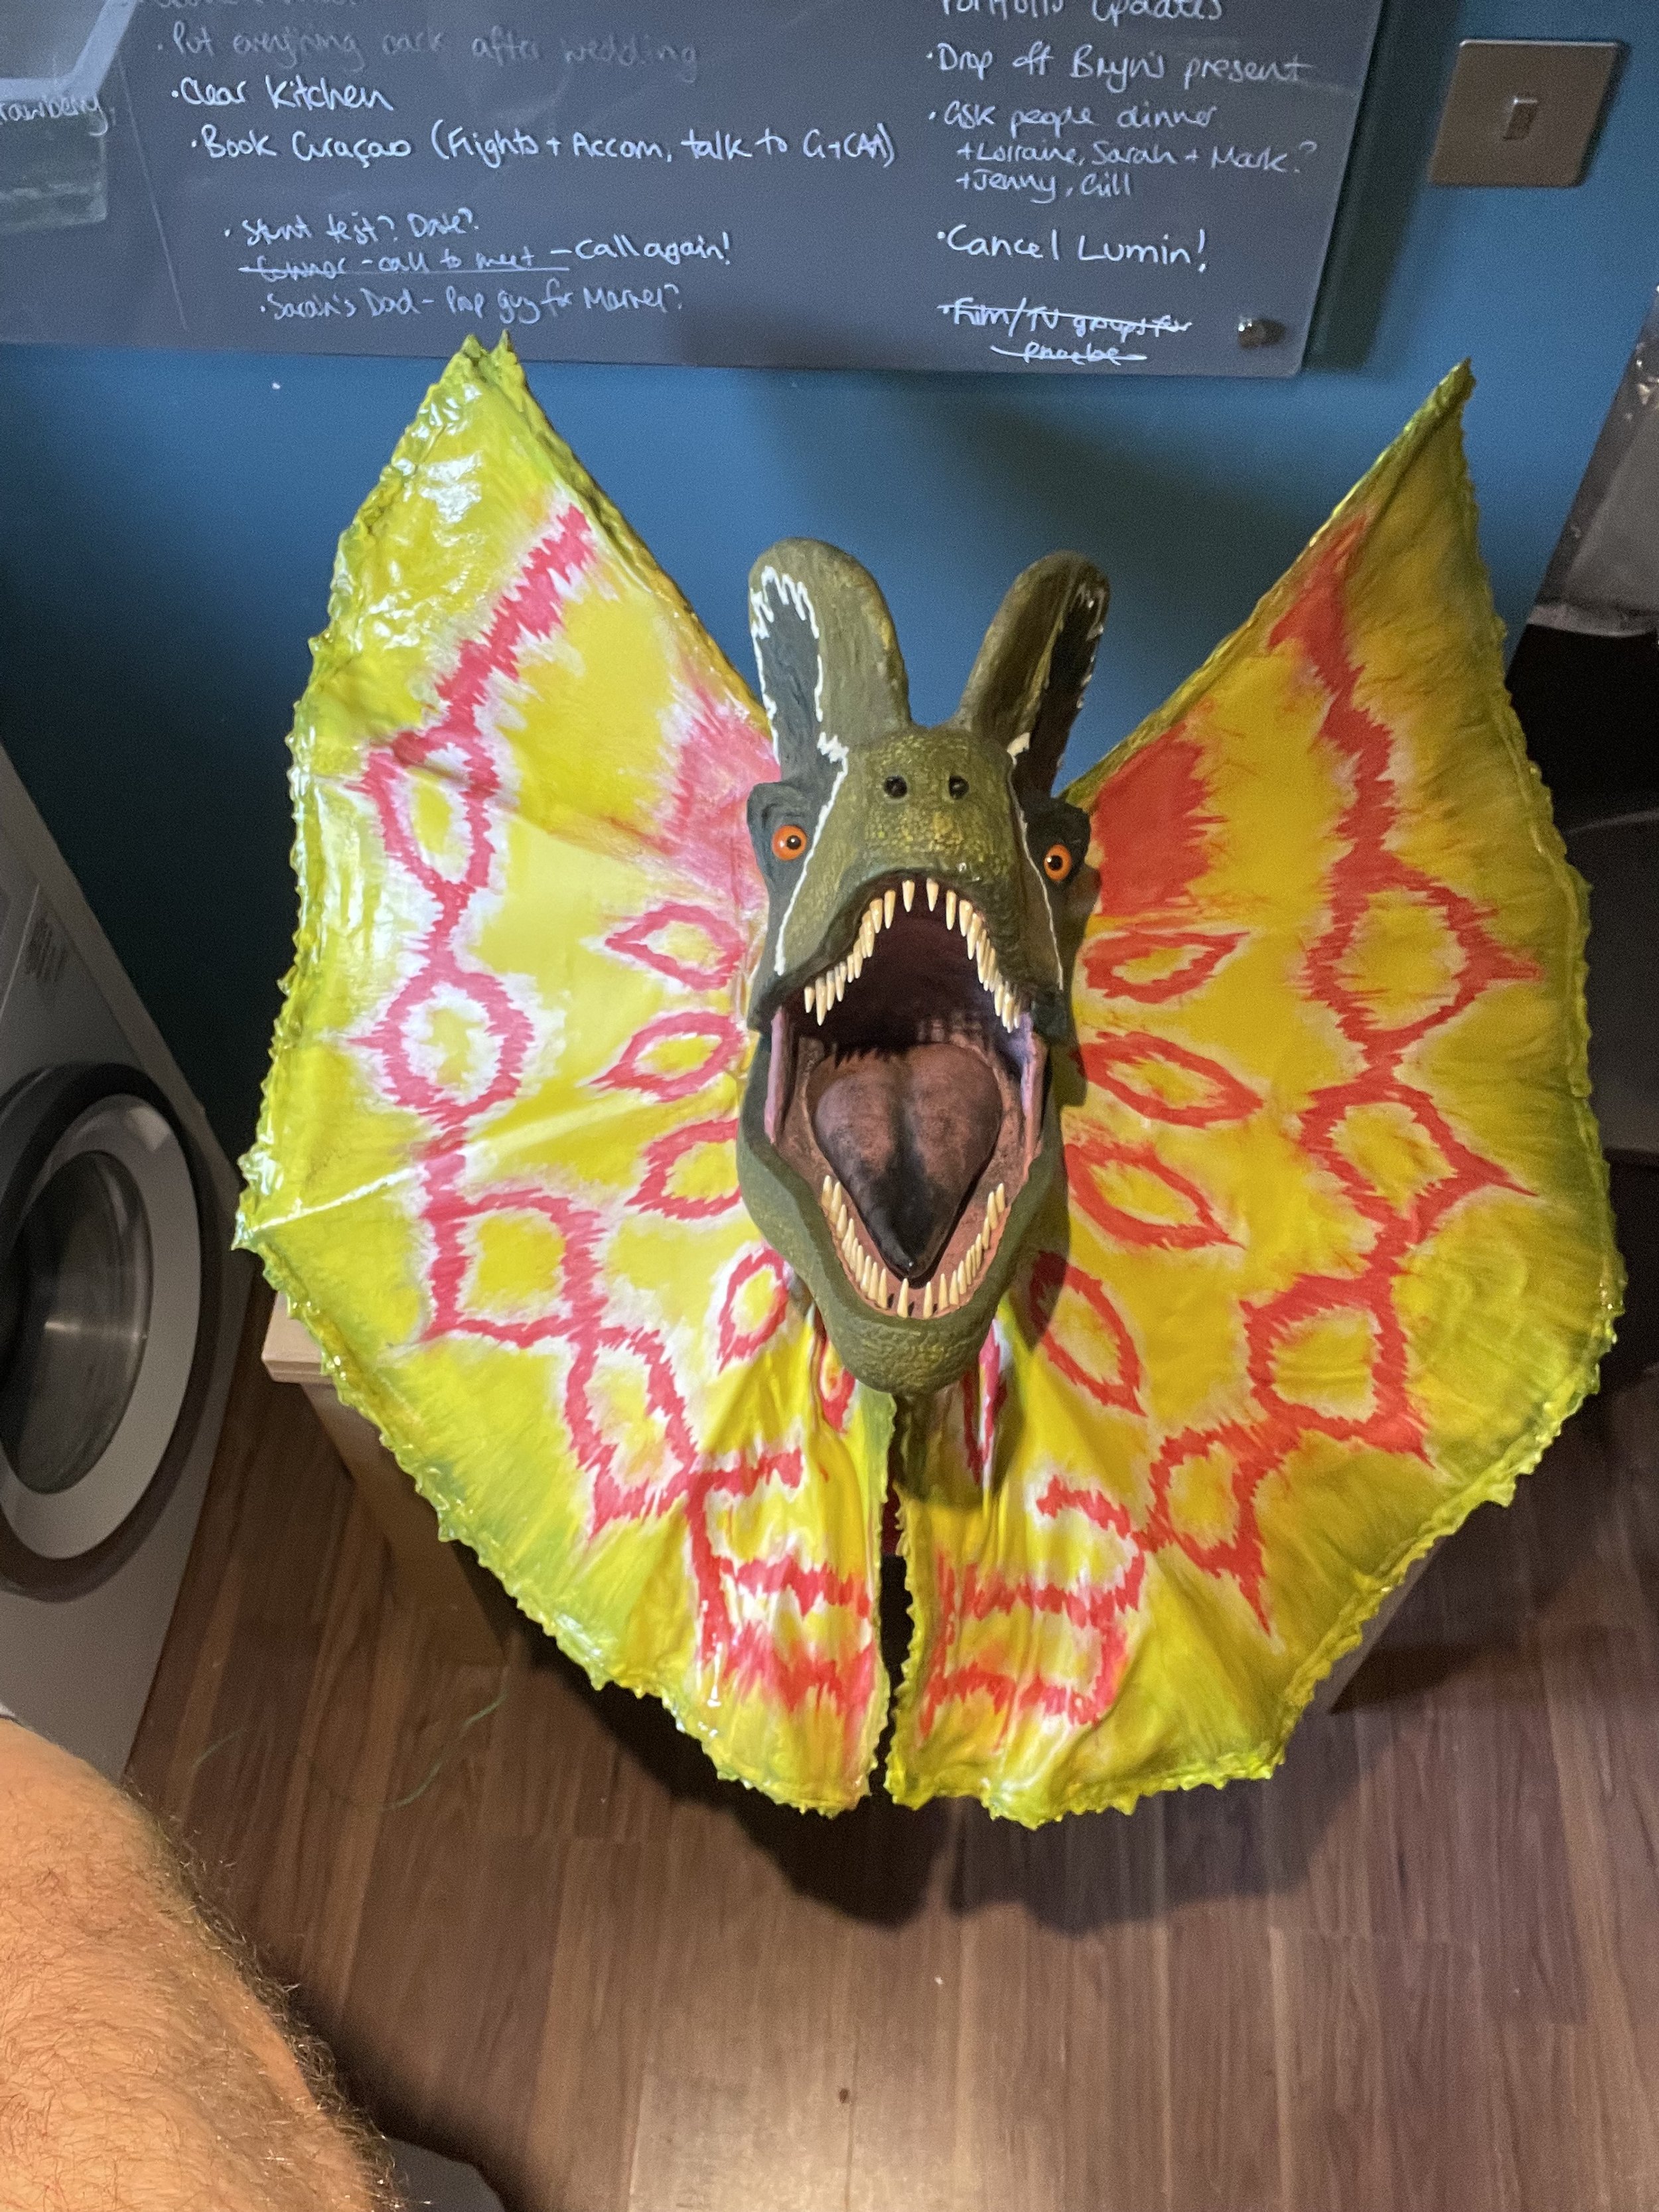
Before being painted, the frill was primed, as yellow would not cover the brown of the Worbla well. The patterns on the frill were gradually built up starting with the lightest colours & shades to the darkest. White and red for the markings, pale green to blackish green around the rim of the frill. Multiple watery washes were applied to gradually darken the overall shades and smeared with a dry brush or dabbed with a damp cloth to blend. Finally, the red belly and dark markings down each side of the neck were added to match the face. Before mounting, the neck, frill and face were coated with matt varnish for protection. The inside of the mouth was coated with gloss varnish for a wet look.
Here is the finished Dilophosaurus, mounted in the hallway above my staircase at home, lit from below on each side. I’ve had to reign in my perfectionism with this piece, wanting it to be an EXACT replica of the puppet from the original movie, but with the skills & resources I have, I’m very happy and proud of the result.
I hope you’ve enjoyed following the process as much as i’ve enjoyed making this piece!
